
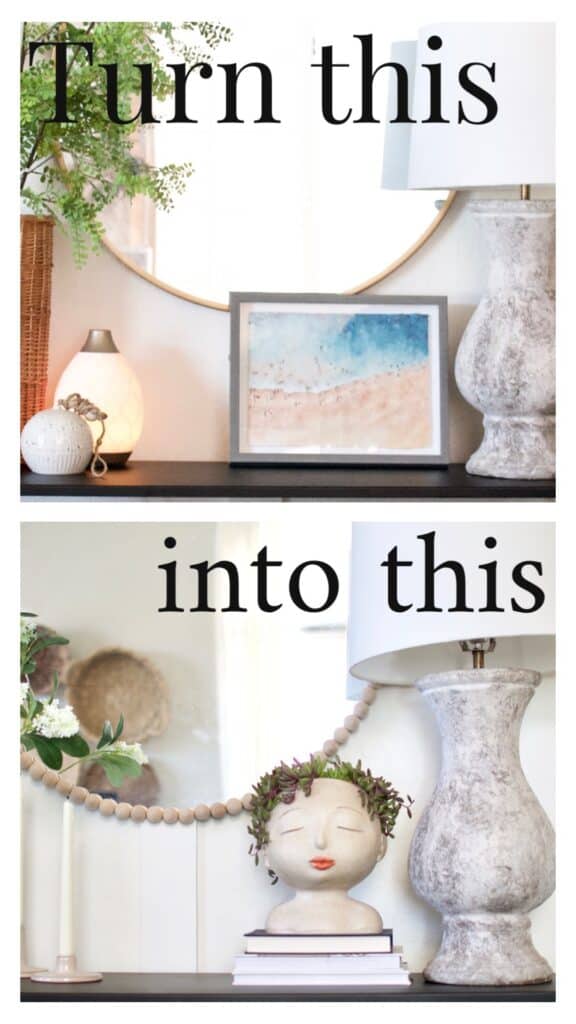
I have been loving the bauble trend lately, you see it everywhere from lamps, to ceramics, to mirrors. Today I am so excited to share with you this Designer Dupe for a DIY Bauble Mirror.
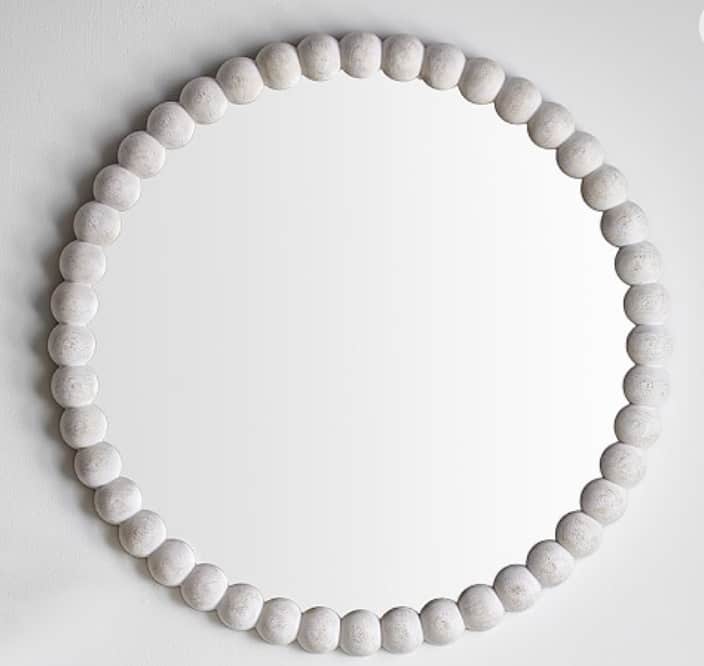
I fell in love with the idea of a bauble mirror one day as I was perusing Pottery Barn, I just think they’re so fun. Rounded mirrors are probably my favorite shape to break up rectangular shapes of furniture and walls in a space. I could never pull the trigger on this mirror because it was nearly $200. I felt like this was something I could easily recreate myself.
Inspiration Mirror
During the stay at home orders I was perusing Amazon one day and found some fairly inexpensive wood beads I thought would work. I already owned this round mirror in my entry way which I thought would be perfect for the hack. If you don’t already own a round mirror for this project, the one I used is inexpensive and a great size!
This project is extra great because you really do not need many supplies, and it’s so quick and painless… those are my favorite kind of projects… wouldn’t you agree?

I decided to use E600 for my adhesive, I typically immediate gravitate to using hot glue, but I wanted something that wouldn’t set immediately in case I needed to reposition things as I went. It ended up working perfectly for this project, in the end I did need to slightly reposition the beads so I am very glad I decided to go this route.
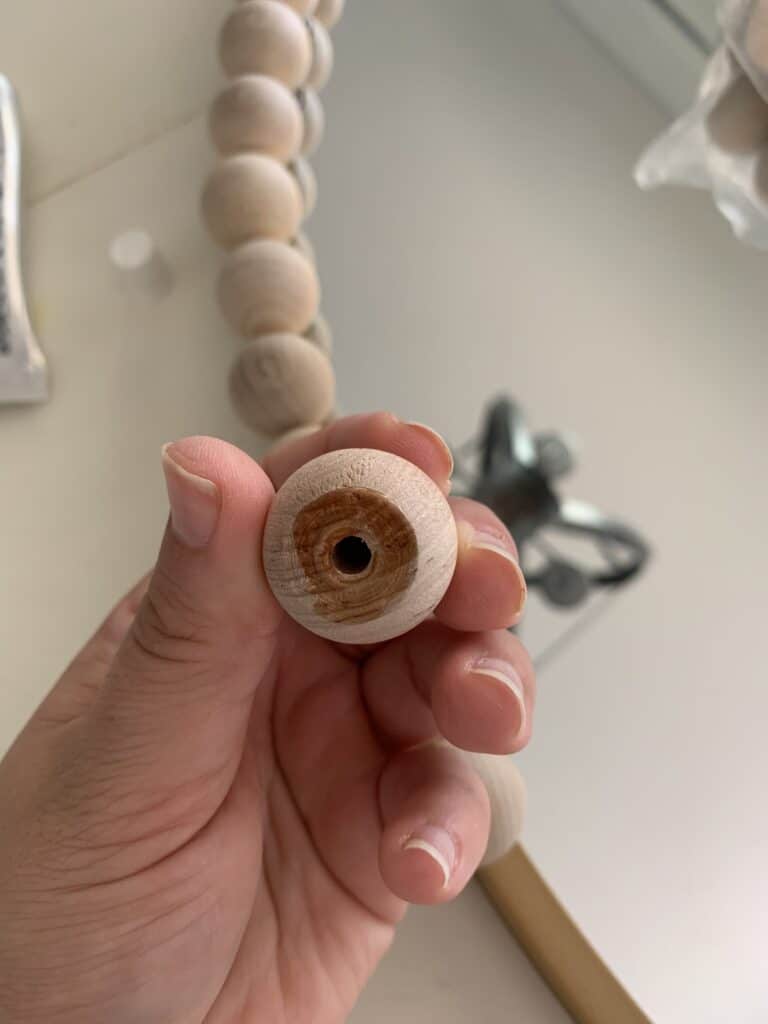
You just dab a little bit of glue on the flat side of your wooden bead, adhere it to frame, and repeat. I didn’t even use an entire package of wooden beads from Amazon for my mirror, I will link the exact one I used below.
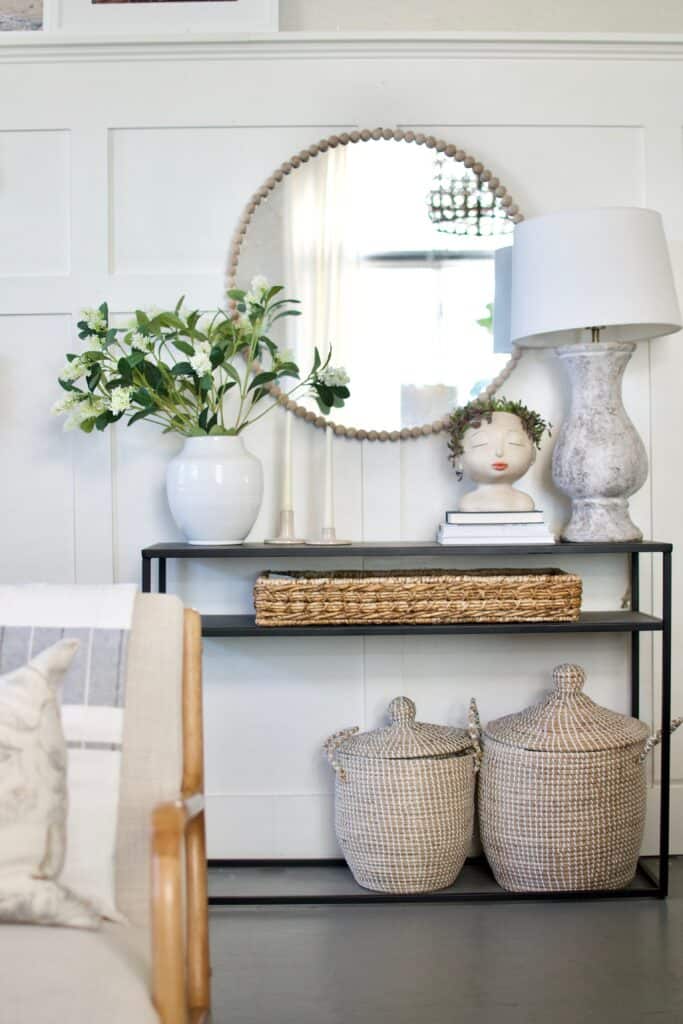
It took me about 15 minutes to apply my beads, I waited a couple hours (probably not near long enough.. but it didn’t hurt anything) then hung it up and admired my work.
You could do so much with this project, you could paint your beads white, or even a metallic would probably be amazing. I opted to keep them the natural wood tone because it worked well with what I already had going in my decor.
Supplies to recreate this project on your own:

It’s been months since I completed this project and I am still so pleased with how this project turned out. It makes me so dang happy! It had been a while since I had done a quick little craft project like this, and man it just really lights up my soul to create things.
Shop the look