 A few weeks ago I bought some awesome Christmas stockings off of Decor Steals. They are huge and amazing! Trying to be frugal, I only bought two for my kiddos. Of course a few days after the deal ended I had this fun idea to hang our stockings from my Giant chalkboard, but I needed four……dun, dun, dun. Bummer. So I decided get creative and make some coordinating stockings. I really love how they turned out!
If you are like me, interested in DIY, you can also make some DIY Christmas gifts for your family members. There are a lot of gifts you can personalise, and they are perfect for someone who you are not sure what they would like. But everyone loves a customised gift as they indicate that you put a lot of thought into making them. For example, you could make a personalised bracelet or pendant with a message on it, and then give it to the new member of the family (for instance, daughter in law or son-in-law), as a gift. You will find a lot of DIY for these online–it’s simple and easy. Anyway, here’s the tutorial for my DIY, grainsack inspired, dropcloth stockings. They were SUPER easy. Not even kidding. Anyone can make these. They were also very inexpensive, you may even have everything on hand already!
Supplies:
-A dropcloth. I already had a dropcloth from another project, but if you dont have one already you can buy one in the paint section of your local hardware store. Mine is from Home Depot.
-A stocking you like the shape of or a pattern of a stocking you like. I’ve seen some free patterns on pinterest.
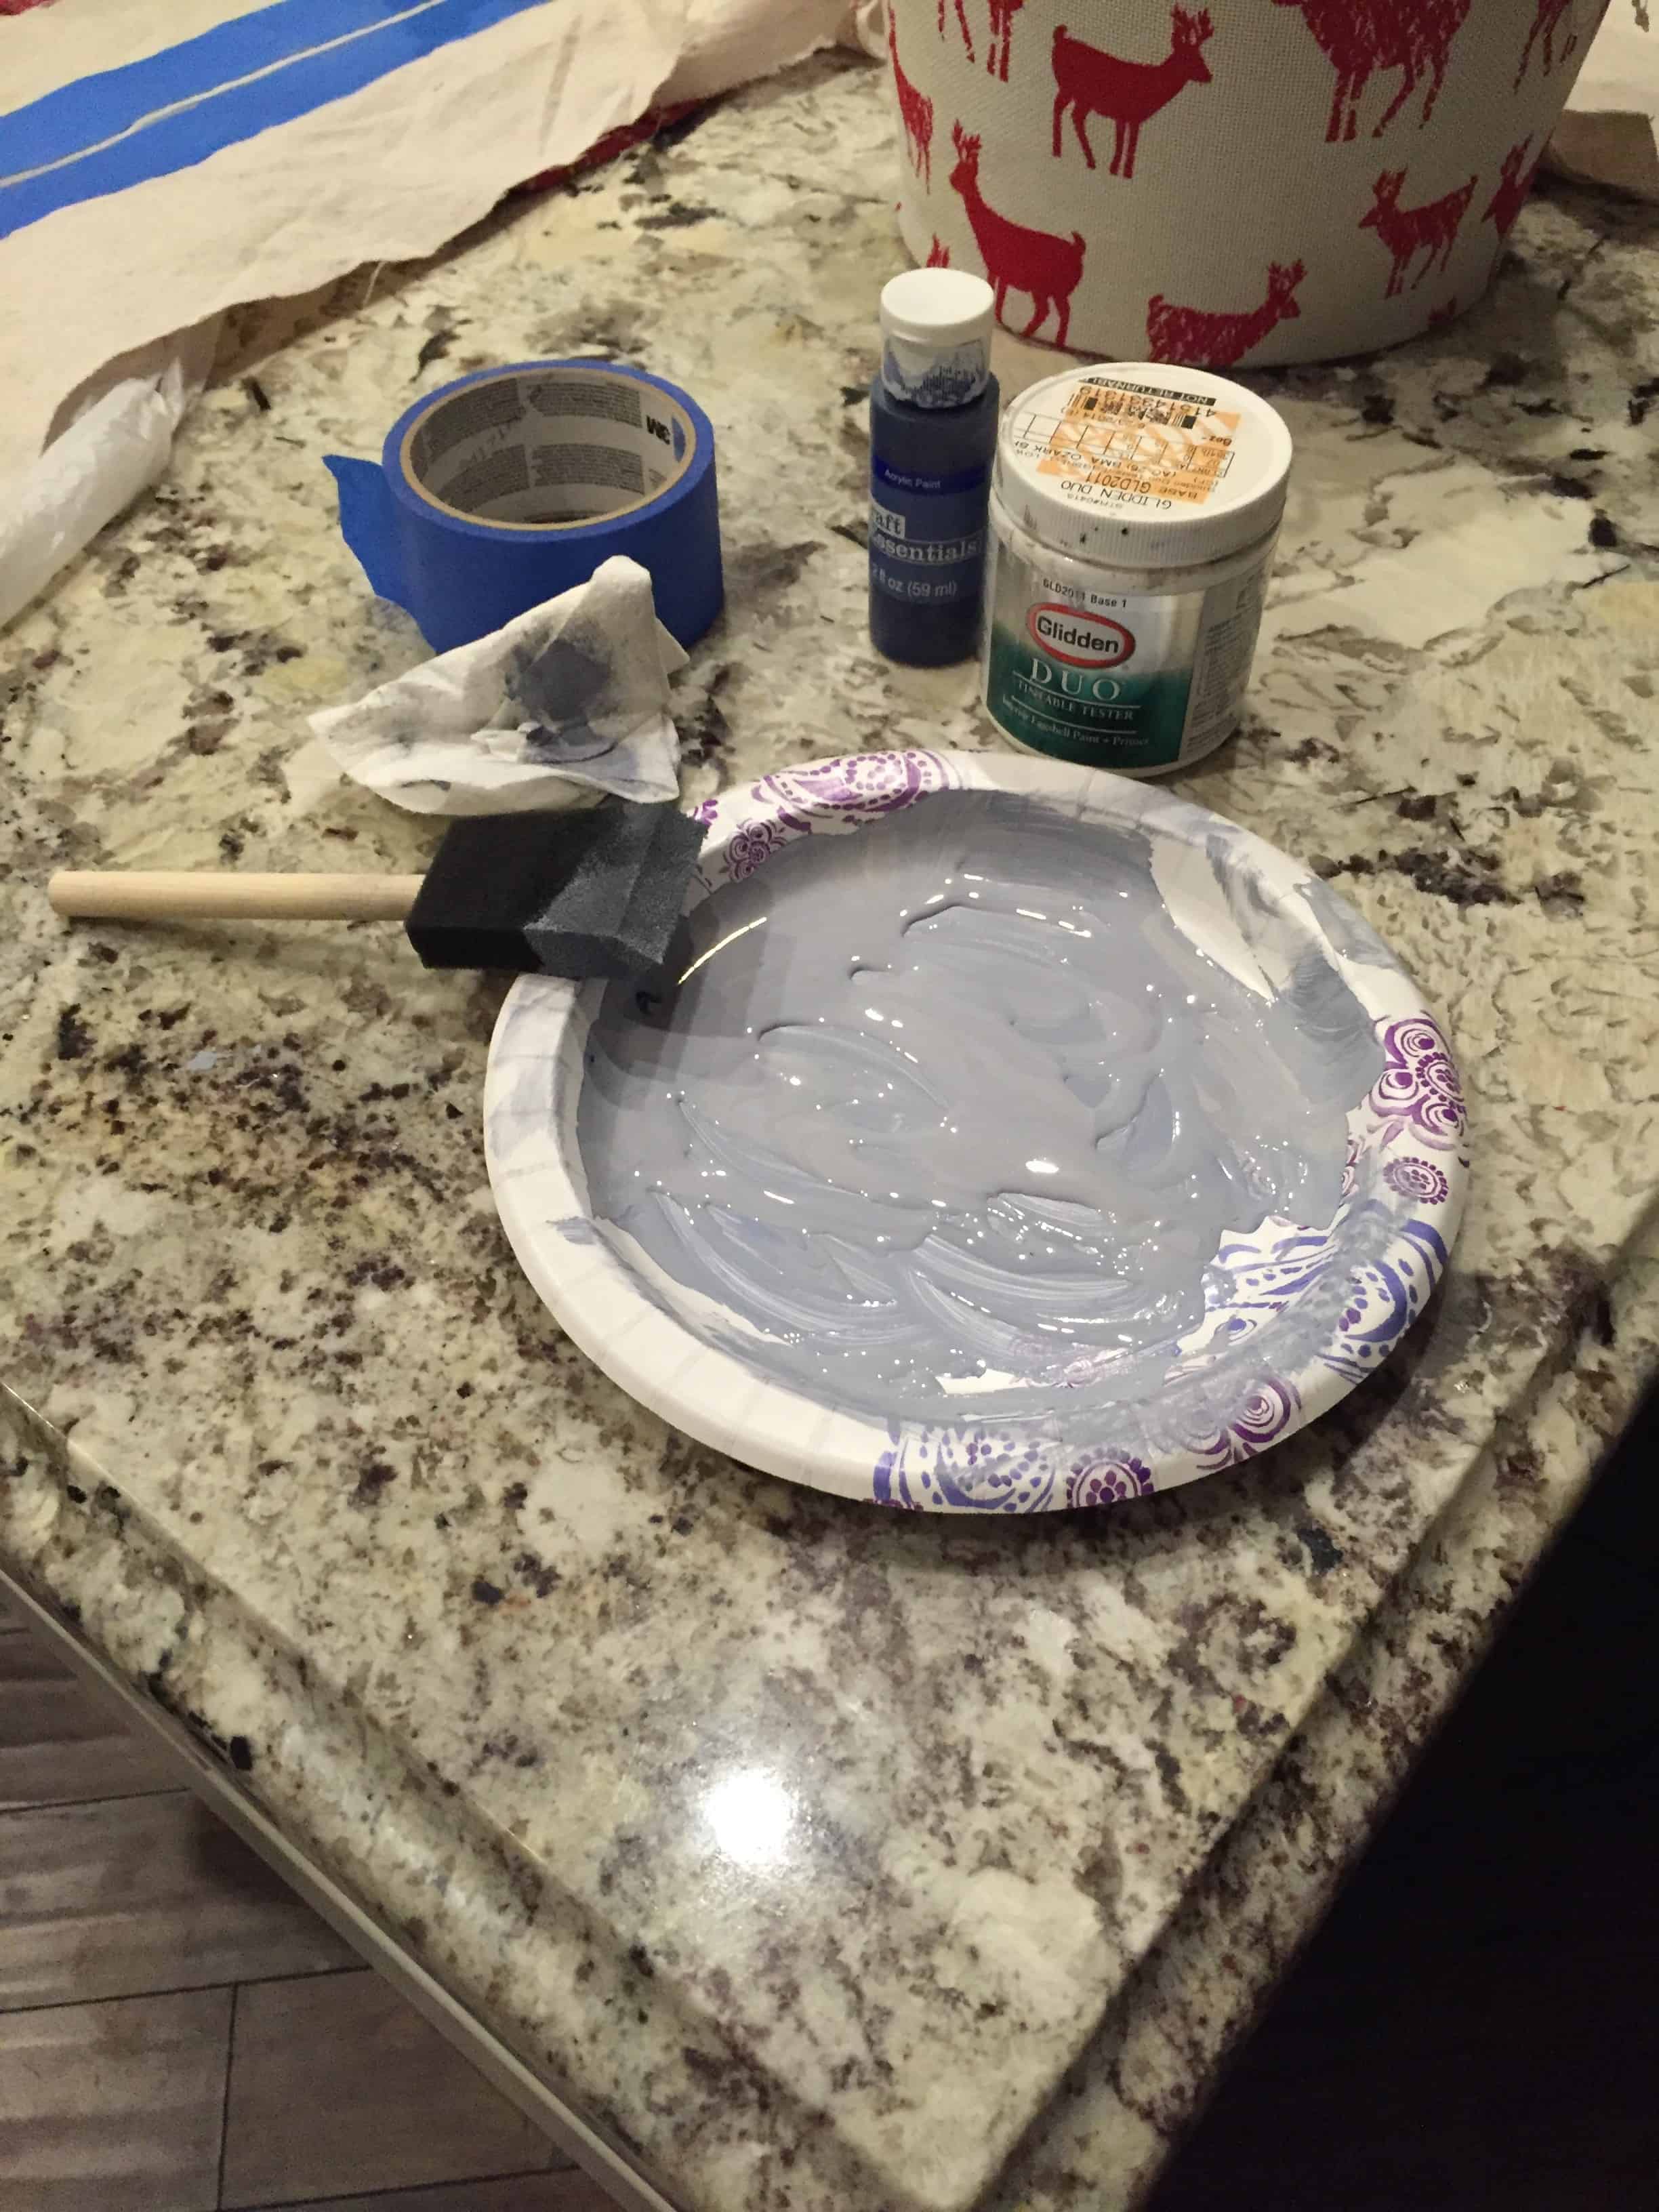
-Paint. I mixed some blue acrylic I had with some sample dark gray latex paint to get the color i wanted. Pretty much any paint will suffice.
-A foam brush. I used foam because that’s what i found first but i’m sure any brush will work.
– Painters tape
-Tea bags, if you decide to tea stain them.
-Sewing machine, or you could hand sew them or use that seam tape stuff if that’s easier for you.
Directions
- Wash and dry your dropcloth so it won’t shrink later
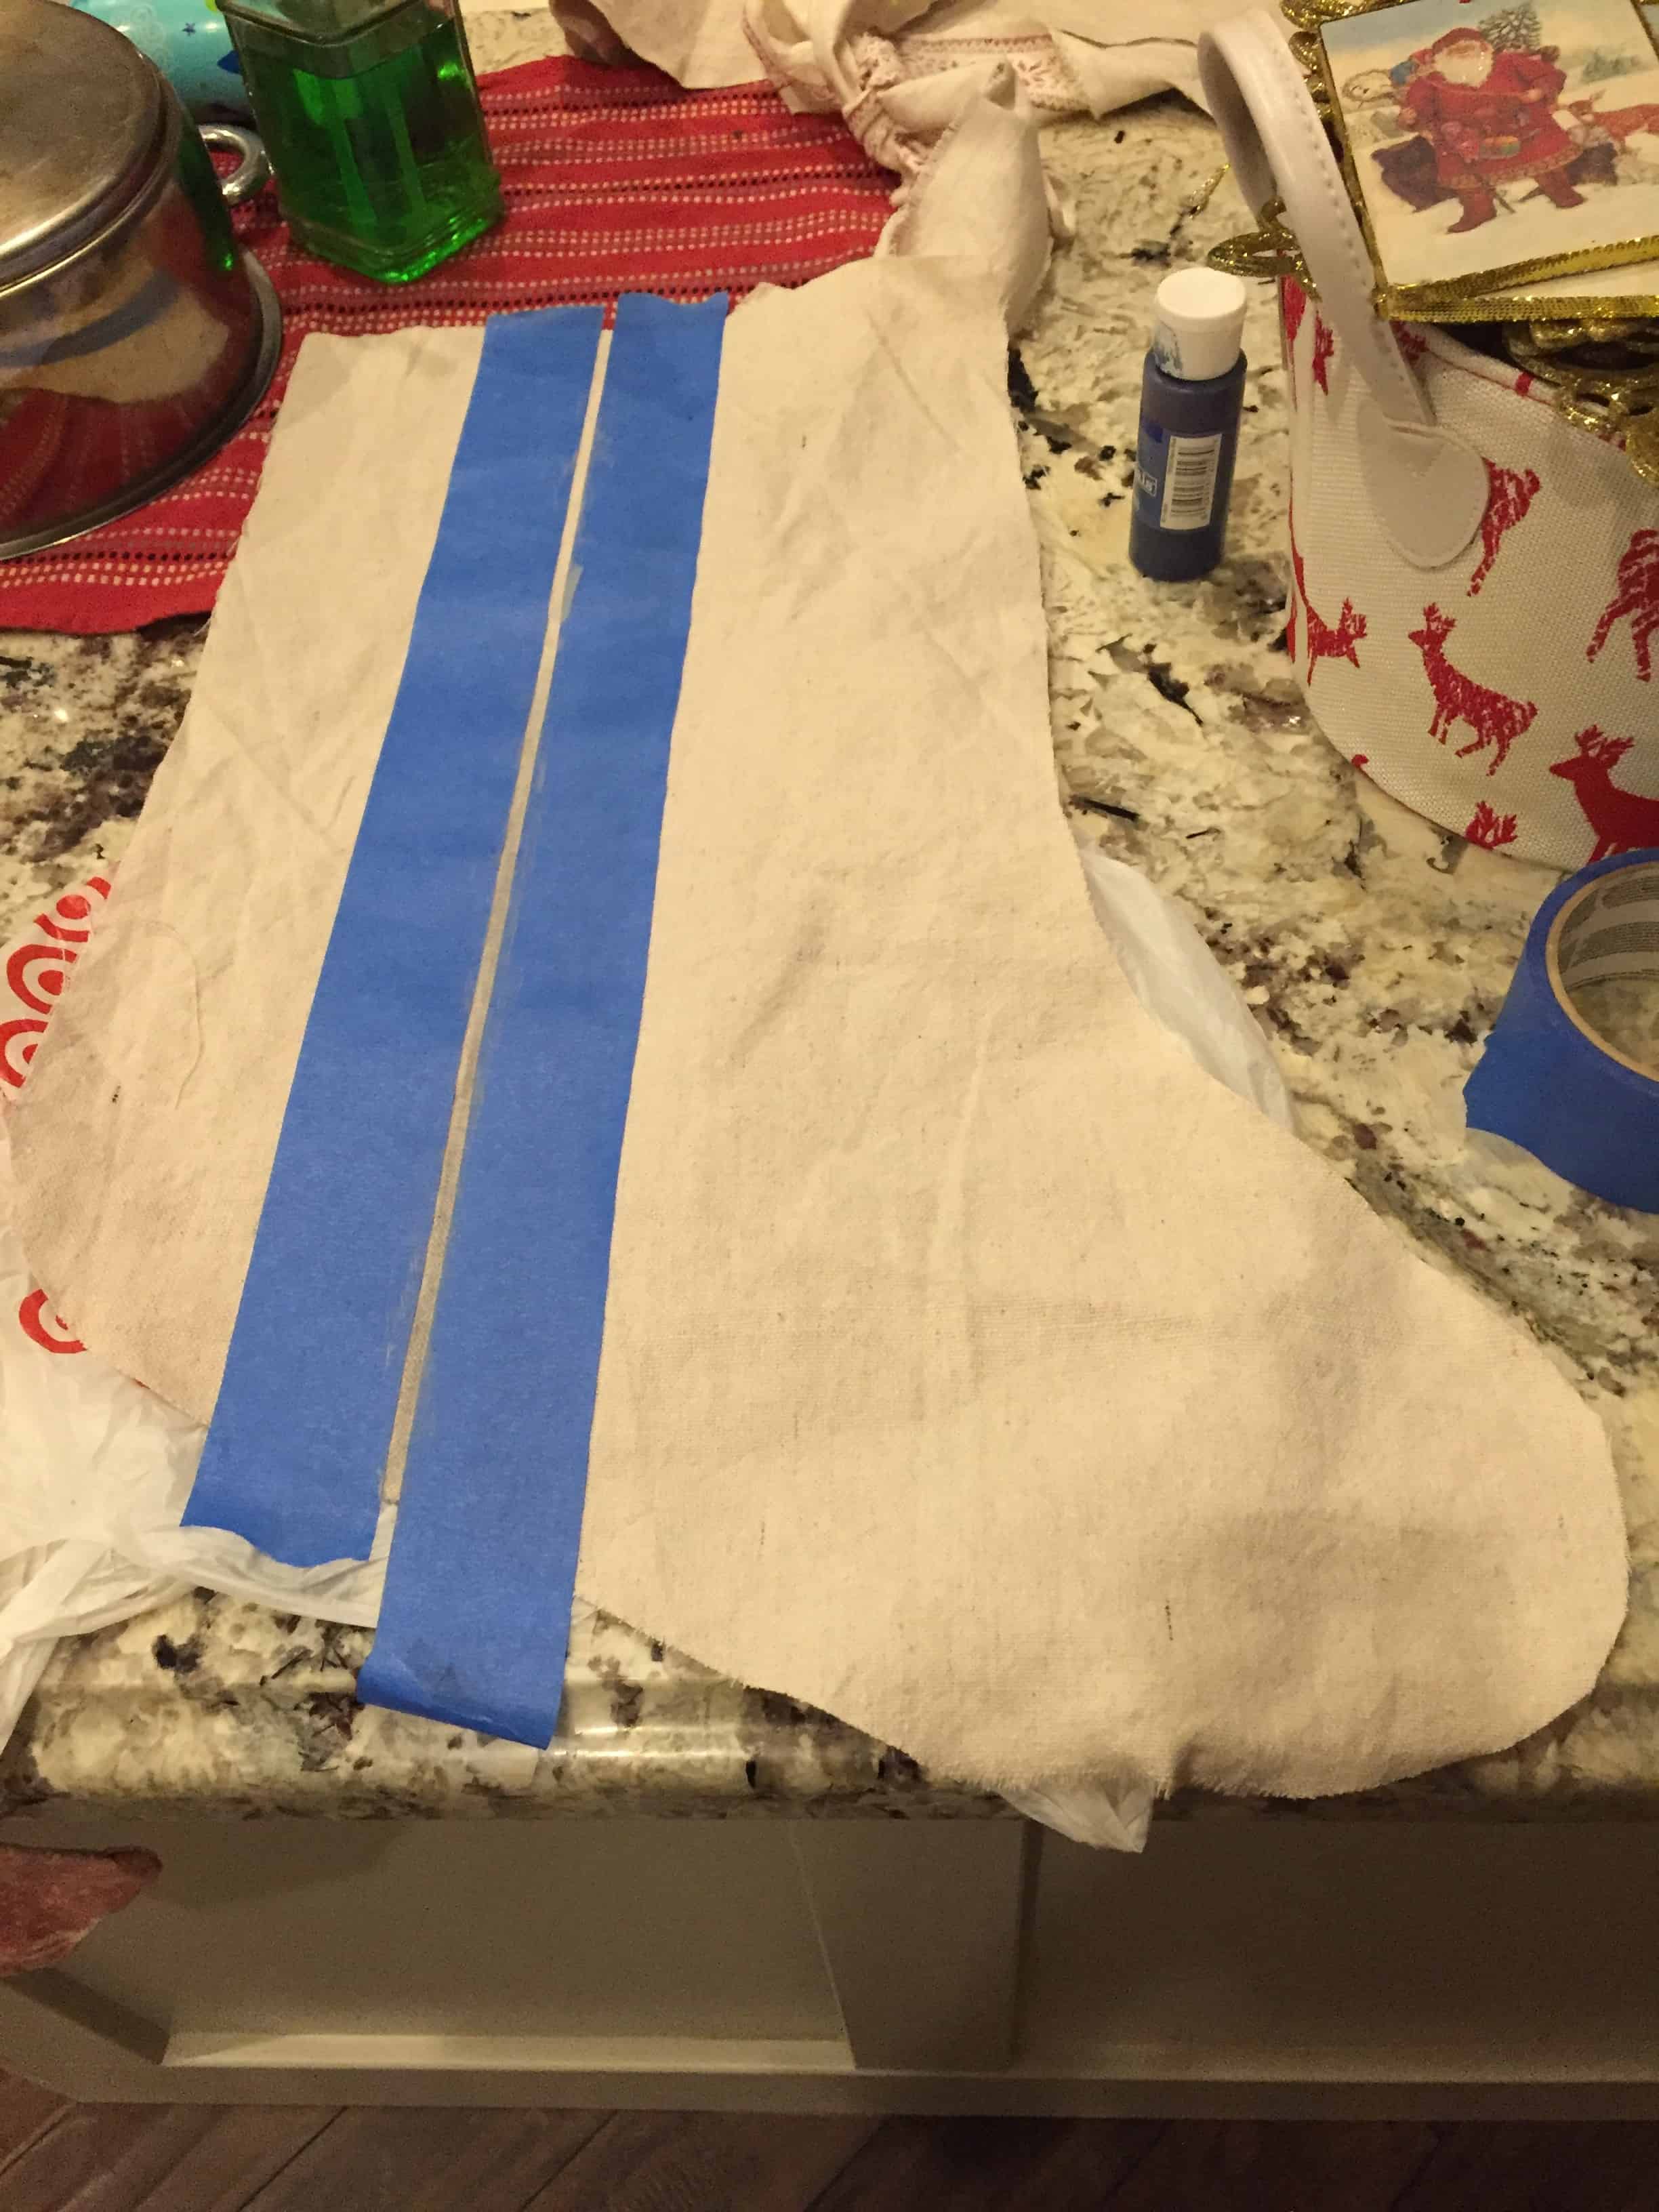
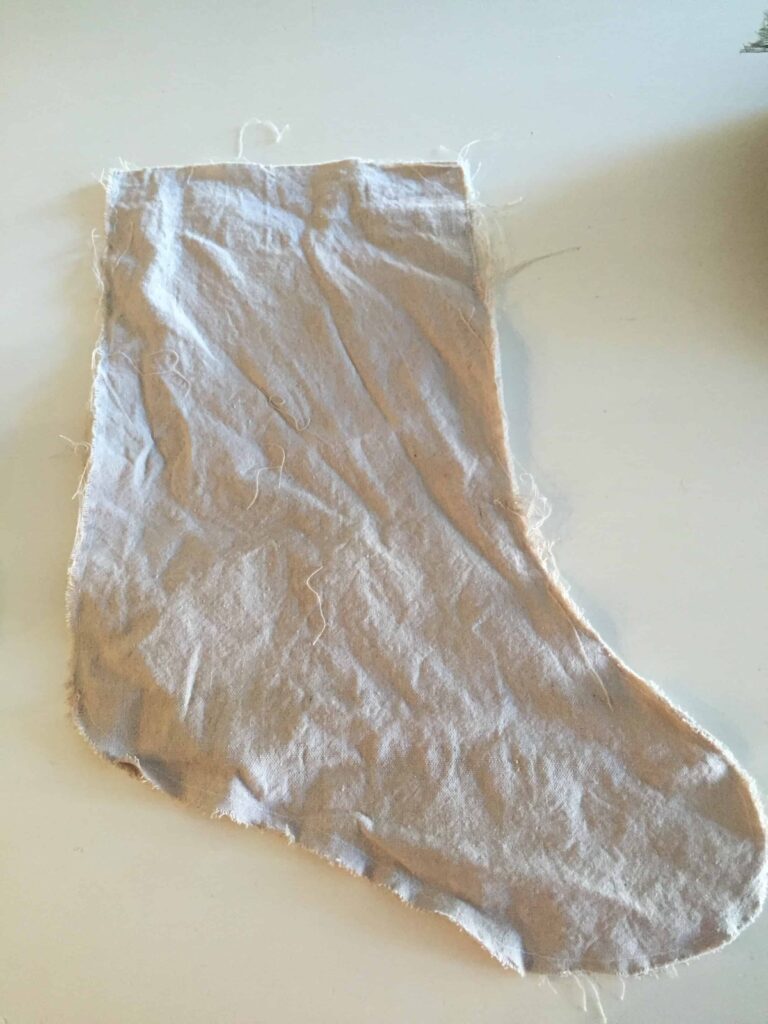
- After it’s dry lay it out and trace your stocking pattern. I wanted mine the same size as the decor steals stockings I bought so I used those for a pattern.
- Cut out your pieces. You will need a front and back so two pieces per stocking.
- Decide where you want your stripes and tape them with painters tape

- Dump some paint on a plate and get a teeny tiny bit on your brush. You can dab your brush back off with a paper towel too. You just want it very dry to give it the worn affect.

- Lightly brush your paint on the stripes you have taped off. You can do more or less depending on how worn you want it to look. Then pull the tape off.
- At this point you would move onto the sewing portion. However, I realized my dropcloth was quite a bit lighter than my other stockings so I decided to tea stain them. If you don’t want to tea stain, skip to step 11.
- Brew some very strong tea. I used three tea bags and filled my pot of water up about 1/4 of the way. Once the tea boiled a while and got really dark, I filled my pot up the rest of the way with water and took it off the heat. Get your stockings pieces (fabric) wet. This helps the fabric take the stain. Make sure the whole thing is wet, wring the water out then put it in your tea mixture.
- I let mine sit for about an hour. Turning the fabric occasionally. You can let is sit longer or less time depending on how dark you want it. Keep in mind it will lighten slightly once you rinse it out.
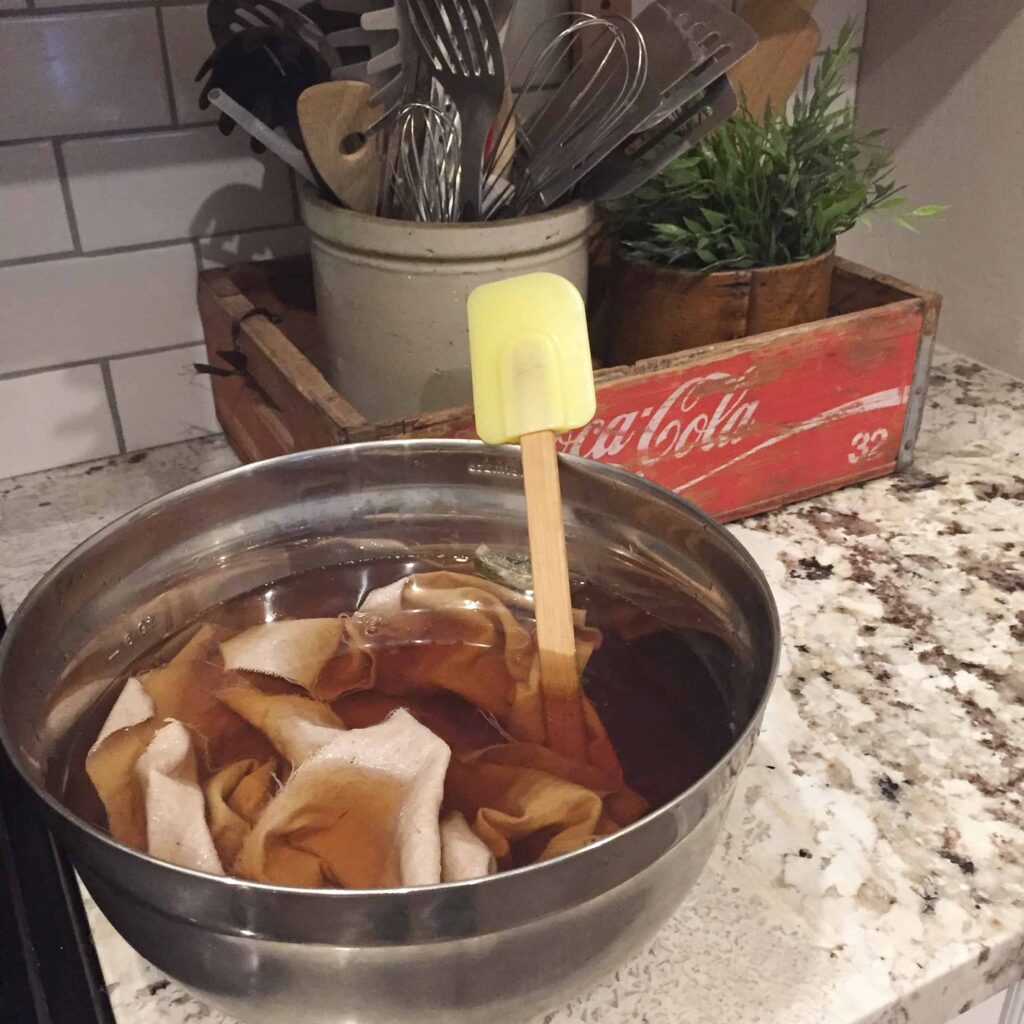
- When the fabric is the color you want it, take it out and rinse it. Then throw it in the dryer.
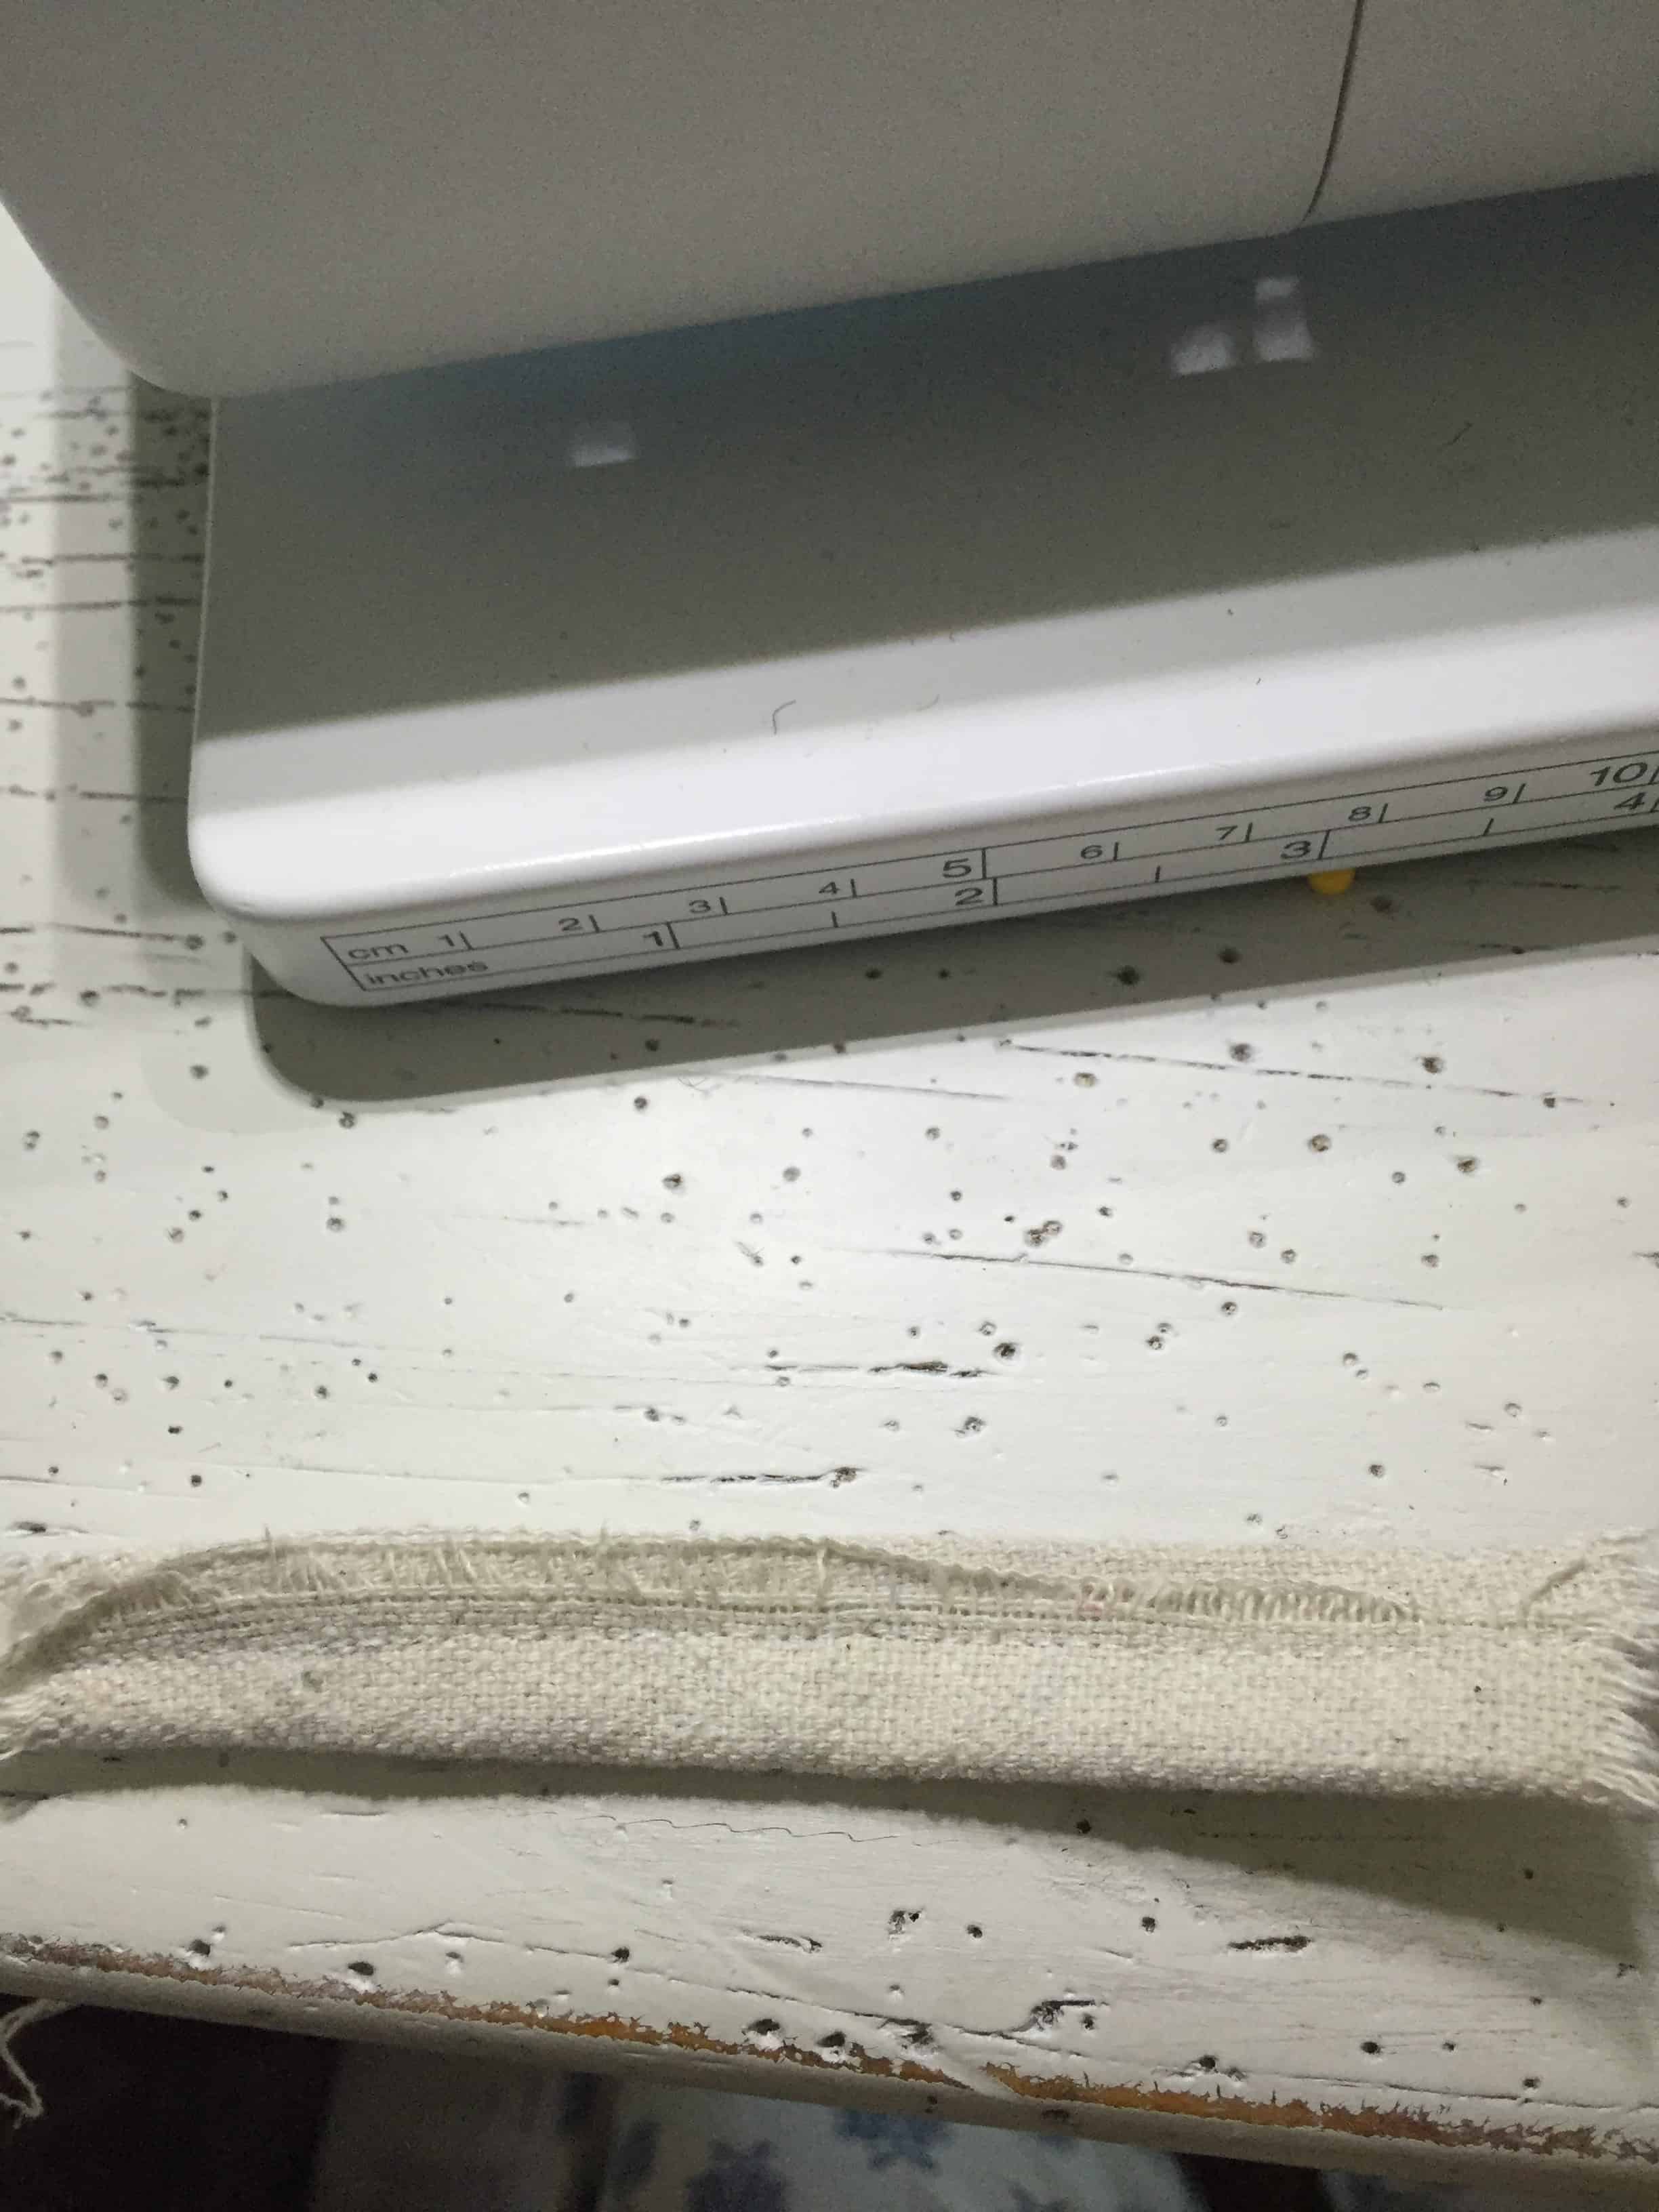
- Now you are ready to sew! Place your front and back piece together, right sides together. So your stripes will be on the inside, you won’t see them.
- Sew around your stocking, leaving the top open.
- Now you’ll hem the top of your stocking. I folded mine over once, then again so you don’t see the fraying ends aka a rolled hem
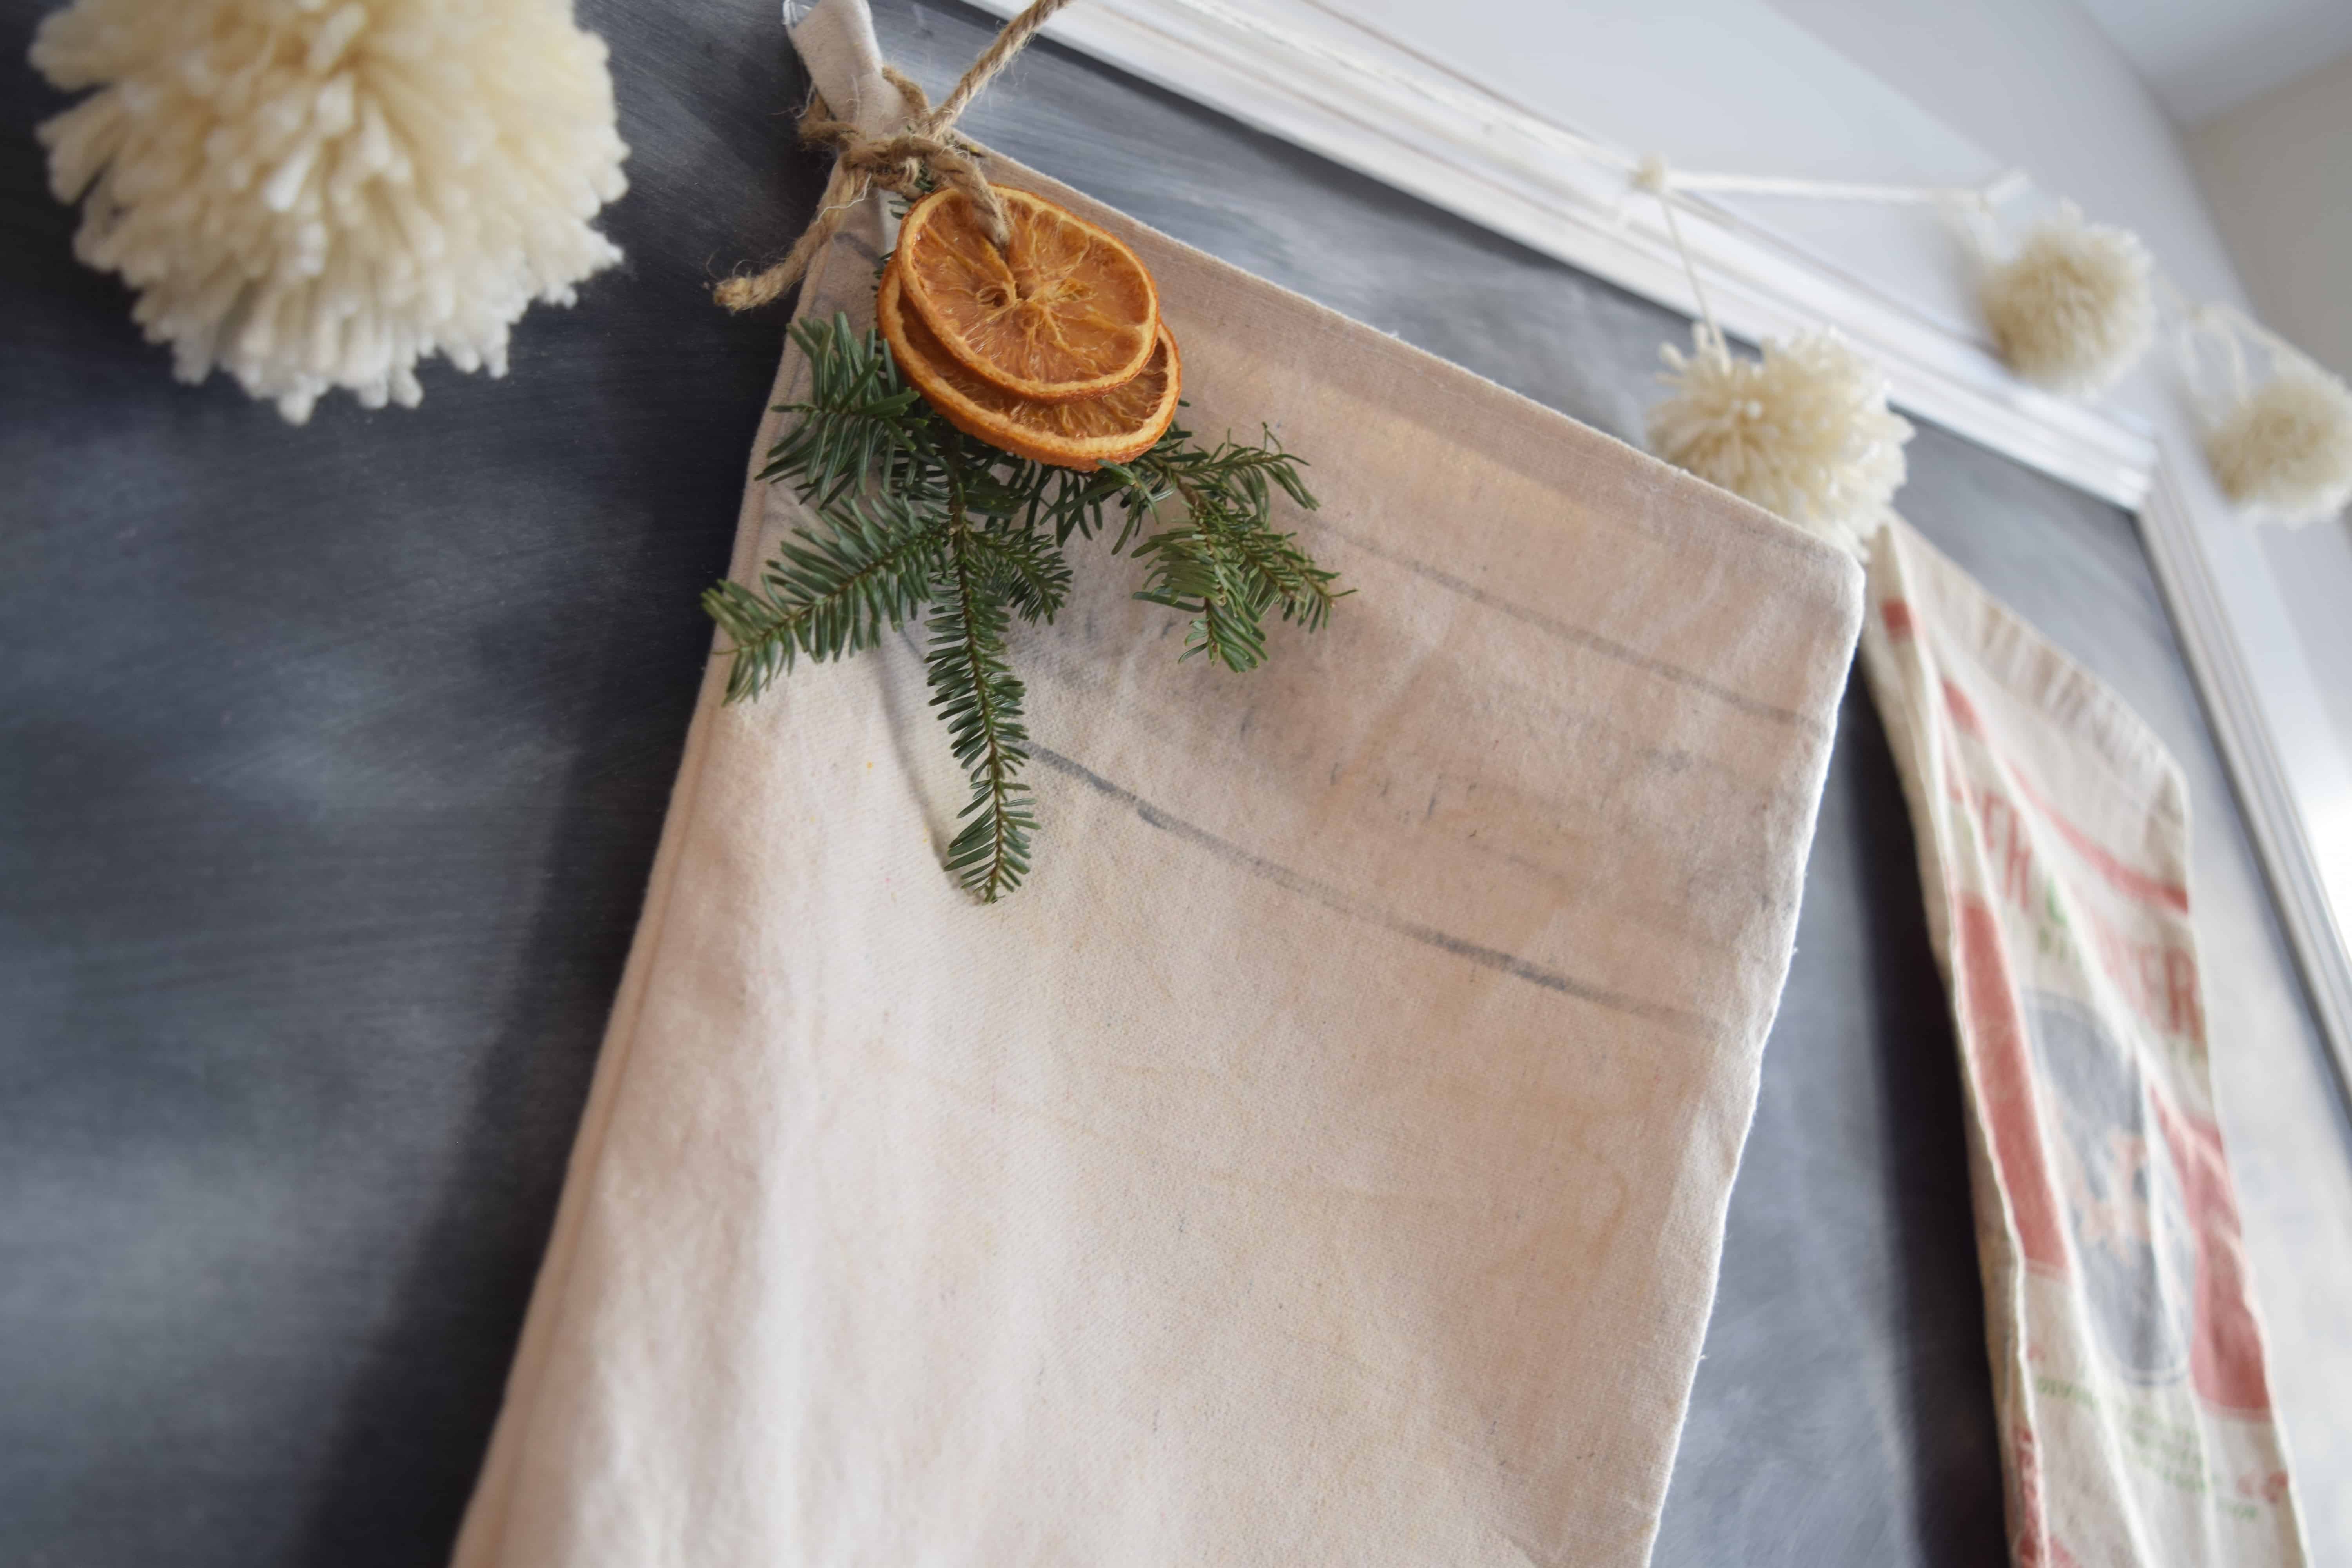
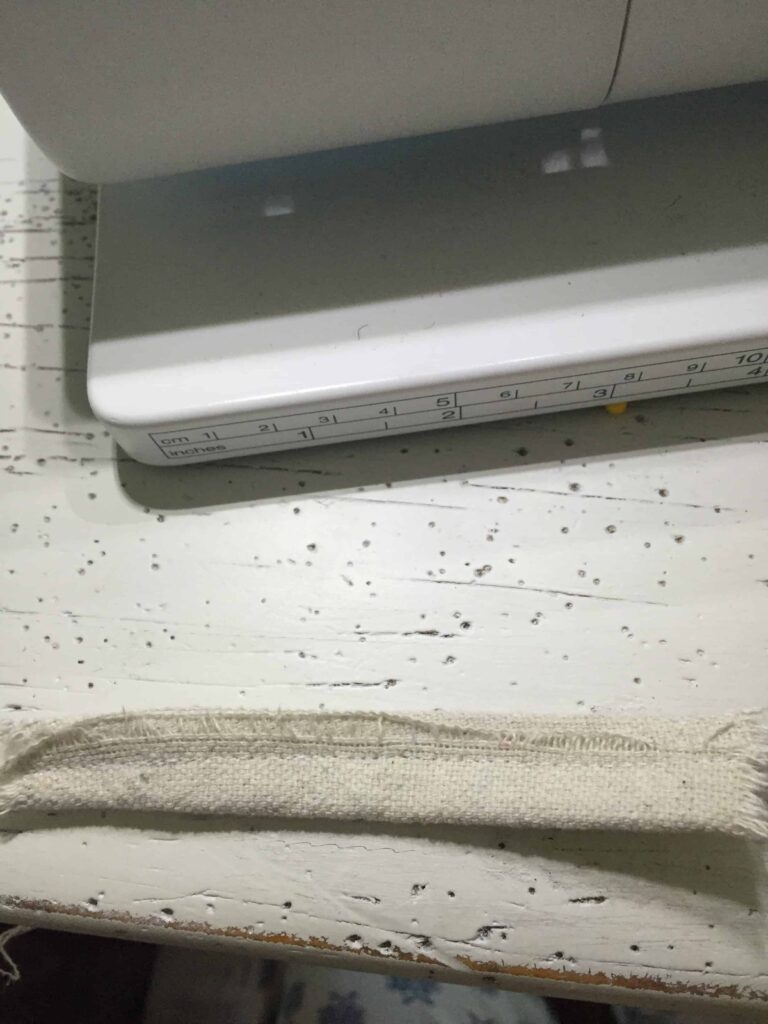
- If you want to hang them you can add a tab to the side. I made a little tab out of drop cloth, you could also use ribbon. Make a long string and bring the two ends together and sew to the inside of the stocking.
- Turn right side out, trim any extra strings, iron if its wrinkled and you’re done!
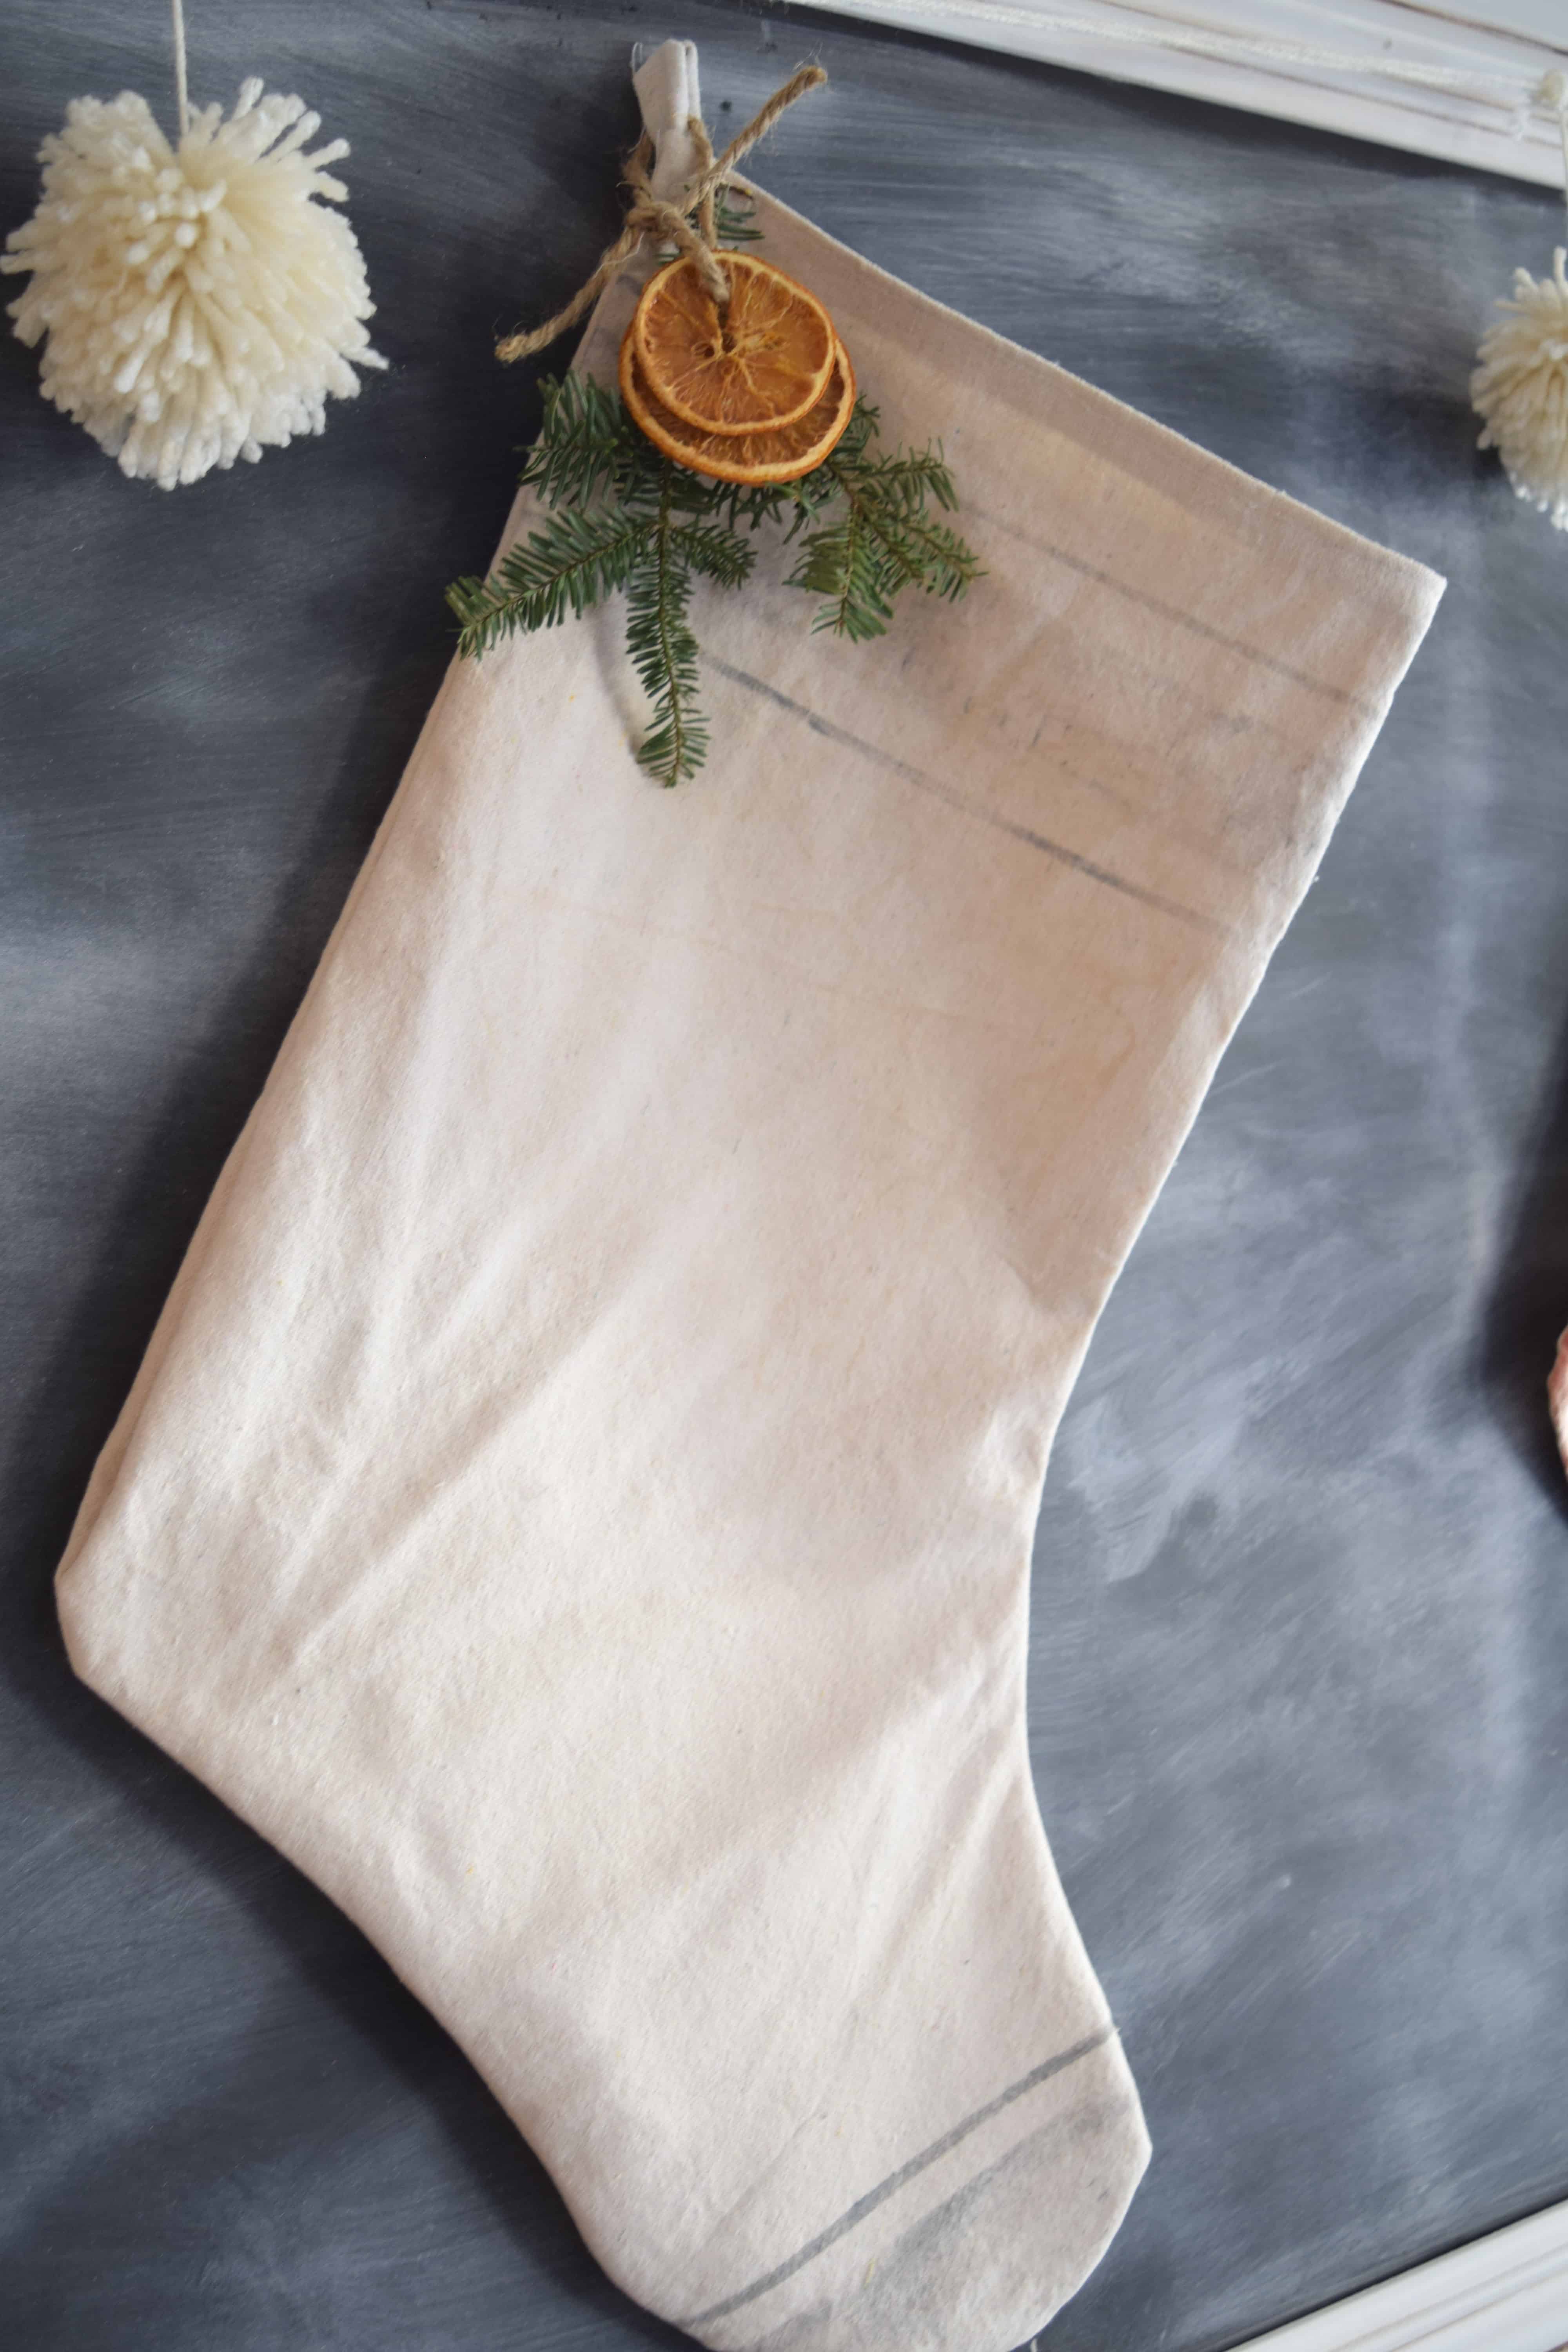
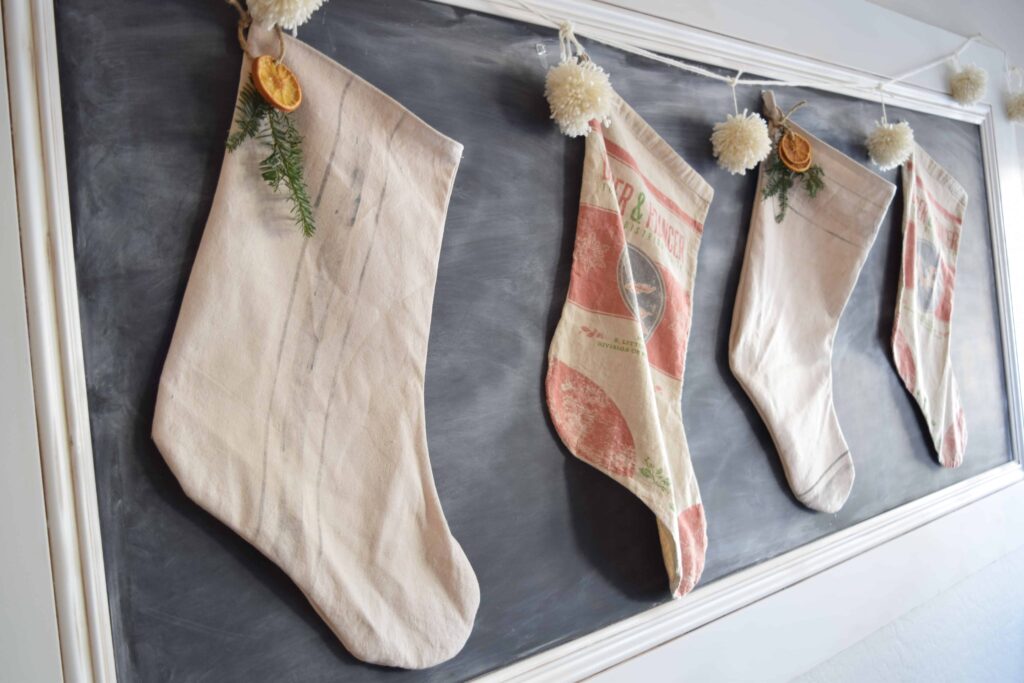 I added a few dried orange slices and evergreen sprigs and love how it all came together!