
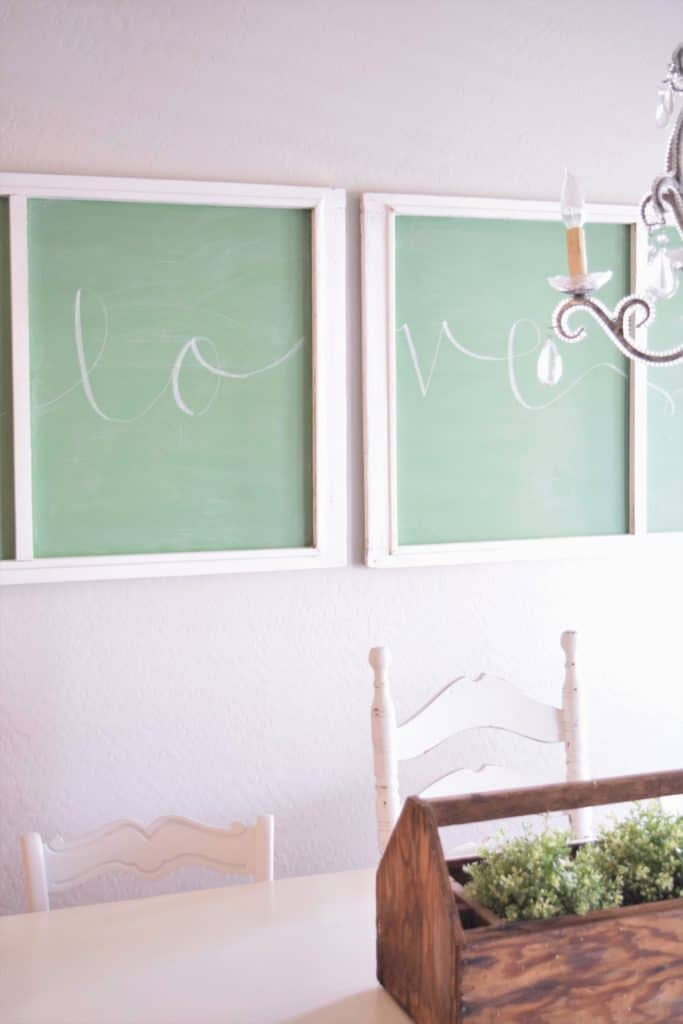
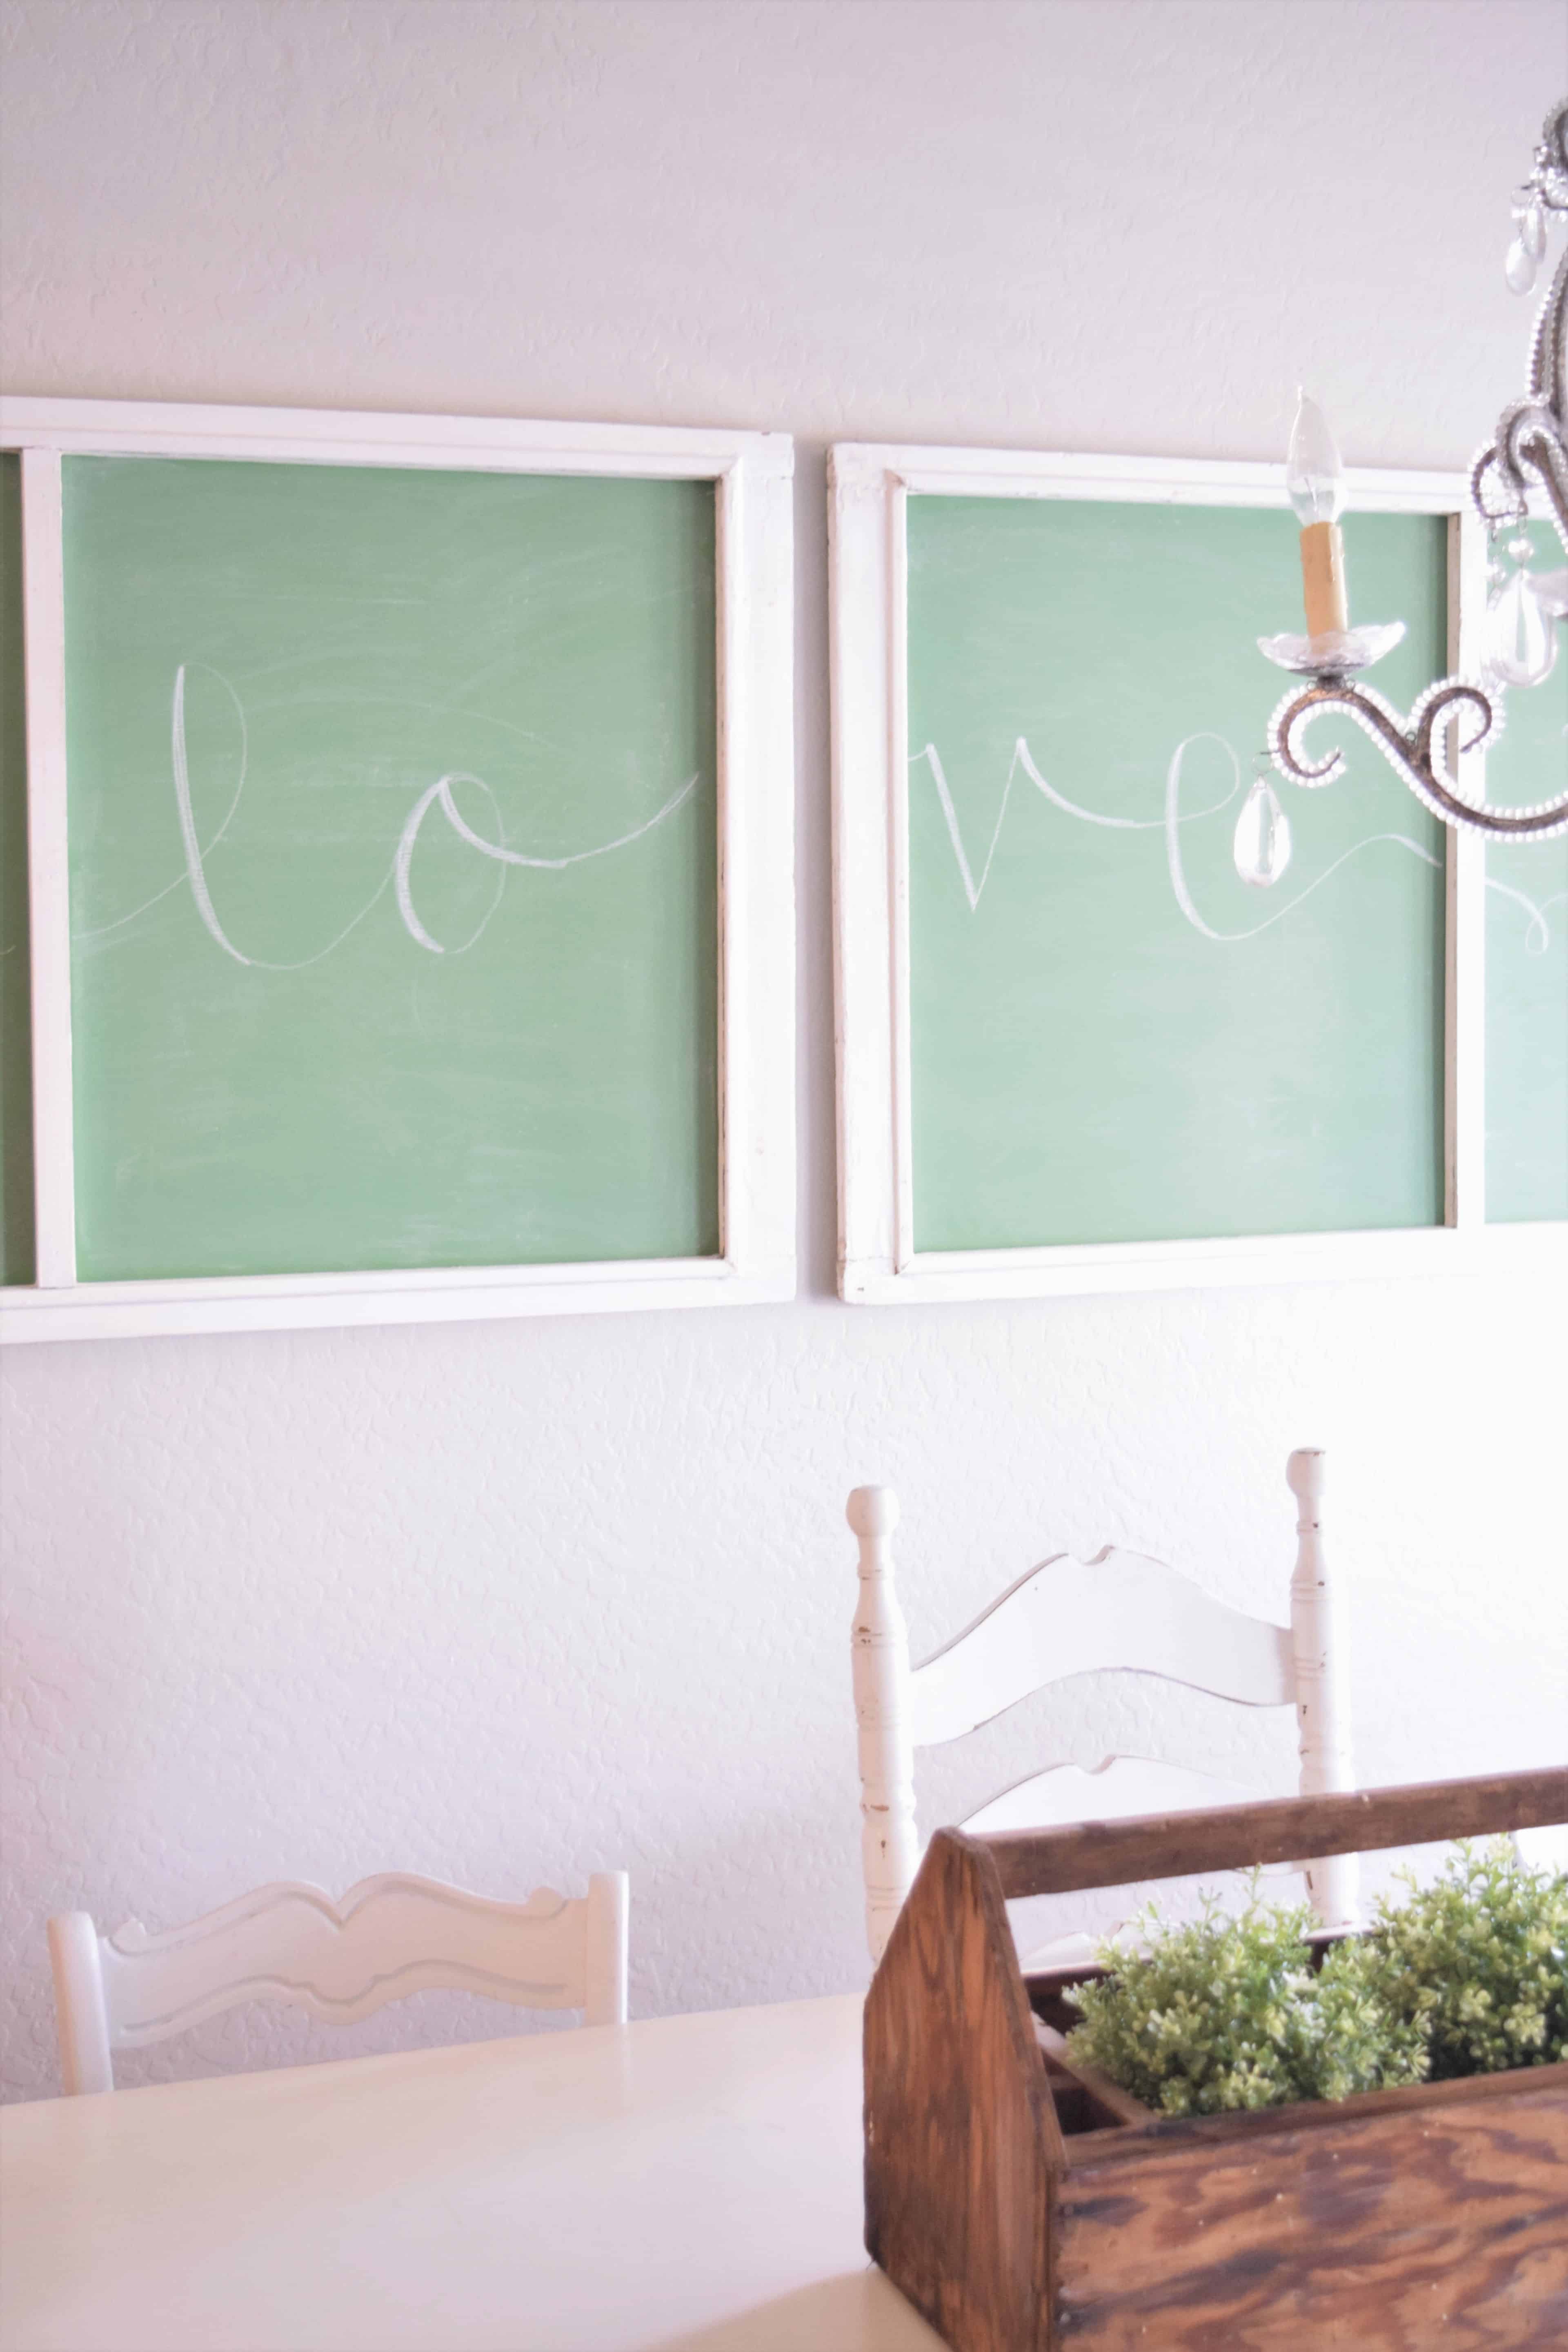
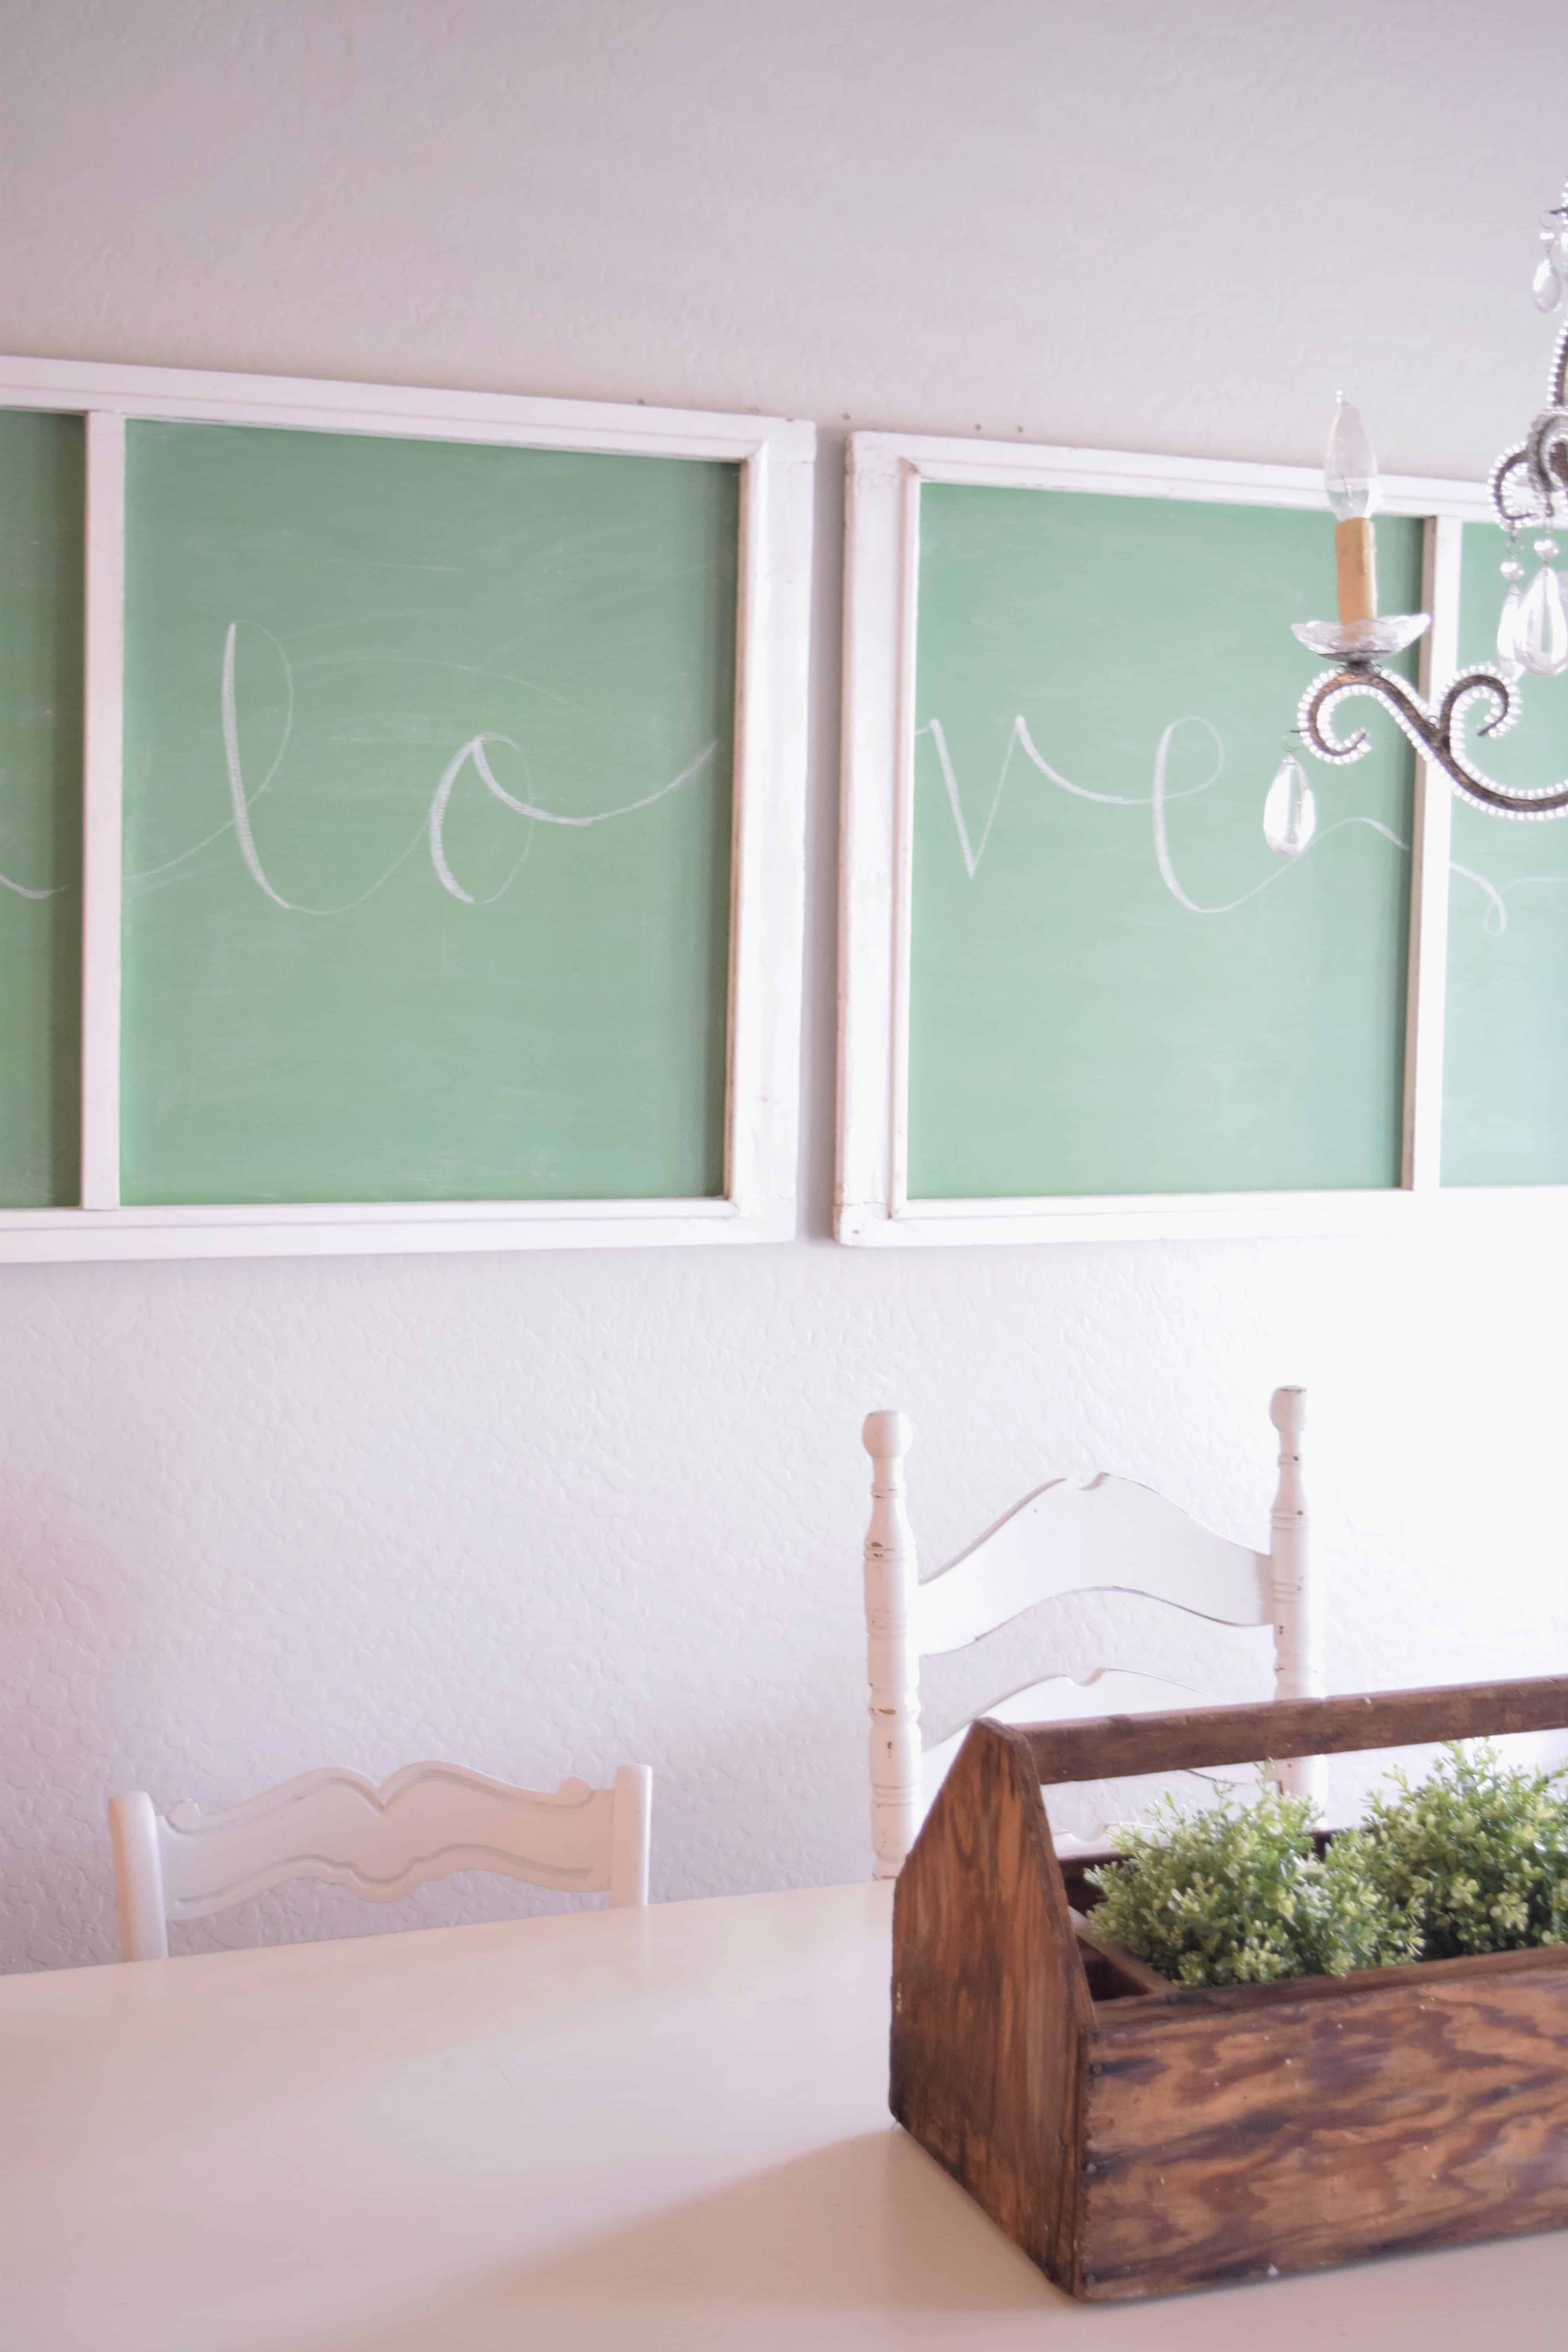
 I have been dying to make a green chalkboard for my dining room ever since I saw an adorable one used on an episode of Fixer Upper. My husband found it completely unnecessary to replace the one I already made, but I NEEDED it! I had originally planned to do something a little different until Jenna found two amazing screens! They were only asking $20 for the pair so I had her snag them and figured we would put them to use somewhere! We decided they were the perfect solution to my green chalkboard desire. So here is how we made them:
Materials
-A frame. If you are looking to produce the picture to various posters size, then identifying the right frame is important. It can be an old picture frame, window, screen etc…
– Backing for your chalkboard. My favorite material to use for chalkboards is backer board or melamine. You can get it at home depot or Lowes in super thin 4’x8′ sheets. The melamine is white on one side and kind of a brown/ particle board looking on the other. The backer board is brown on both sides. It is so smooth and makes a great chalkboard finish. Plus this stuff is super thin so it’s light which is nice when you are hanging something big like this.
-Chalkboard paint. We got ours at Lowes but home depot has it as well. If you are doing black instead of green I would highly suggest using the kind in the spray can, it is SO easy! We have yet to find green chalkboard paint in a spray can though. Lowes has a ton of greens you can have them tint the paint to and you can often find a lowes promo code to save you money on your purchase. We went with La Fonda Plaza Green.
-Paint brush or roller
-Chalk
-Nail gun/ nails
- Clean out your frame if it has a screen or glass in it. I had to cut the screen out but it was super easy.
- You can have the hardware store cut down your backer board to the dimensions you need or use a table saw if you have one.
- Make sure the surface of your board is clean and start painting. You can use a paint brush or a roller. I’ve done both. The roller seemed to take more coats but the coats went on quicker. Either way works 🙂

- Once your paint is dry, lay the board on top of your frame and nail it into the back. if you don’t have a nail gun, never fear! Your can use a plain old hammer and finishing nails.

- Add some saw-tooth hangers to the back, or use a french cleat if its REALLY heavy
- Season your chalkboard. You do this by running the chalk on its side up and down vertically then horizontally. After you cover the whole thing you can go back with a soft cloth and rub it in circles to get the excess chalk off or use an eraser.


Chalkboards are super easy projects that quickly add character and make a fun statement in your home! What do you think? Are you jumping on the GREEN chalkboard train?