

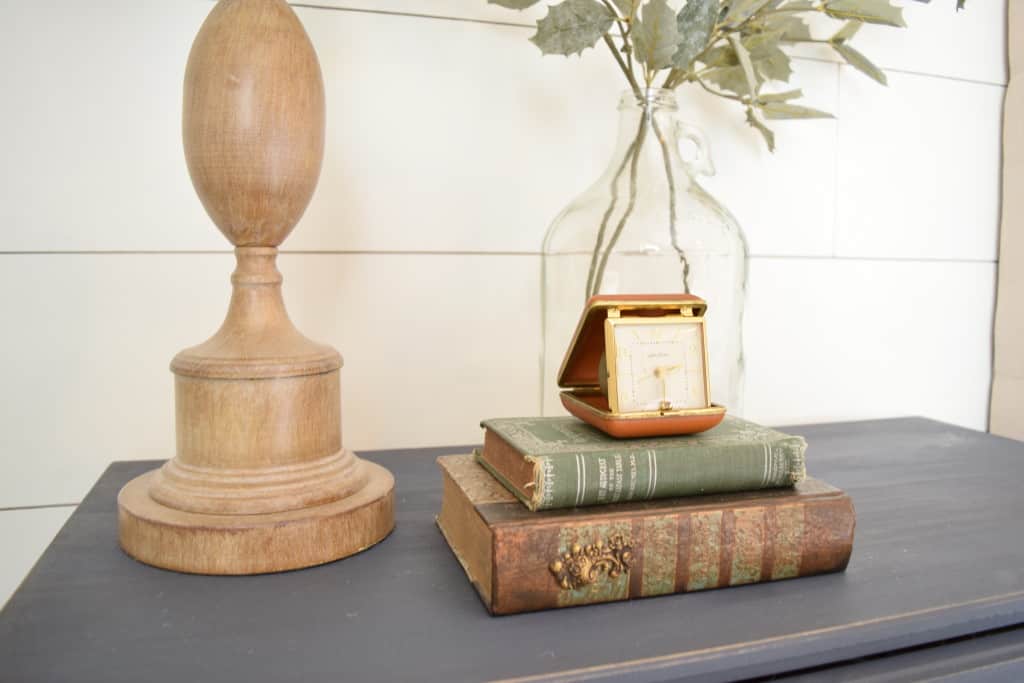
When we started our master bedroom renovation, it was hard to imagine what it would look like once completed. For a while, the room looked more like a building site than a bedroom and it was hard to imagine it ever become a pristine, cosy, and liveable space. However, we have now completed all of the big work and we are down to the finishing touches. We love how it looks, but our only regret is that we didn’t change the electrics. We currently have one pendant in the room and only two sockets. I wish we had contacted an electrician in spokane to get a price for adding some extra sockets and another pendant to brighten up the room. Hindsight is a wonderful thing, isn’t it? Nevertheless, we are still very happy with it and we think the white walls help to brighten it up, even without the extra pendant
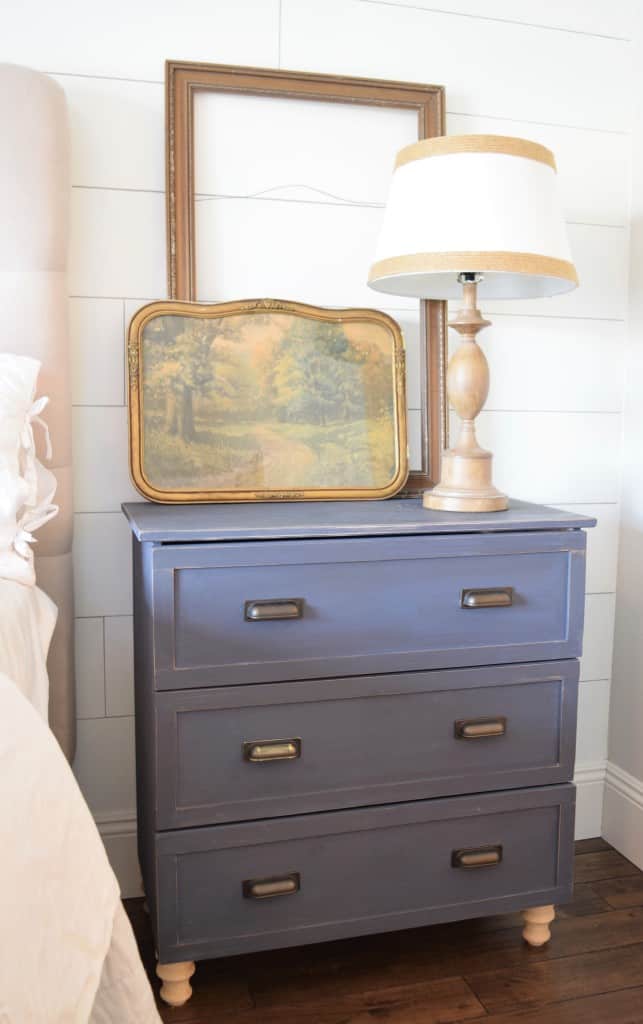
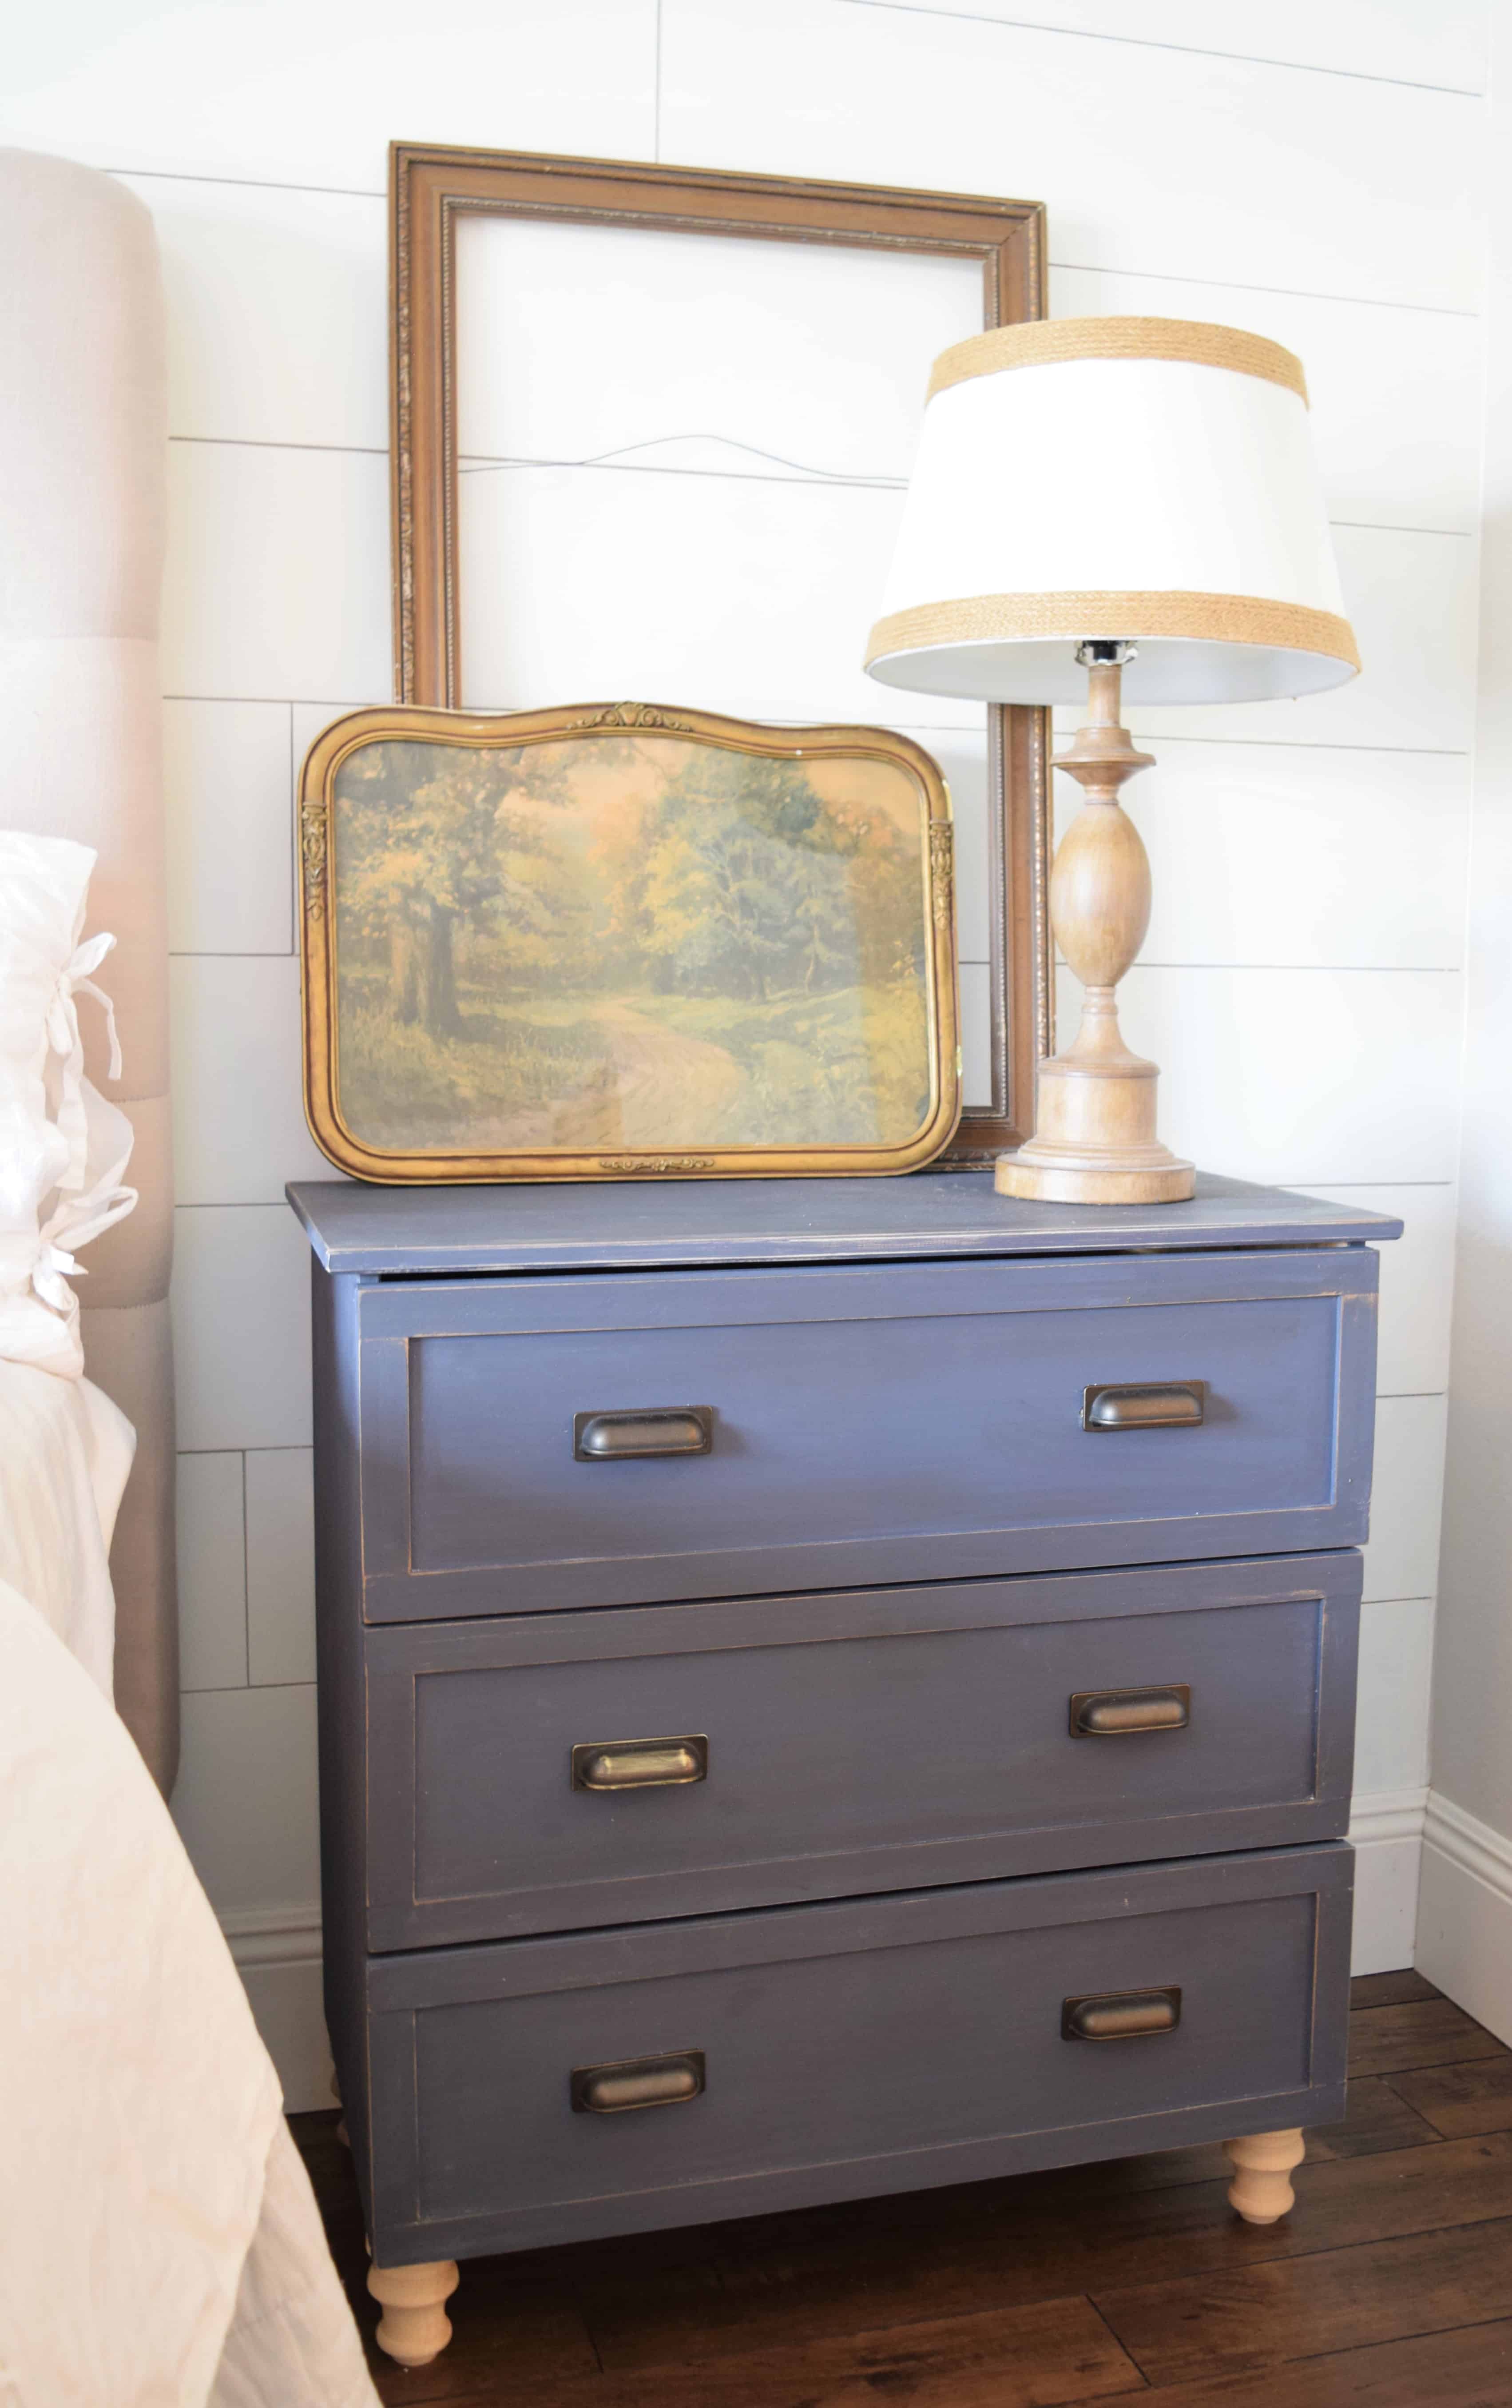
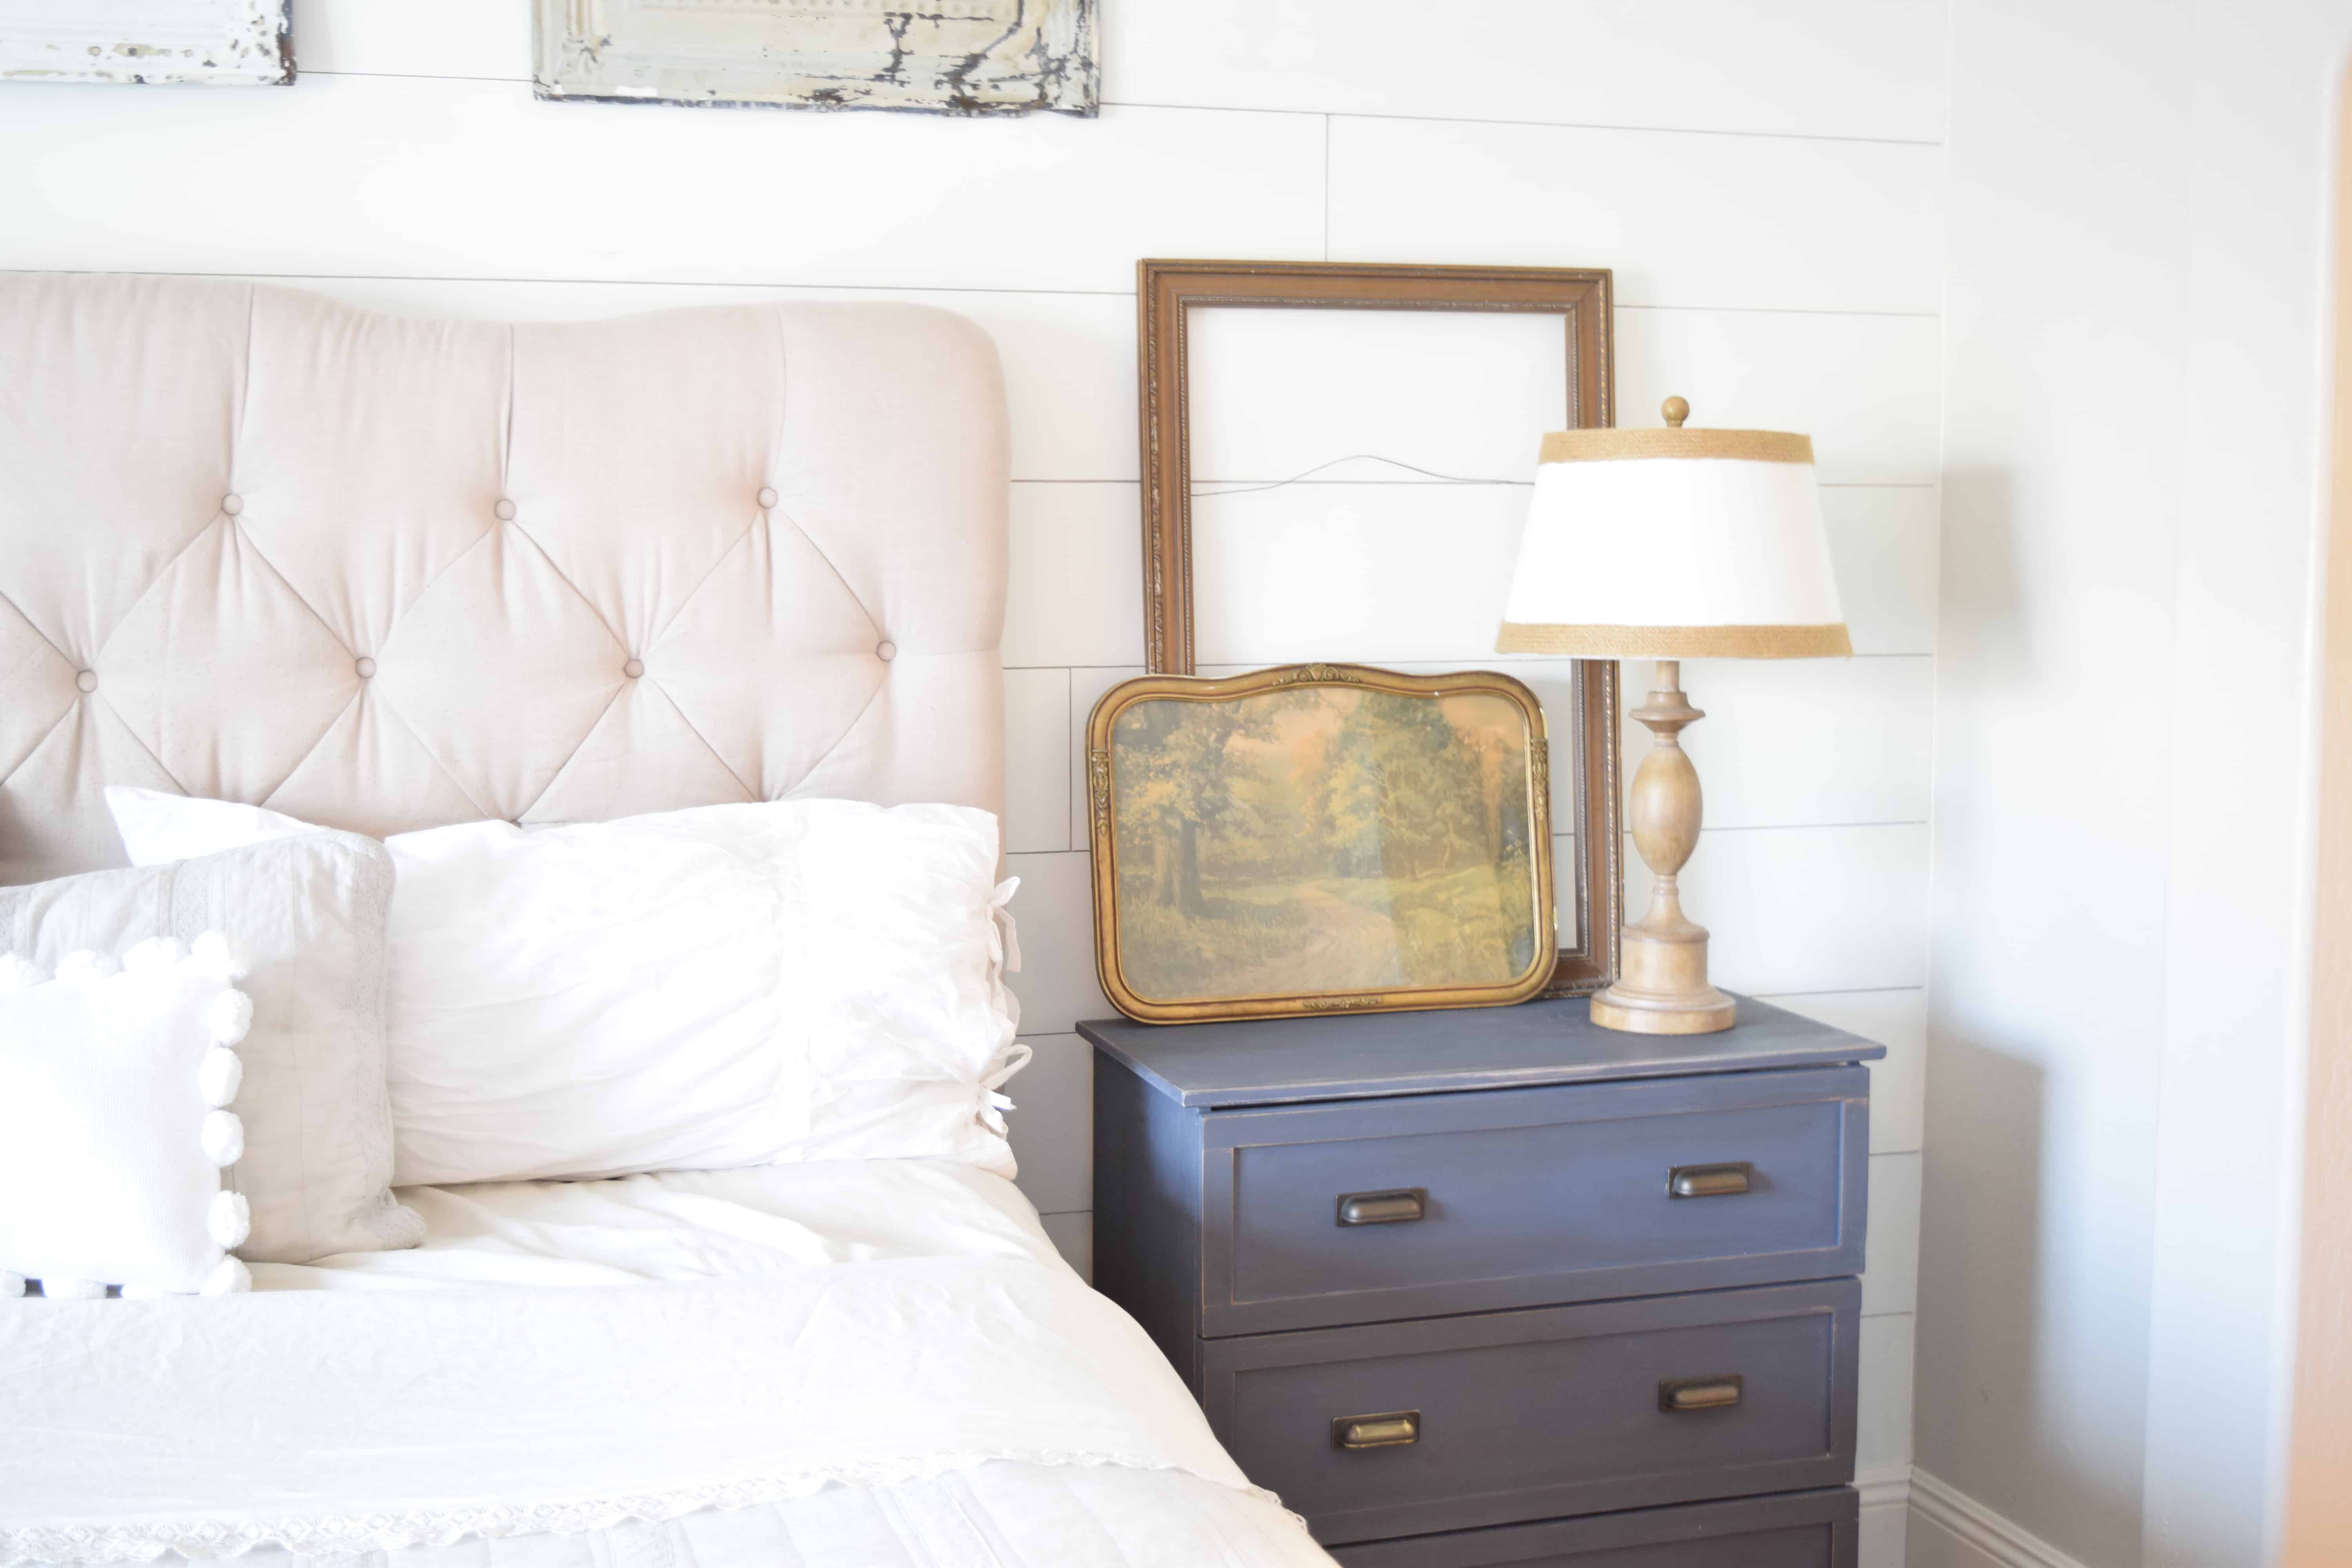
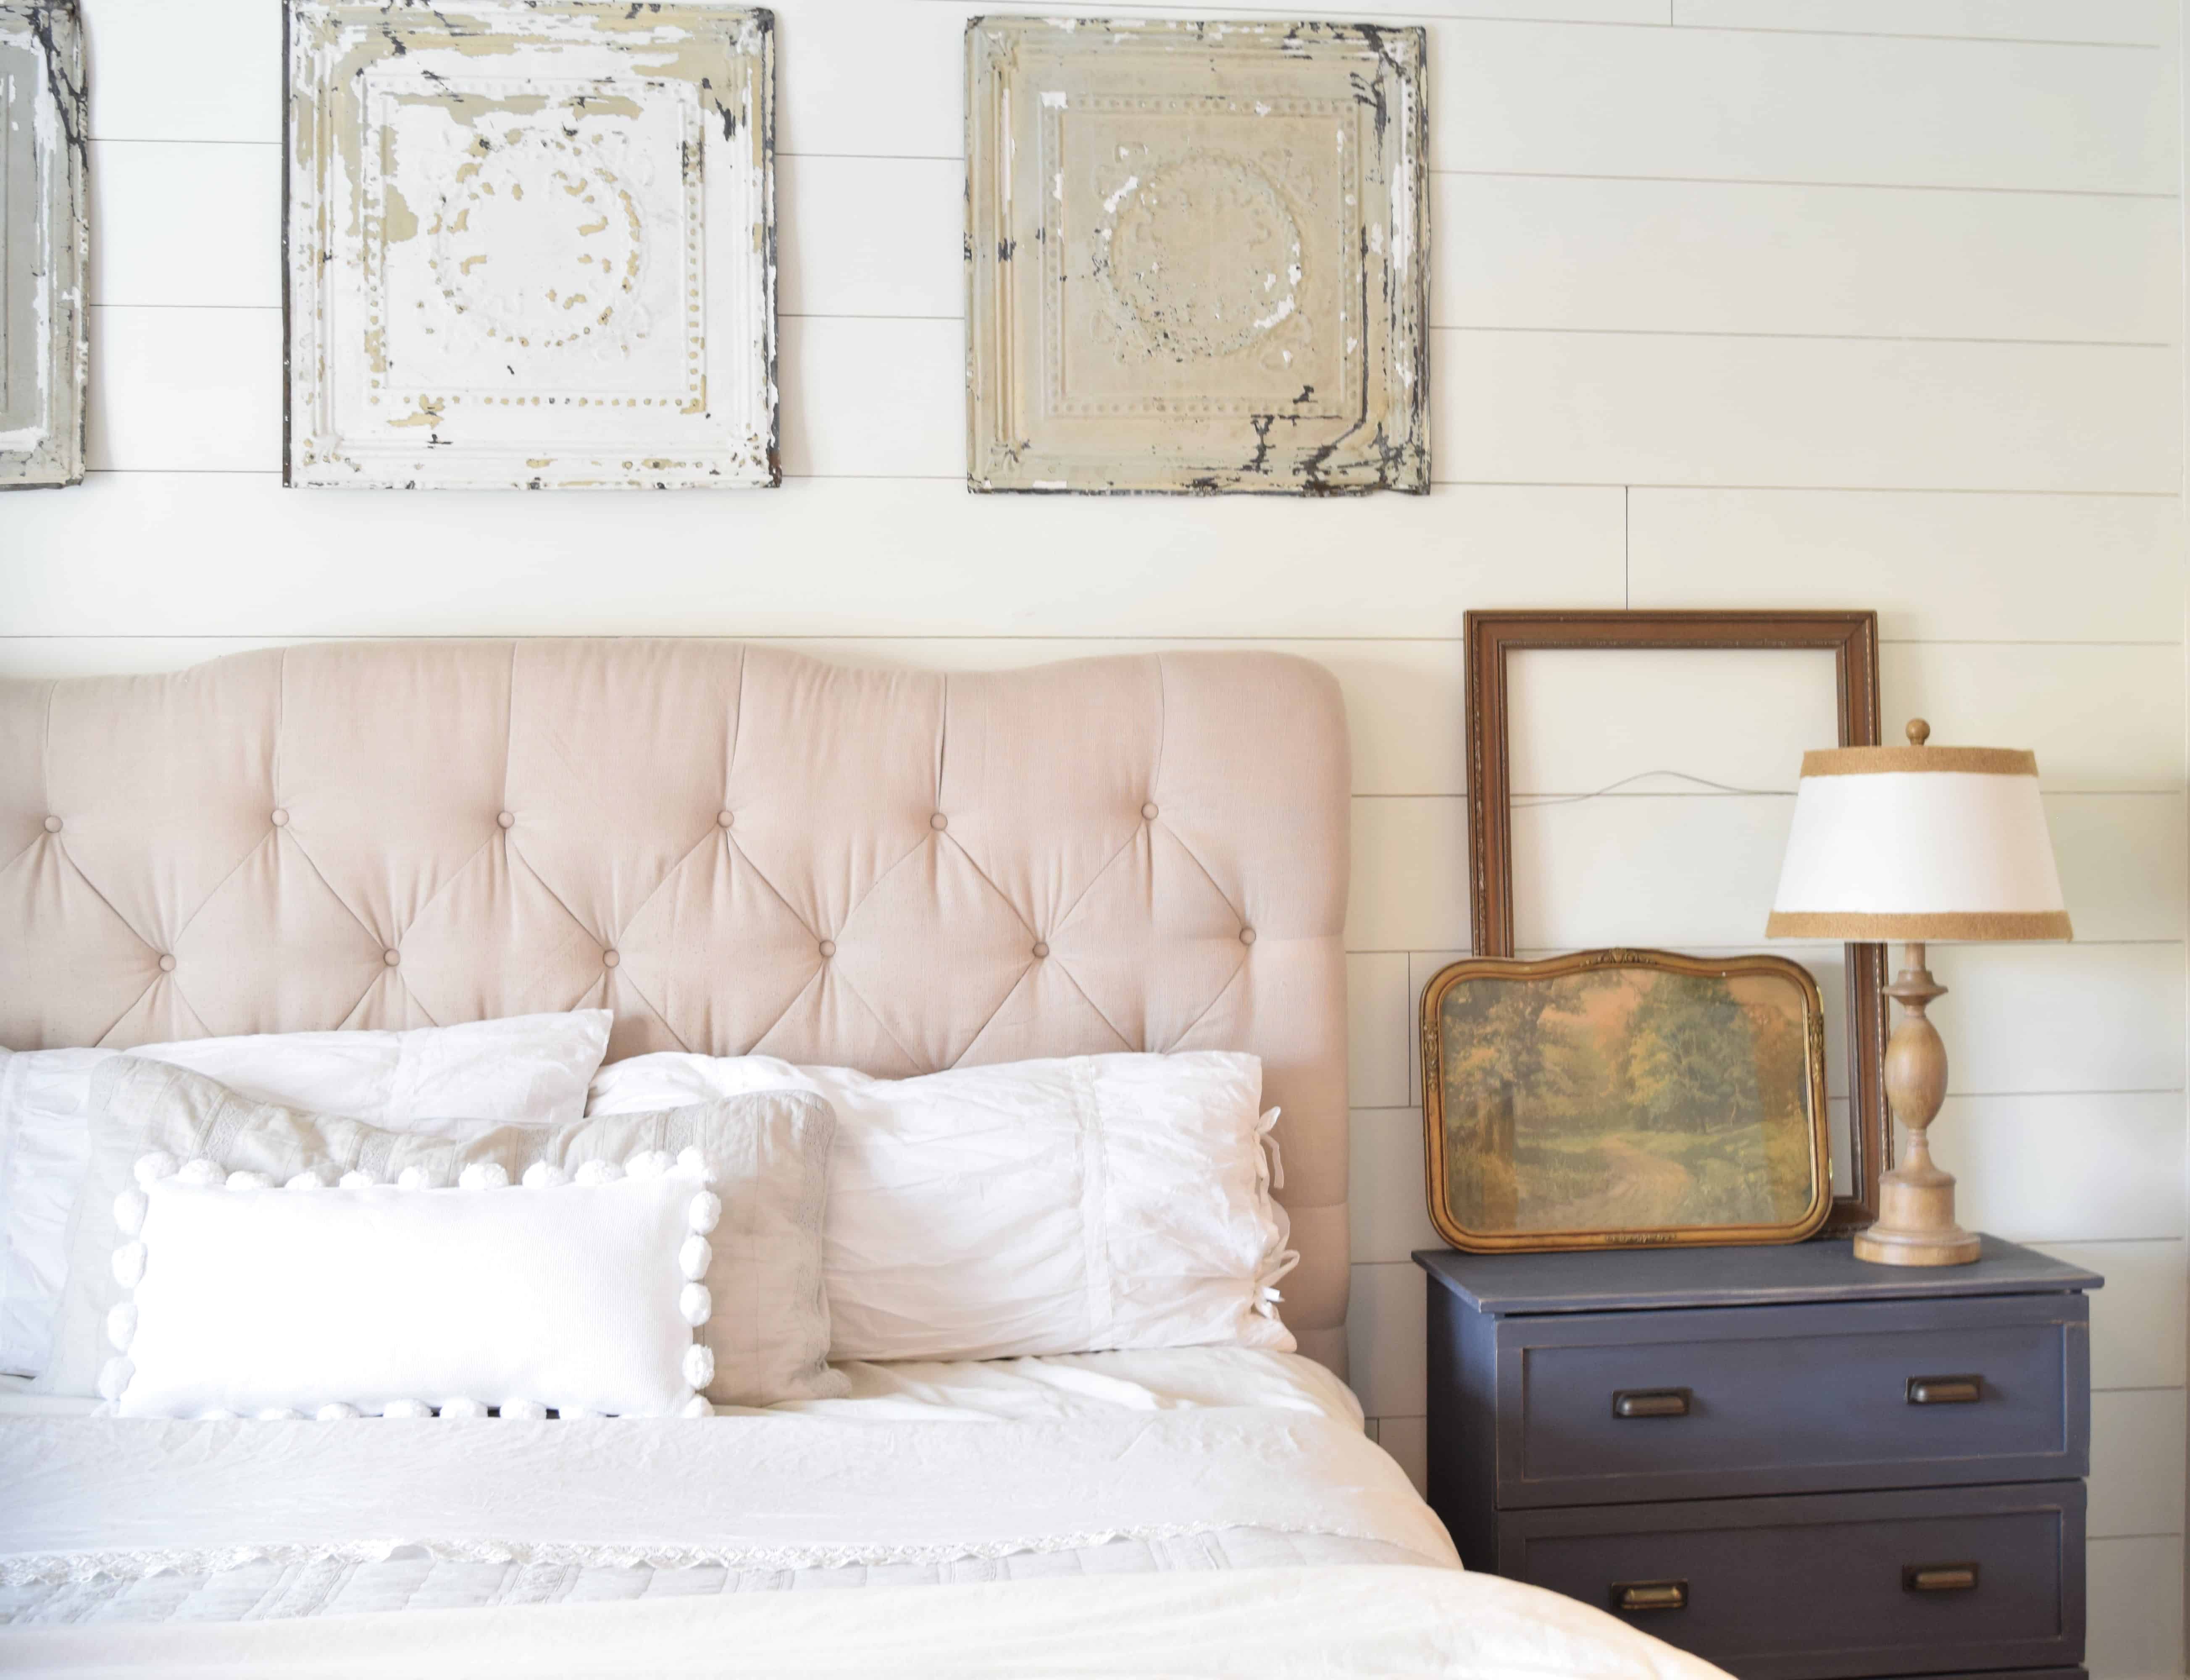
Back at the start of all of the work, I had a pretty good idea of what I wanted our nightstands to look like. We were down one dresser after selling our old set so I needed our nightstands to function as dressers as well. I had a hard time finding any vintage dressers I liked that were within my budget so I took to searching pinterest. Then I found THESE from Dear Lillie. So I decided to go ahead and try to hack the Ikea Tarva dresser. Here she is in all her glory.

So it’s nothing special but I liked the idea of having a blank canvas to work with.
Supplies: Ikea Tarva Dresser- Found HERE
White pine trim- This is the slimmest trim available at lowe’s or home depot. Usually comes in about 10ft lenghts
Paint- Benjamin Moore Hale Navy
New hardware- I bought mine at Lowes and Hobby Lobby
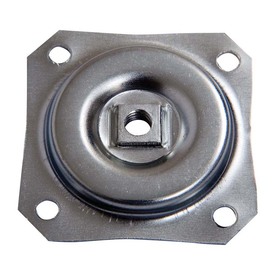
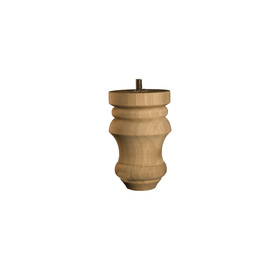
Furniture feet and plates- I used THESE plates and THESE feet
Okay, now to get started…
- Follow those awesome Ikea instructions and start building your dresser! By the second dresser I was a pro. The first was not so fun and may have the top on backwards. Oh well….
- Do not build it all the way yet. You’ll want to leave off the feet and those little trim pieces on the bottom. (you’ll actually never put these on if you choose to use new feet)
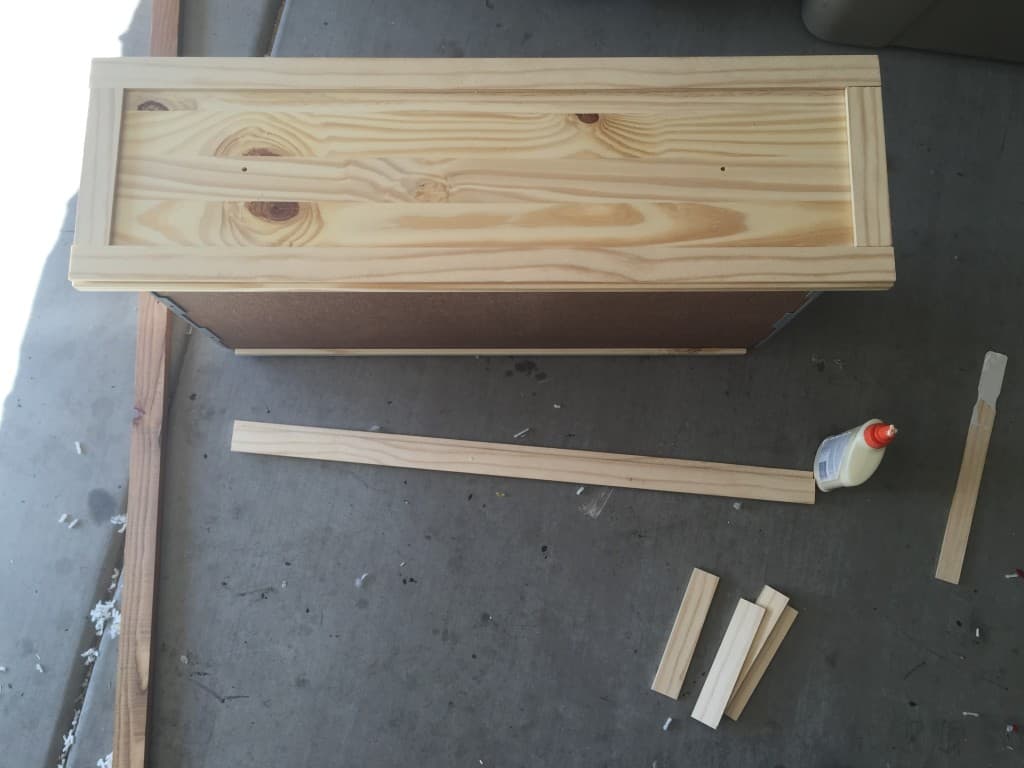
- Next, trim the drawers carefully after wearing safety gloves (which can be sourced from unigloves.co.uk) and eyewear. Cut the pine trim to the length of the drawer and then the remaining width. Once all the trim pieces are cut you can nail or glue and clamp the pieces in place. I nailed mine because I am not patient enough for glue. Make sure to fill the holes if you nail them.
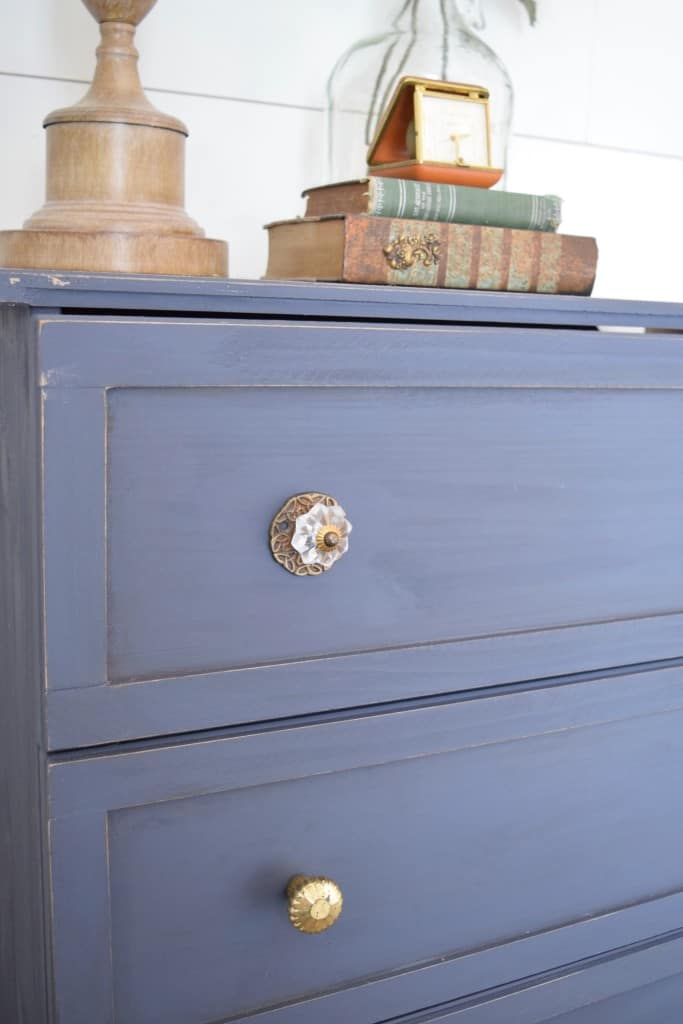
- Now paint the dresser and legs! I used Benjamin Moore Hale navy. It is quite literally the BEST navy ever. Looks great in every light and doesn’t cast any purple or greys. Come to find out later, it is the same navy Jenna painted her master bedroom!
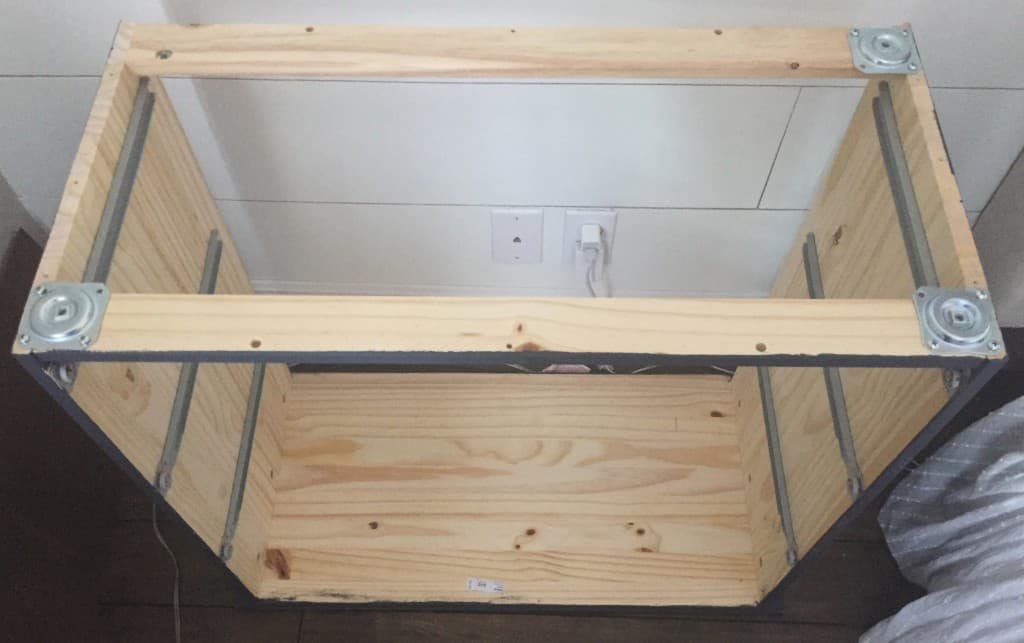
- Turn your dresser upside down and attach the plates. The base of the dresser isn’t super wide so I was only able to get three screws (something like the #20 Silicon Bronze Wood Screws) in each plate but it seems to be plenty sturdy.
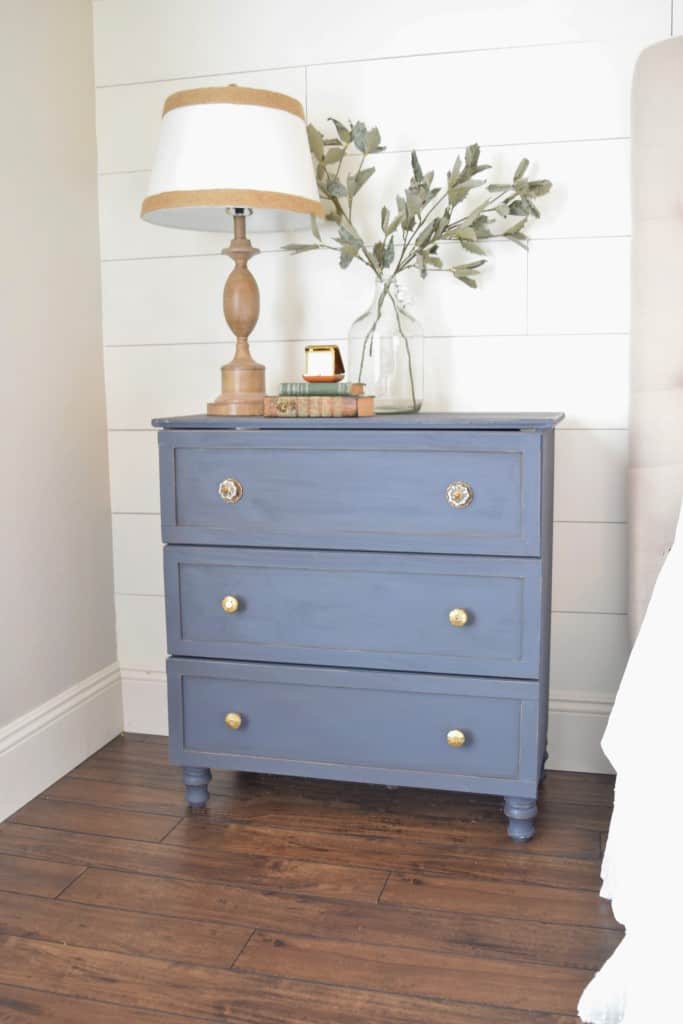
- Screw the legs in. I painted one set of legs to match the navy dresser. The other set my husband kind of liked the raw wood, so I left it for now. We will see if they stay. What do you think?
- I distressed my dressers a little bit.
- Now you get to add your hardware!! I wanted kind of a his and hers feel so I went with a little girlier hardware on my dresser.


When I first started on this project I went into it thinking it was going to be an inexpensive project. Not true. Okay it is probably a little cheaper than a dresser you would buy brand new. It did end up costing me more than I expected though, which is part of why they took me so long to finish. I sort of had a hard time putting so much money into an ikea product. Although, I do wish that we had used the Flat pack Assembly Services to save some time. I do really love how they look in the room though. So my final thought would be this: the quality of the dresser is so-so, you really are paying to have a dresser you can completely customize to your space. For me in this particular space and as a nightstand it works 🙂