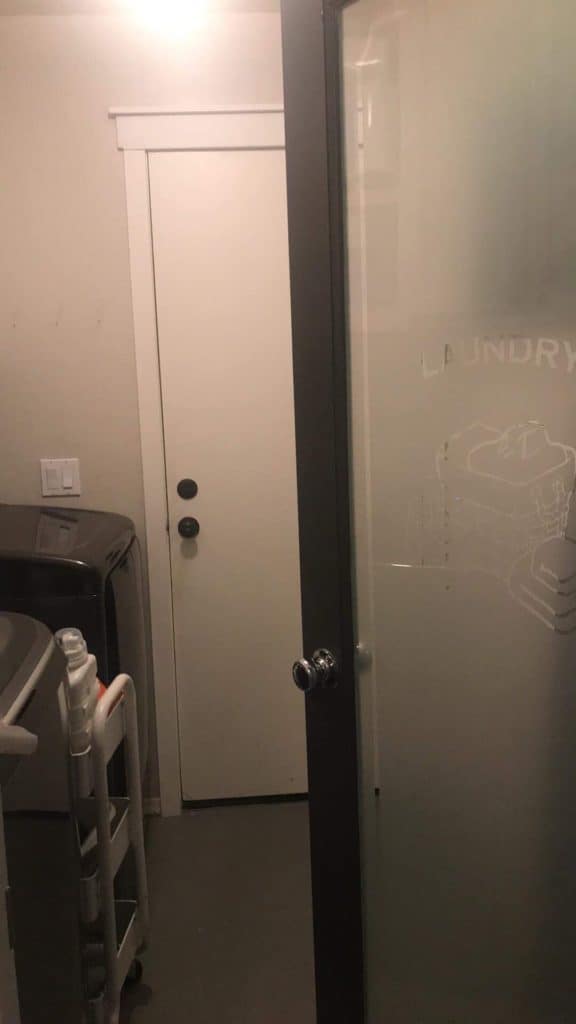
This is a story of what once was the saddest laundry room in the history of life. It is a small 4′ x 6′ walk through to the garage of our home. It has been neglected and pushed aside for 5+ years, I previously wrote it off as hopeless and a lost cause… and not worth the effort.
Usually, when it comes to essential home improvement needs, say for replacing your roof that’s broken or a huge pipe leak, you may not wait a day longer to fix it. But things like laundry room renovation somehow get postponed. Anyway, a couple of months ago, I decided that if I could spend a tiny bit of money here, and use a LOT of what we already had… perhaps I could make it less of an embarrassment. This is what it looked like when we moved in. So much blah.
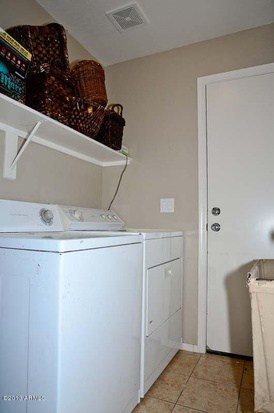
Nothing terrible, nothing great… NO storage, but functional. A couple years ago when we added open shelving in our kitchen we put the cabinets in here and tore out the builder grade shelf. It wasn’t a great improvement, but at least we had some more storage in there.
We also had added a cute laundry door from Lowe’s a couple years ago, and I trimmed out the door to match the rest of the trim in our home…
The Plan-
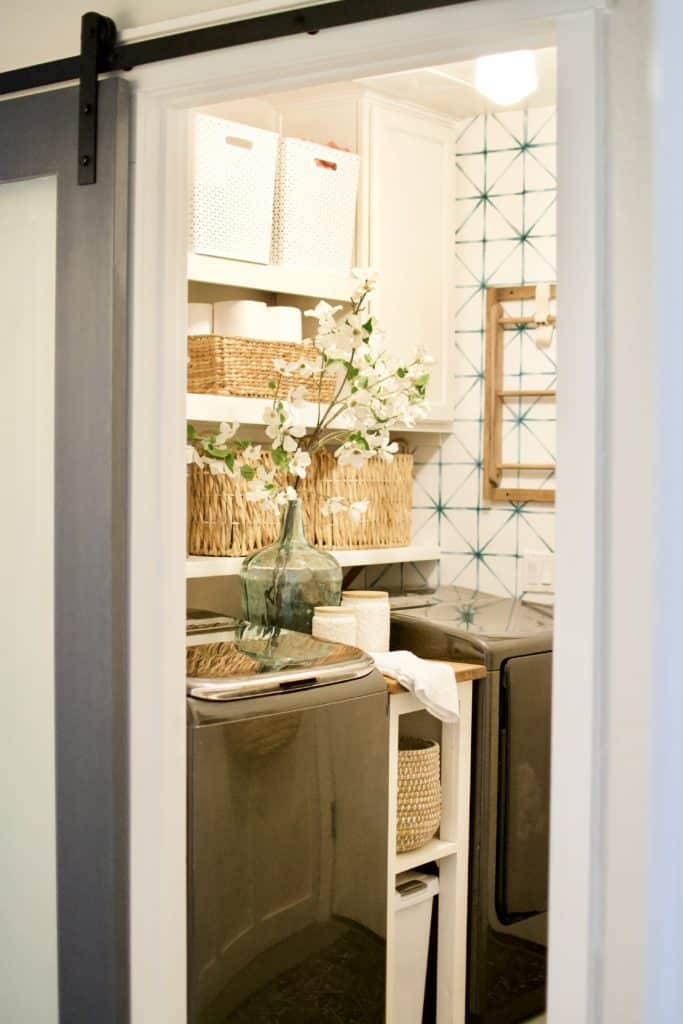
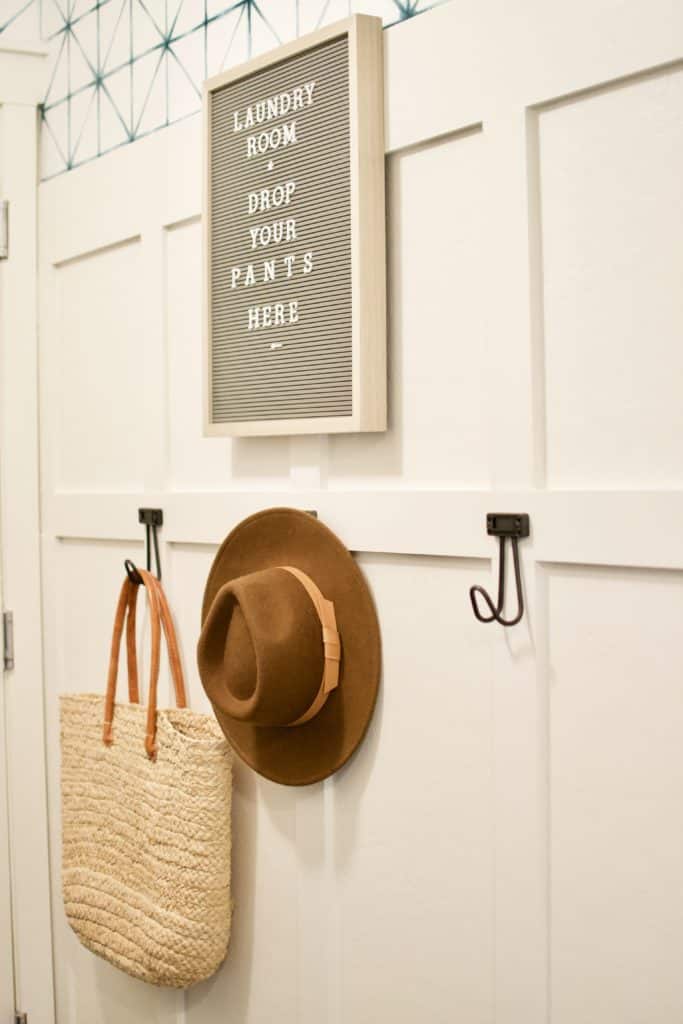
- Change the hallway door to a barn door to open the space up and feel less cluttered.
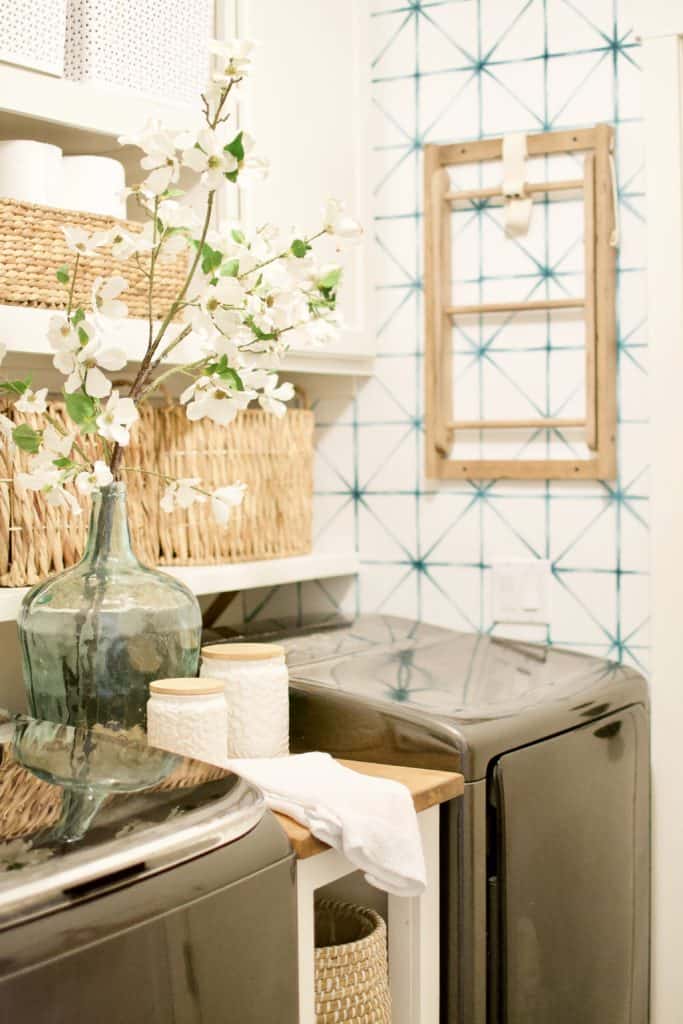
- Add a graphic wallpaper to elevate the room. Alternatively, a brick veneer panel can also be installed against the wall due to its high durability and fire-resistant properties.
- Use what we have in our garage to add a shelf, a storage cabinet, and board and batten. (like literally… on these things… we spent NOTHING extra)
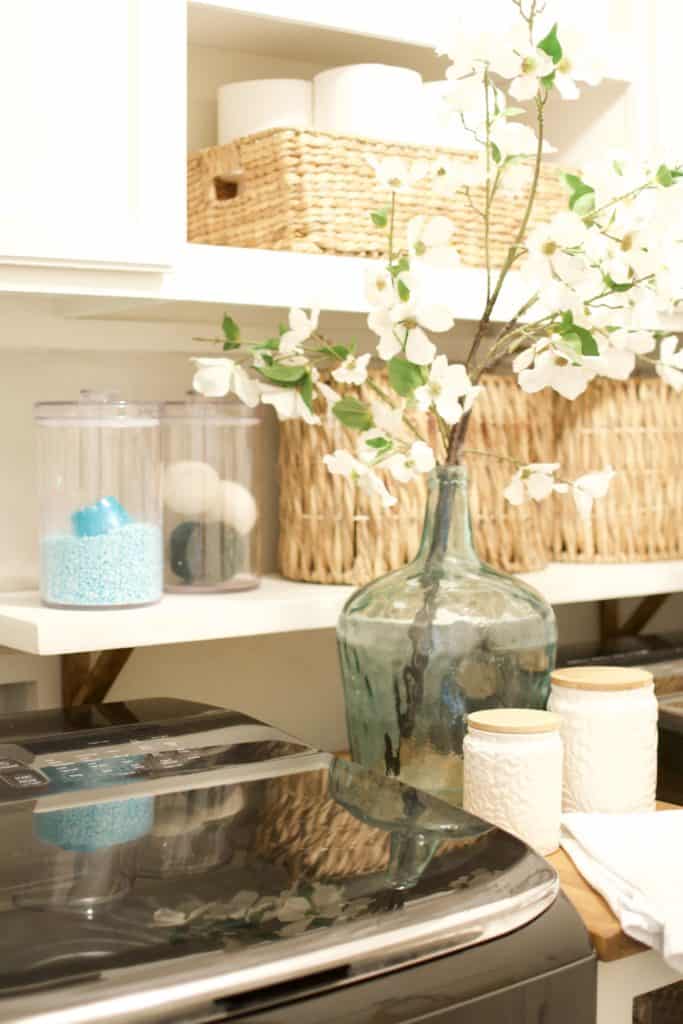
- Add a whole lot of functional + pretty storage.
The After-
In total, we spent about $250 on this makeover because we were able to get a lot of use out of the pile of extra lumber in our garage. That may have included what we spent turning our existing laundry door into a barn door, renovating to accommodate a new polyaspartic garage flooring, and so on. A how-to post is coming soon on that, just waiting on the hardware to arrive.
Of course, had we decided to replace the washer and the dryer too, that would have added a significant cost to the project, but ours are still going strong so that’s not something we need to consider right now. Even when the time to replace them does come, we’ll probably shop around to see if anywhere has a whiteware sale going on so we can save some money, but we’re getting way ahead of ourselves for the time being. But $250 for the whole thing! Can you even believe it? A little imagination + a lot of hard work went SUCH a long way in this small laundry room space!
You can shop this post by clicking the images below.

Pin for later