
The idea of doing a Bathroom Makeover can be overwhelming. I am sharing with you today a Bathroom Makeover we just completed in our home that was completely budget-friendly and came together so well. It feels modern, crisp, but inviting and cozy and I’m going to share with you how we were able to accomplish all those things and not spend a bucket of money.
How to get a Designer feeling Bathroom on a Dime
Create a Visual Anchor
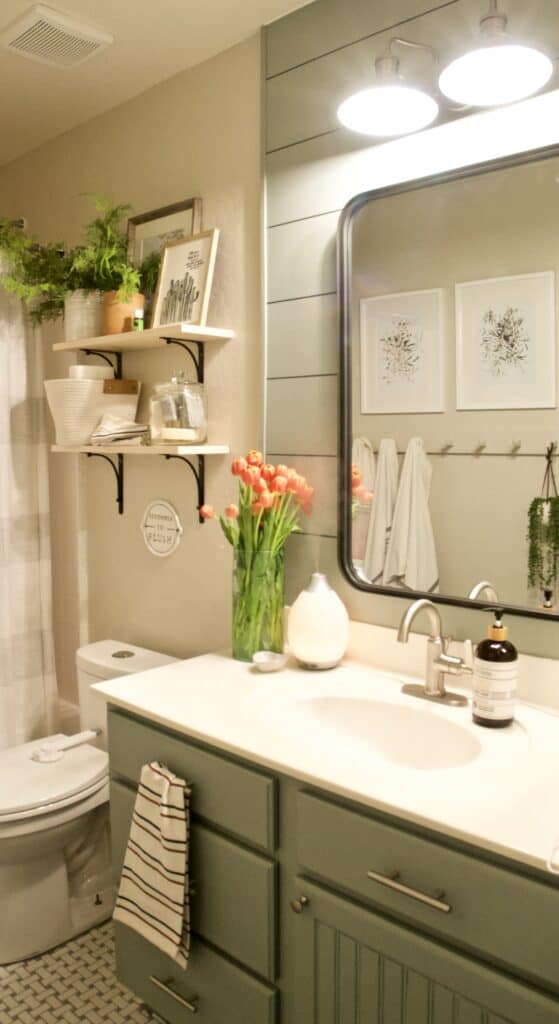
If you search online at drool worthy bathrooms they all have one thing in common, a visual anchor. You can achieve this a number of different ways, the most common for bathrooms is in tile choice, interesting bathroom vanity, or wall treatments like wallpaper or wall tile. In this space my visual anchor was the shiplap done in the same pretty grey-green as the vanity. Adding the shiplap only above the vanity gave it more weight and added interest to the otherwise builder grade bathroom vanity cabinet I was working with.
Add Contrast
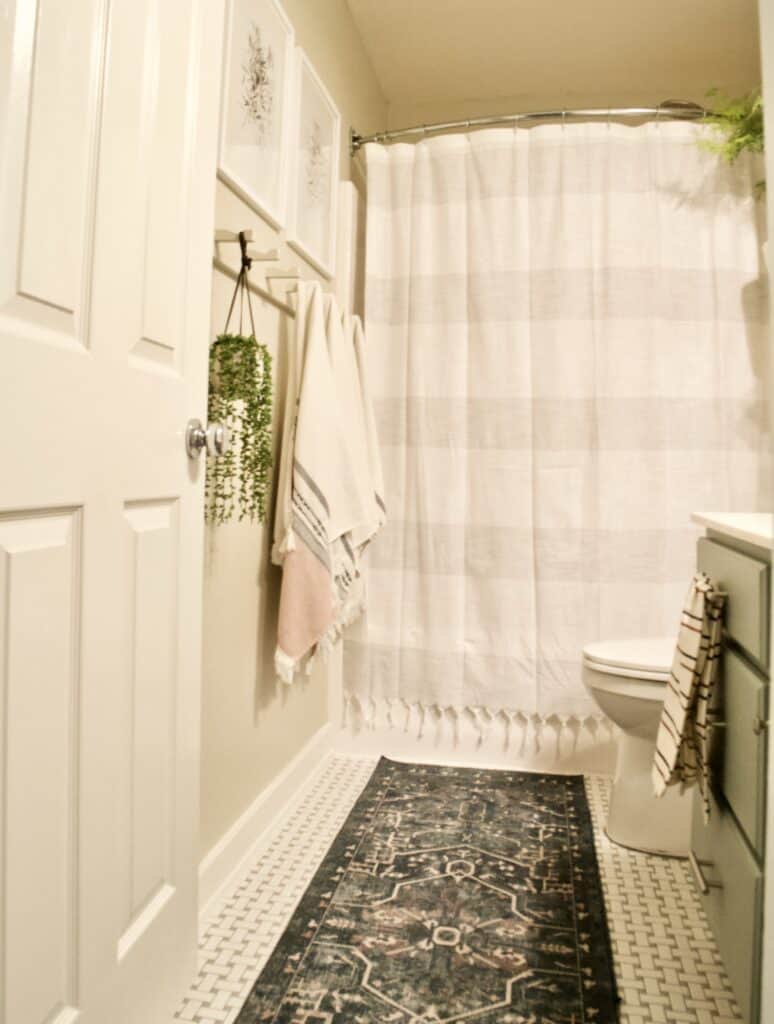
This one is maybe the scariest ingredient for a lot of people because it is SO easy to be “matchy- matchy.” In this bathroom the contrast comes from the basketweave tile I chose for the floor. This is a really inexpensive tile option, it can be readily found at Floor & Decor for about $3/sf. It is a very classic pattern and not very risky but it adds contrast and texture without being hard to live with. A safer tile would’ve maybe been a marble look or wood look but it was a good opportunity to add some depth without breaking the bank.
Keep the Color Scheme Simple
There are literally endless textile options when it comes to bathrooms. I feel like bathrooms are one of those spaces that can get really tacky really quickly. This is a slippery slope when you start going crazy with patterns and colors. If you followed steps 1 & 2 then you probably have enough going on and don’t need to add much else. I stayed within my neutral color scheme for my shower curtain and towels. This keeps your bathroom space feeling crisp and clean… which is definitely what you’re trying to achieve in a space such as this.
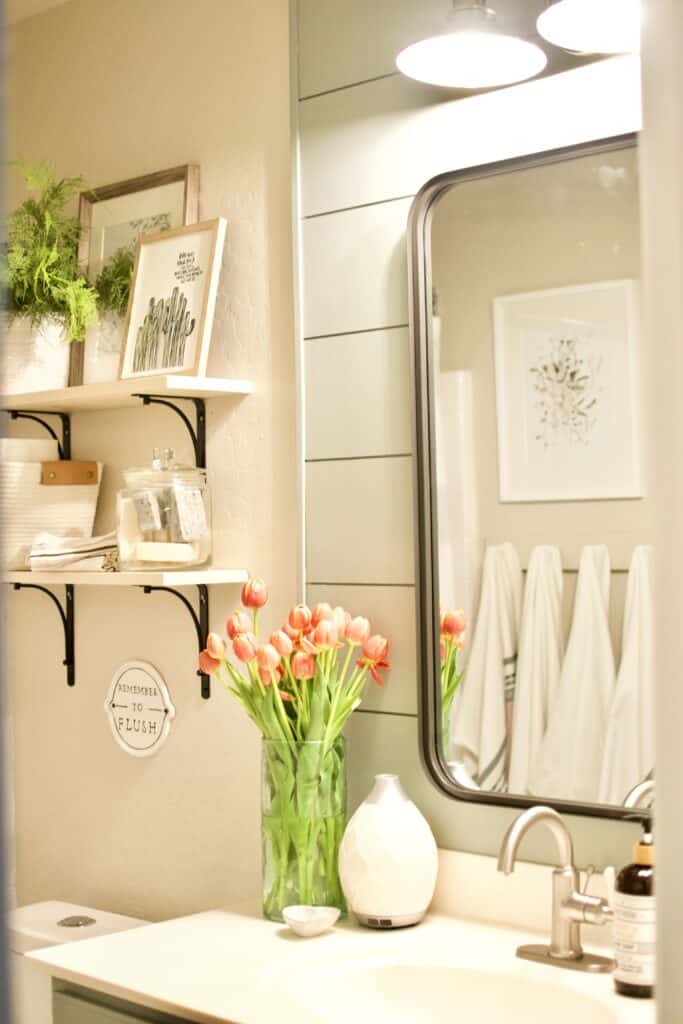
Add some living things
Utilitarian spaces can feel so cold. If you’re bathroom spaces feel inhabitable and stark maybe think about adding some plants to it. This bathroom has literally NO natural light, so I chose some really good looking faux plants. If you choose them wisely they will do their job at bring your space to life.

Accessorize thoughtfully
This one may seem like common sense, but honestly I see people make this mistake all the time. They try a little too hard when it comes to accessories and then it just never feels quite right. Other than art, I really only chose to put things in Bathrooms that are things we need in there. Think about a jar of pretty soaps, unique hand towels, a diffuser just the necessities. Find pretty ways to have the things you need in the space conveniently at your finger tips in pretty baskets and glass jars as seen here. This will keep your spaces feeling comfortable as well as polished and pulled together.
Sources
Walls – Edgecomb Grey by Benjamin Moore
Vanity & Shiplap – Acacia Haze by Sherwin Williams
Shelf Stain – Minwax Color Wash in White Wash
Tile – Floor & Decor with Delorean Gray Grout
Rug – Discontinued but similar linked
Vanity Hardware – Home Depot
Art Prints – Meadow Flowers by Juniper Print Shop
Shop the Post
