
A couple months ago I got a crazy hair to start a makeover on our Master Bath. I had already written off this space as hopeless until we were able to afford a big fancy makeover. When I redid our Master Bedroom last year my bathroom stood out even MORE as a sore thumb. So, I decided to take it on but try my darnedest to keep it under $500 and see what I could do to make it feel more like us.
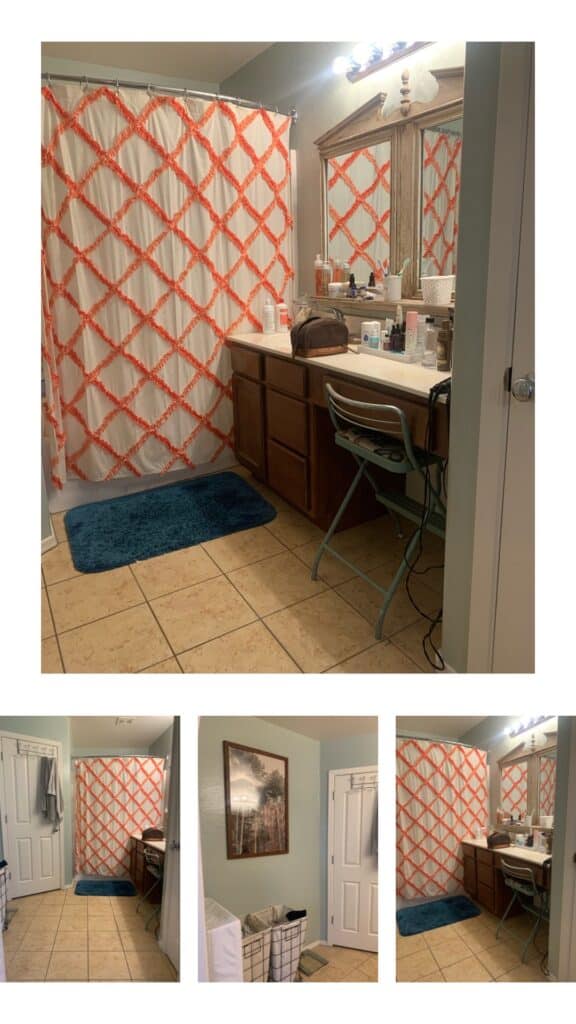
Before
Here is what my master bathroom looked like before. I didn’t even tidy up before I took these photos so you’re extra welcome. Don’t judge me, it gets better.
The Process
I shared my game plan for this bathroom here. Things changed a little as we went, but basically my plan was to paint… everything. Yep, just every everything. Paint is inexpensive which is really great when you are working with a budget. I am blown away at just how far paint got me in this space, I owe this transformation all to the power of paint.
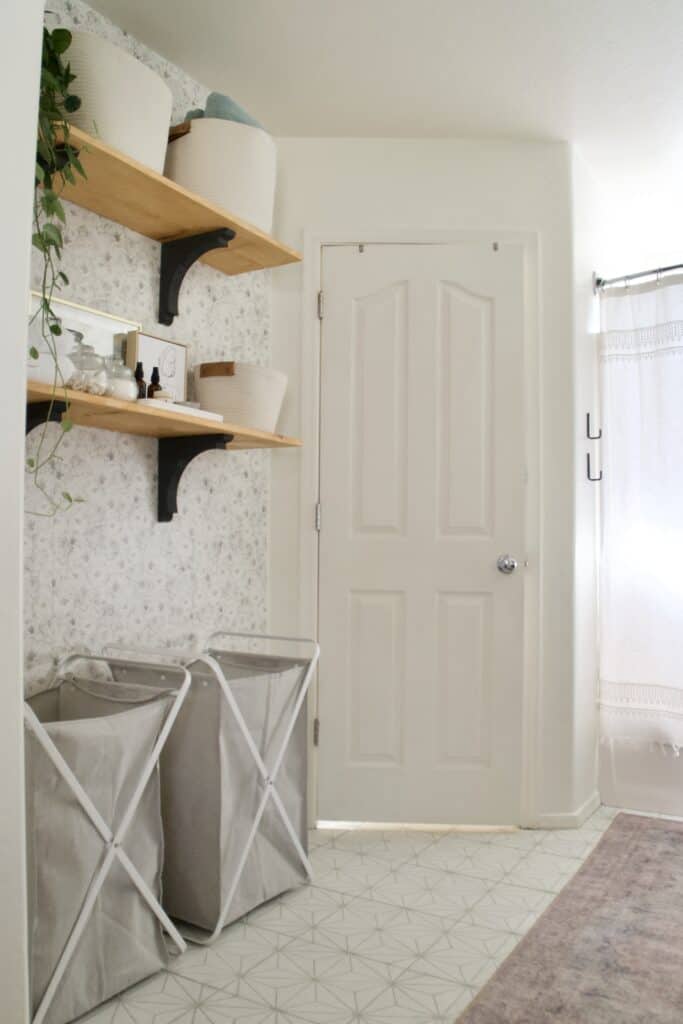
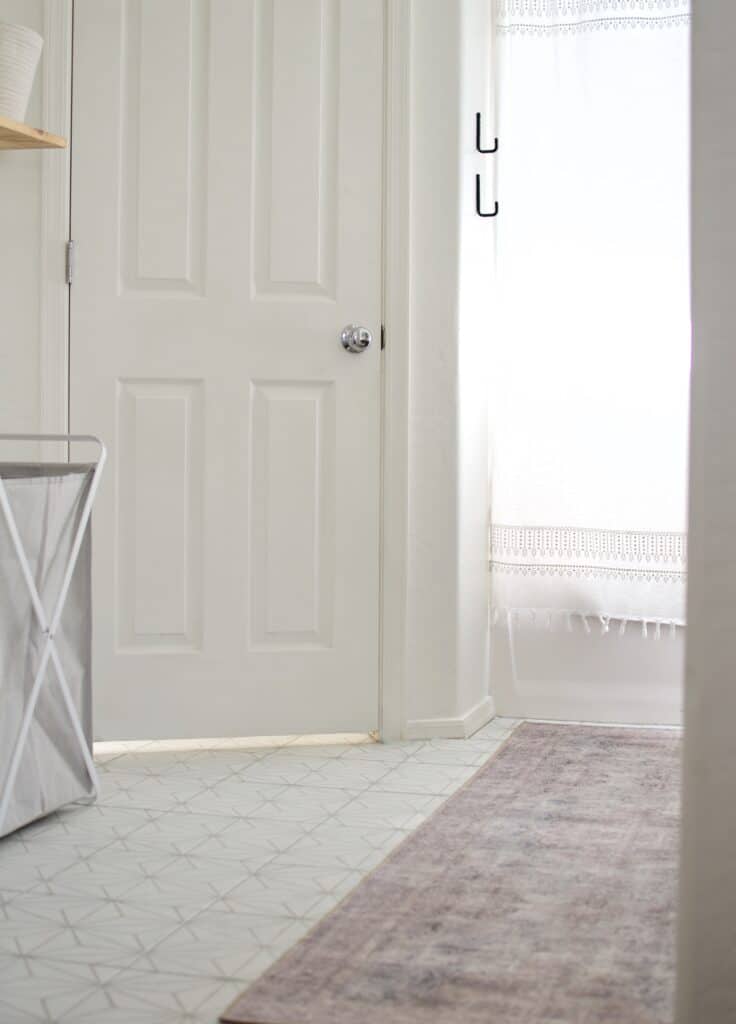
The walls, the vanity, even the tile floor… every everything I told you.

I hung some wallpaper I had in my stash. The perks of knowing your style is it’s easy to pull design elements from other spaces you’ve already completed and use them in other evolving areas in your home.
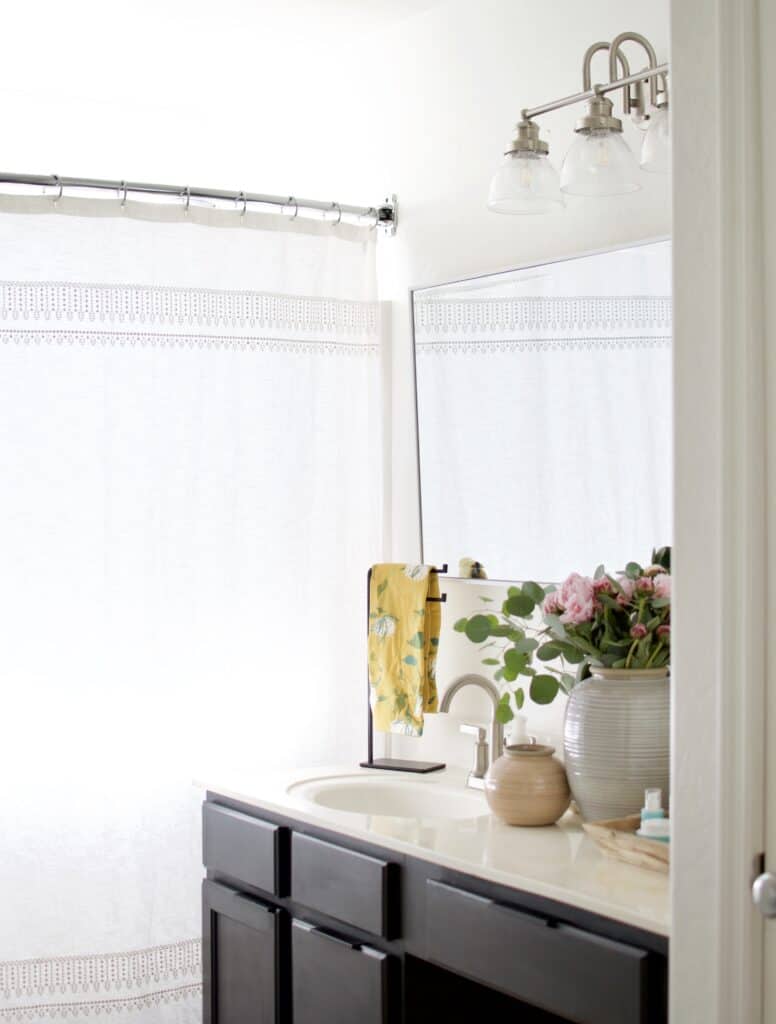
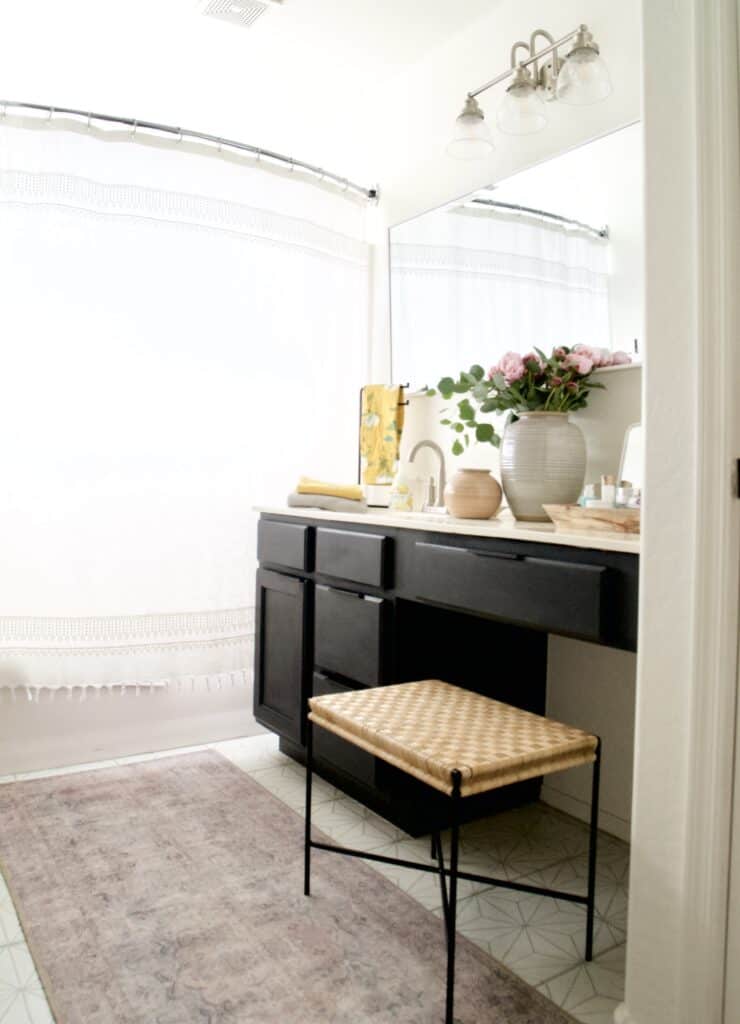
I swapped out all the fixtures in here. The light and the faucet previously were just really builder grade. So I replaced them with timeless options. Once I got the walls and the vanity painted I started feeling very very hopeful that this budget makeover was in fact going to be epically awesome… but I still had the daunting task of painting and stenciling the tile floor.
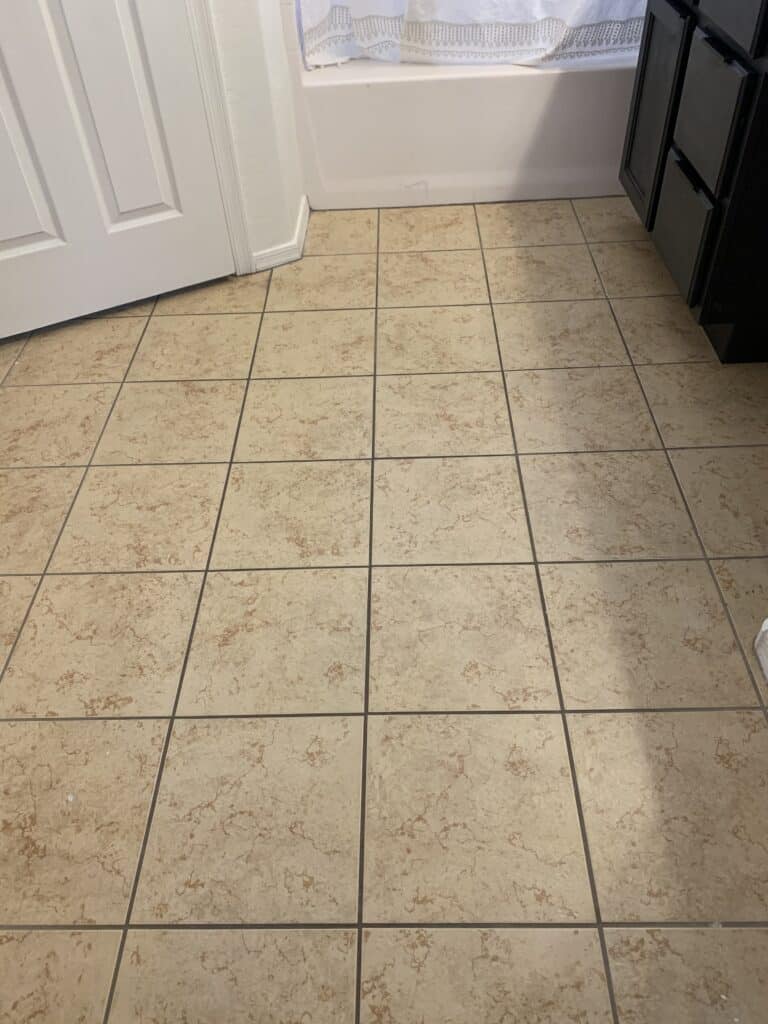
Everything was starting to look so beautiful but unfortunately, our floors still looked like this. You may be familiar with that ceramic tile that is made to look like stone… but I swear on my life I have never seen a natural occurring stone that ever looked quite like this tile.
Painting this tile floor was a process but I used an amazing product, I will have to save that project for it’s own post otherwise we will never get to the after of this project. I will however share with you some of the progress photos while I stenciled my little heart out.
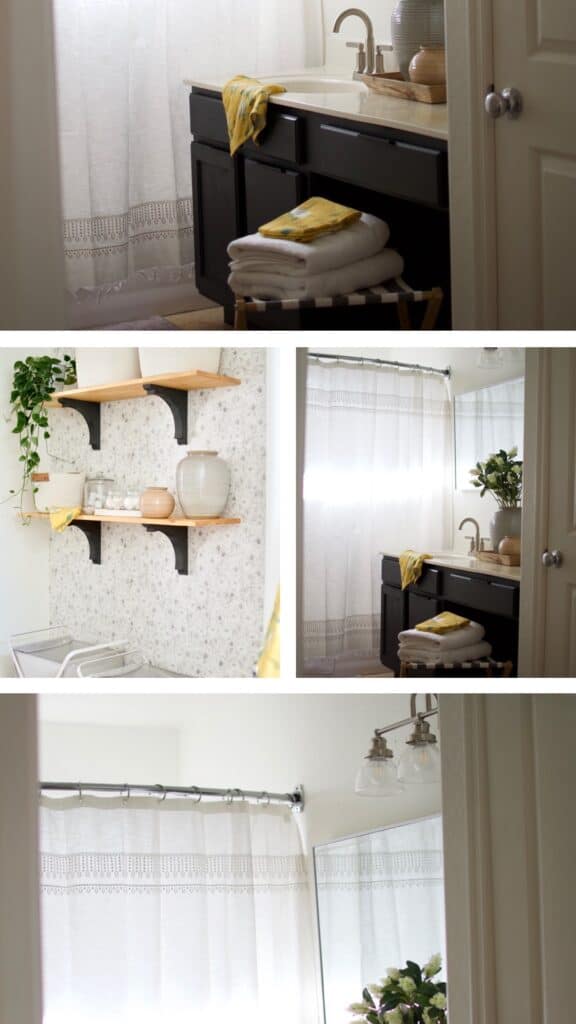
The Reveal
And now, what you all are dying to see.. here is the after of our Master Bathroom. Ahh, the magic of paint and a little bit of elbow grease mixed with just a few new pretty things. I keep rubbing my eyes because I literally can’t believe that I pulled this makeover off for just under $500 and it looks like a totally different house. It’s a little bit insane right?
Sources & Details
Walls – Simply White by Benjamin Moore
Vanity – Rustoleum Chalked Paint in Charcoal, sealed with Matte Finish
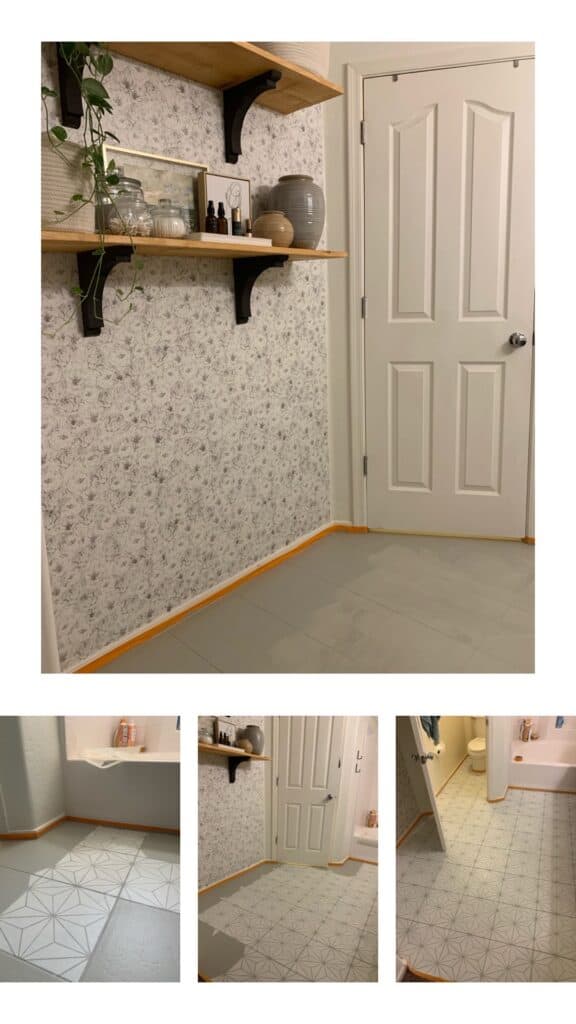
Floors – Rustoleum Rock Solid Home paint in Grey Owl and Steam grey
Wallpaper – Milton & King
Shelves- Summer Oak by Varathane

Making this space over has really taught me that sometimes just putting in the effort to make a space more visually appealing, even if in the long run you’d like to totally demo it– is totally worth it. Before putting the elbow grease into this space it felt like the odd man out in our home- it’s amazing how much more peaceful it is living in our Master Suite without dealing with the eye sore space.