I am so in love with this insanely chic + easy Ikea hack that I'm going to share with you today. Ikea is the huge giant store of lots of good pieces that are just aching to be made great. One day I'll have to share with you how I shop Ikea with my designer eyes on, but let's get back to this chic remix of the standard Ikea Malm 6 drawer dresser.
So this is where this dresser started, I'm sure you all are pretty familiar with it. It already comes half the way to chic with it's modern simple lines. On its own with the right accessories it can make the designer cut. However for me, there's just something about a dresser on legs that takes them to the next level.
I've been known for taking Ikea pieces to the next level, remember my Billy Bookcase Hack? How about my Designer Curtain Hack? Make sure you check those out before your next Ikea trip.
I digress.
This dresser was inspired by the beautiful designer versions that I had seen on the internet with cute little feet were all well over $1,000 for a 6 drawer dresser this size. I felt like I could make my own for far far less. I thought that the Malm Dresser was a great starting point, because it is under $200 and I knew I would need only a few things to add the cute little chic designer-esque feet to achieve the look I was wanting.
Before
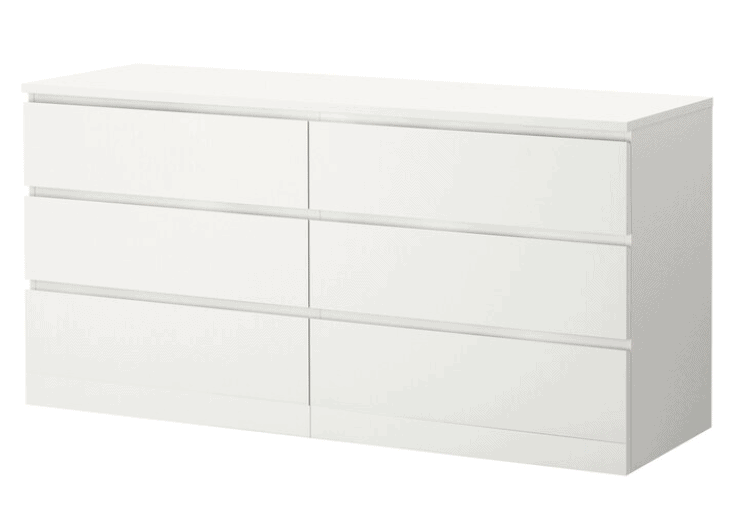
Materials
- Ikea Malm Dresser
- 2 8ft 2x2 pine
- Stain of your choice
- Wood Glue
- Brad Nailer
That's seriously all you need! When you are in the lumber aisle make sure you comb through the pine 2x2's and find the absolute straightest you can.
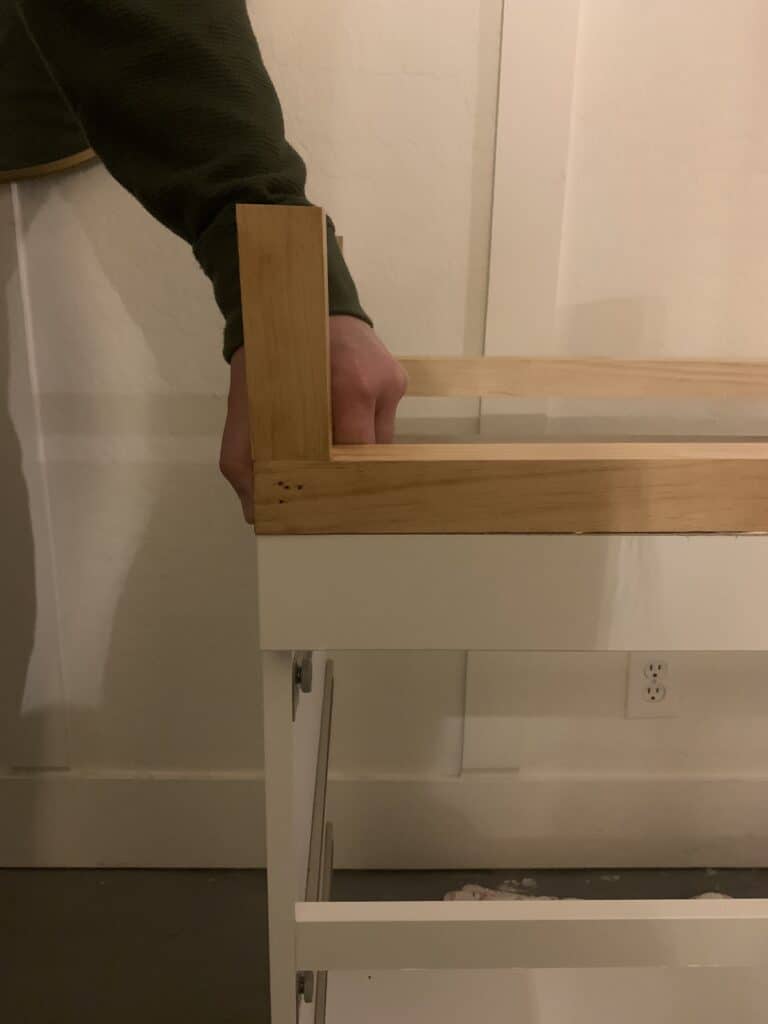
Using the measurements of the bottom I just made a very simple frame. I made the legs 4" tall on the ends and added one in the back for extra support.
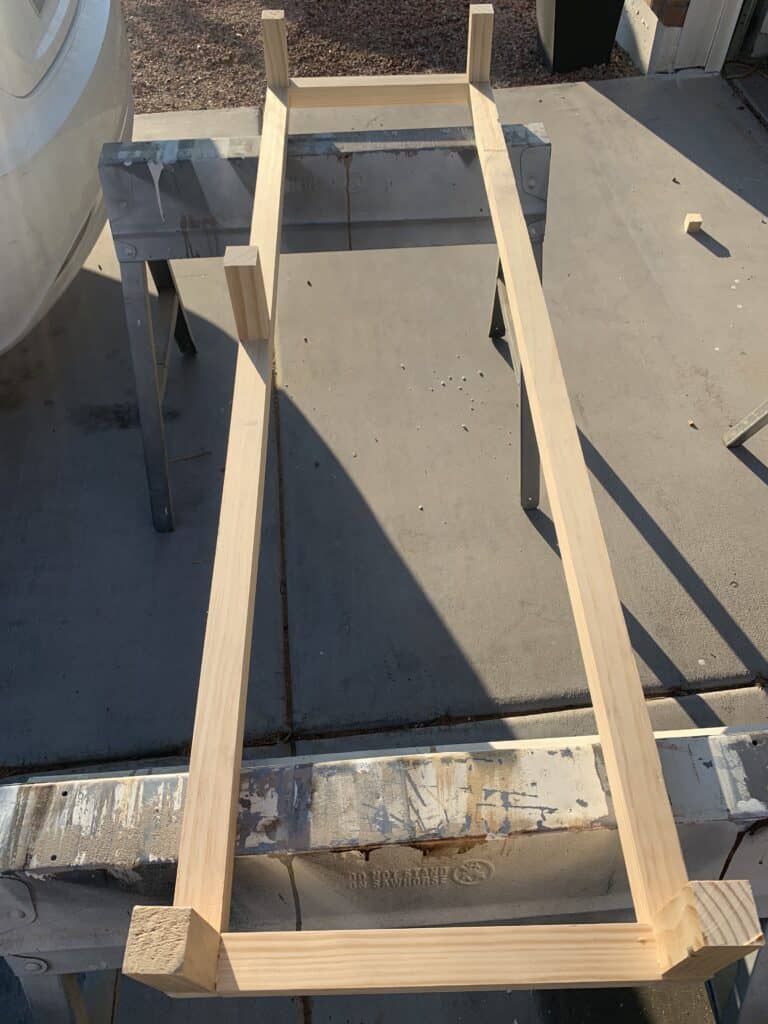
At the joints I used wood glue and then secured them with my nail gun. Wood glue is an extremely strong hold once dry, the nails are mostly there to keep all the pieces in place while it dries.
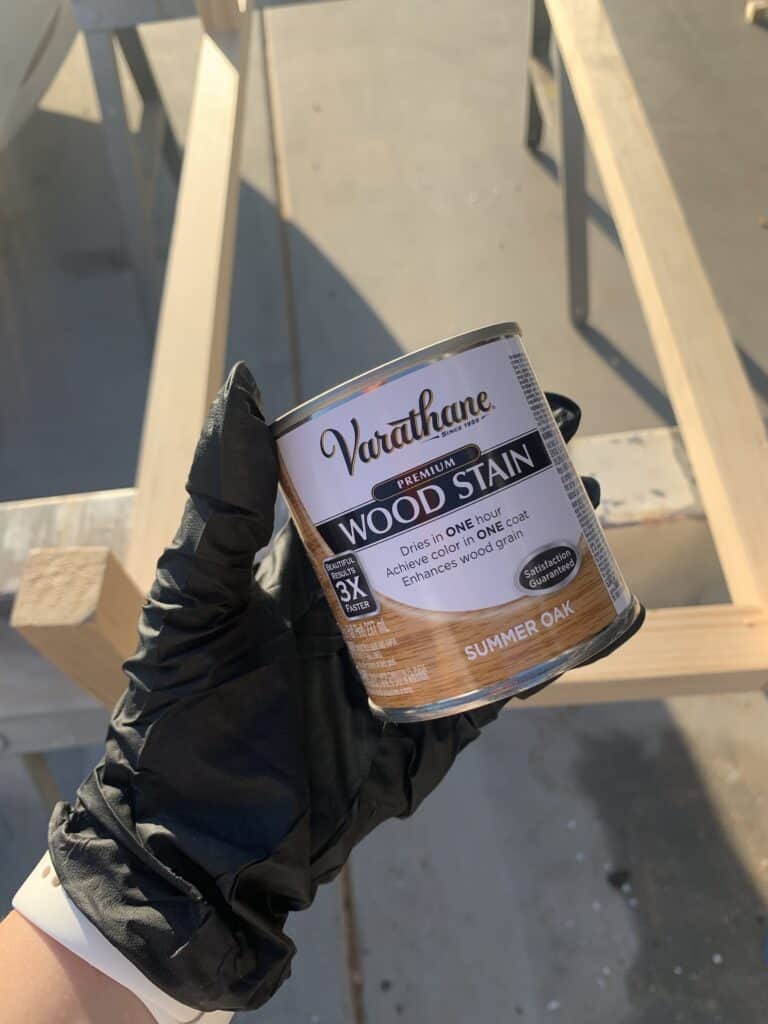
I wanted a really natural light color, this is the stain I used. I love the color it turned out. Varathane has some really pretty stain colors, I always have a hard time choosing.
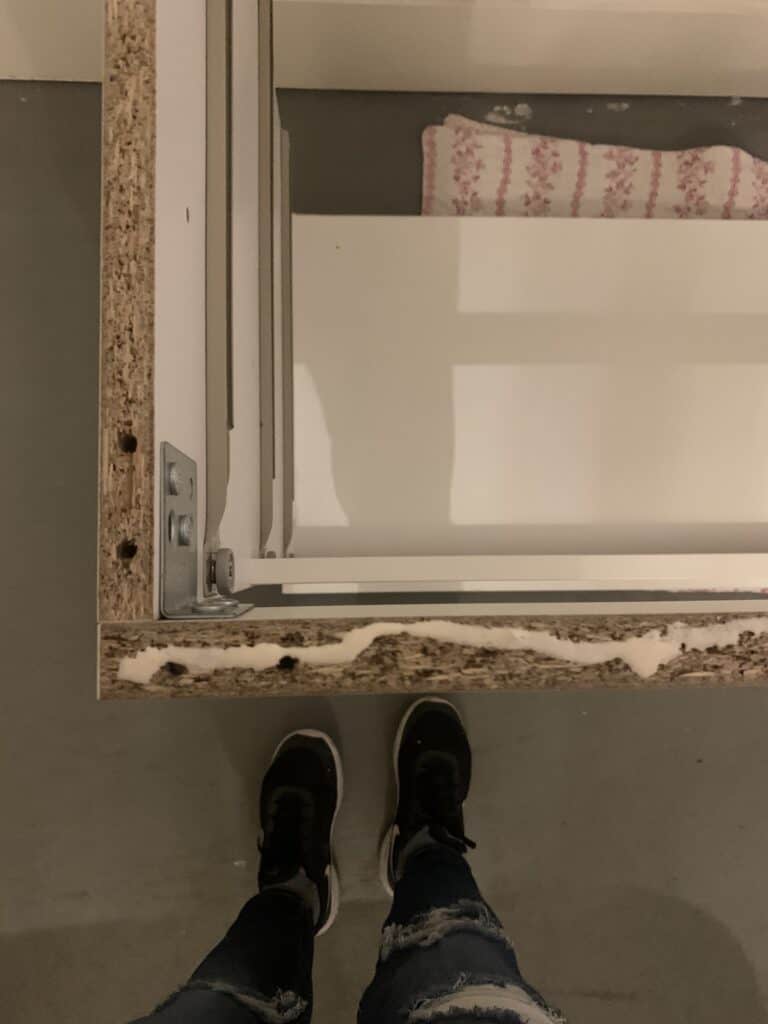
Once the base was dry, I simply attached it to the bottom of the dresser, once again generously applying wood glue and then using my nail gun . This step may require an extra set of hands so you can make sure you are keeping your base square and in the correct place as you attach it to the bottom of the dresser.
**Make sure you put a blanket or pad under the dresser before you flip it over to make sure you don't damage the ikea veneer.
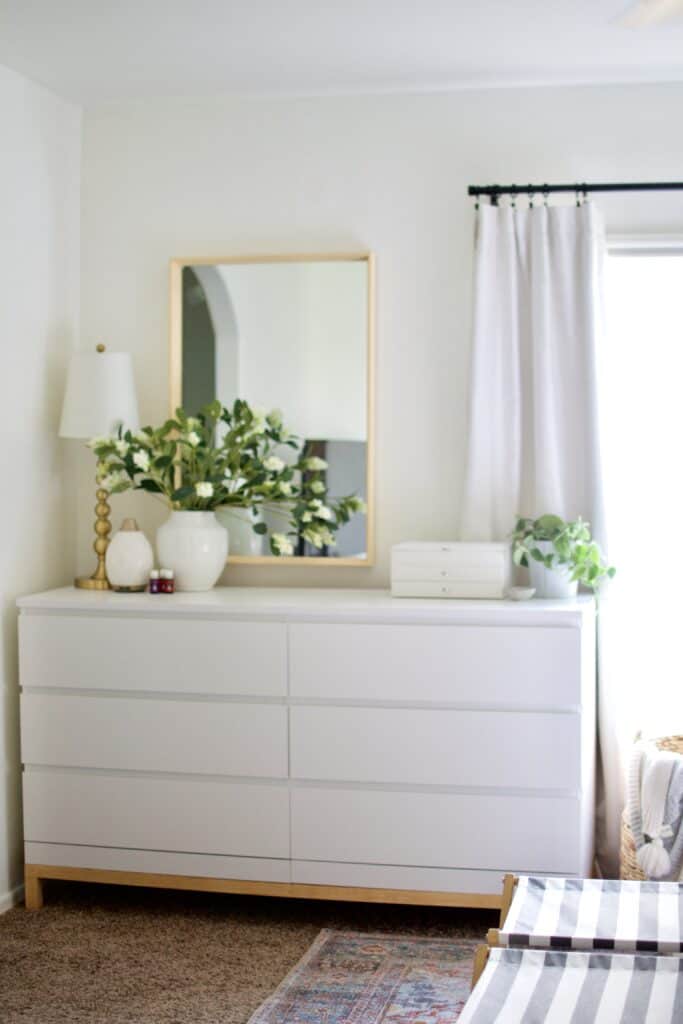
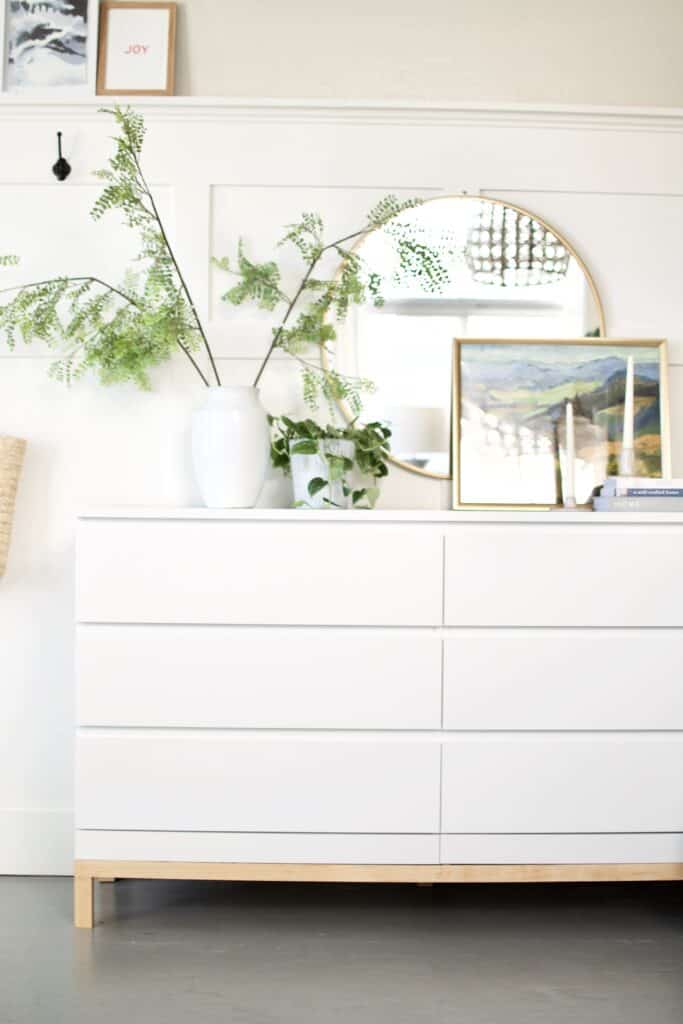
After




Kinha says
Hi!
Amazing idea!
I’m worried if will start dipping in the front without the extra support...? Is your ok?
Melina says
Beautiful! We are in the process of a DIY bedroom/bathroom remodel. The dresser has been the most challenging…. but this is a great idea!! IKEA here we come!
Anam says
Hi amazing wirk where did you get the wood stand under the drawers?
Thanks
Francesca says
Hey! I absolutely love this and am definitely going to make this upgrade to my newly purchased Malm! But I'm curious how it's held up so far - particularly have you noticed any sagging in the front center? I think I will add a center support beam, but I'm curious if you think adding a sixth leg to support the center would be a good idea as well (perhaps set back a little to keep it more hidden and still mostly achieve the super clean, modern look you have).
Thanks so much! Excited to check out your other Ikea hacks!
Guille says
How did you made the legs frame?
Kristen says
Do you mind sharing the exact measurements of each piece of wood before you put it together? I just wanted to buy the wood before putting together my malm! 😊