
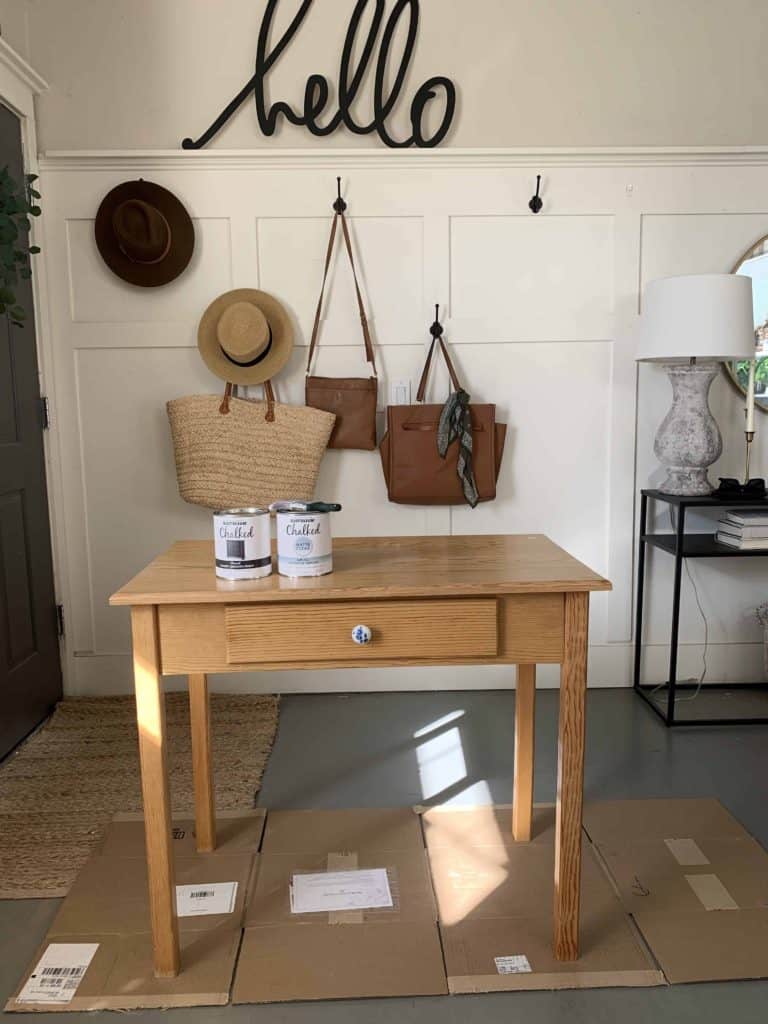
Today I am sharing a simple thrifted desk makeover with Rustoleum chalk paint. I had time to waste the other day and I meandered into a Thrift store. I wasn’t really looking for anything specific. I saw this primitive solid oak desk and felt called to swoop it up. It was so perfectly simple, sturdy… and I knew with a coat of paint it would look so great. Bonus it was only $15 so even though I wasn’t exactly sure where it would end up in our house.
Thinking about it, I may have mostly bought this desk because I had been wanting to try the Rustoleum Chalked paint I saw a couple weeks ago at Home Depot. My local Home Depot only carries a few colors- white, light grey, and charcoal. I also grabbed the Rustoleum matte top coat to try out with this project too.
This is what the desk looked like before, nothing overly special about it. As I said before, I liked the simple classic lines of it. I felt like I could easily bring it into this decade.
I was a little apprehensive about buying a premixed color, especially in a grey color. Grey’s are notorious for being so difficult because of the undertones in them. I am happy to report that this Charcoal color was actually the, dare I say it, perfect shade of dark grey paint! It doesn’t pull blue or green which Charcoal paint does often.
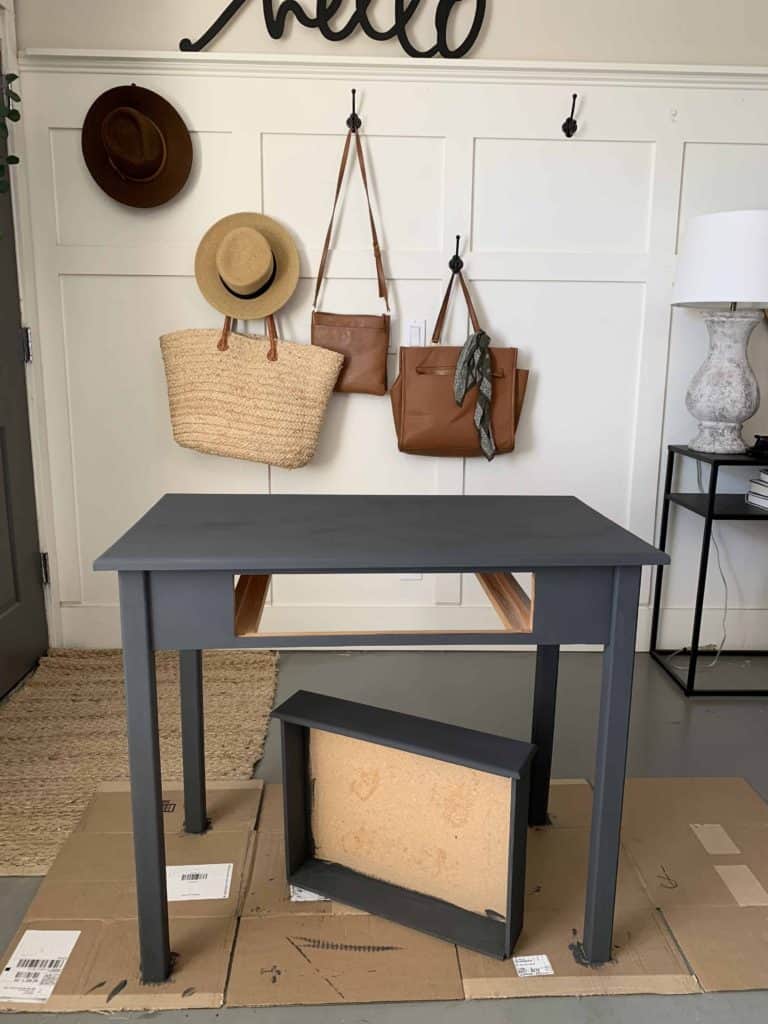
The Charcoal color of this paint was so good, I was really impressed with the absence of brushstrokes which really makes for a beautiful finish on your pieces.
Once my paint was dry I used the Rustoleum matte topcoat. You must seal chalk paint because it is porous and not wipeable. With the Rustoleum top coat, you simply brush it on with a synthetic brush. At first it gave a really plasticy looking finish which not going to lie, stressed me out. But as it dried, it turned into the most beautiful matte finish. I am SO happy with it. I typically like to use a wax product when I’m using chalk paint because it gives a similar finish that I am fond of. However, wax is kind of a pain to work with to get it even and it wears off the more you wipe it and use the surface. There seems to be a lot of paint leftover once I had finished painting, but I was not certain that I will use it again. Perhaps the most pertinent question for me would be How to dispose of paint, for which I would need to do some research online.
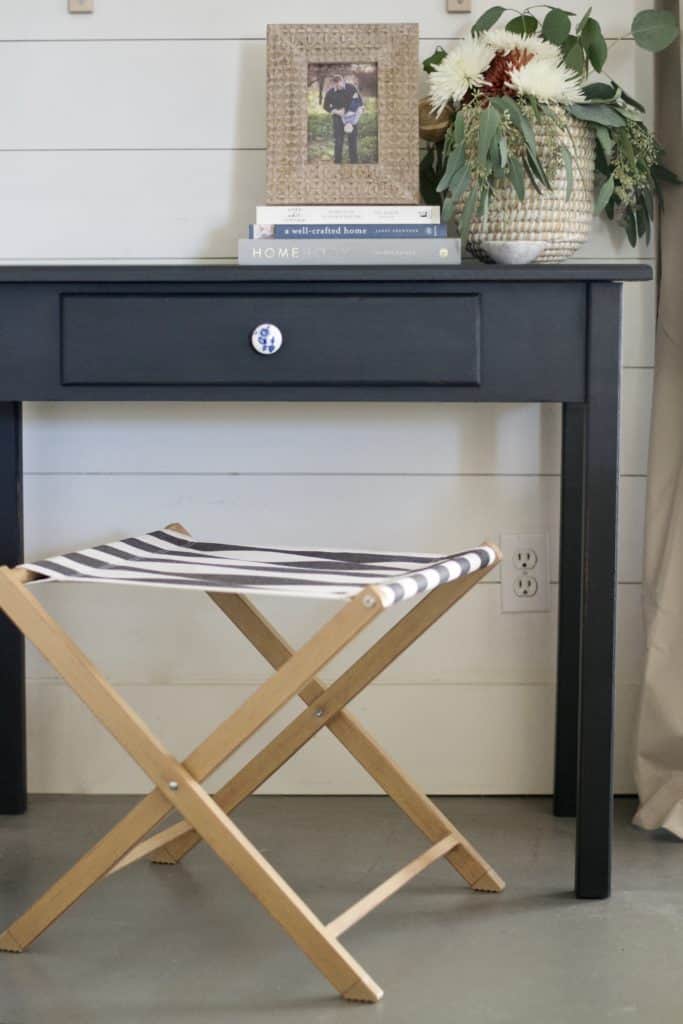
I stuck this desk over in our family room, under the Ikea shelves I installed this summer, you can see how I did that here. I plan on moving out my older computer out here so my kids can get on their learning games that they enjoy and not be locked back in a room away from the rest of the family.
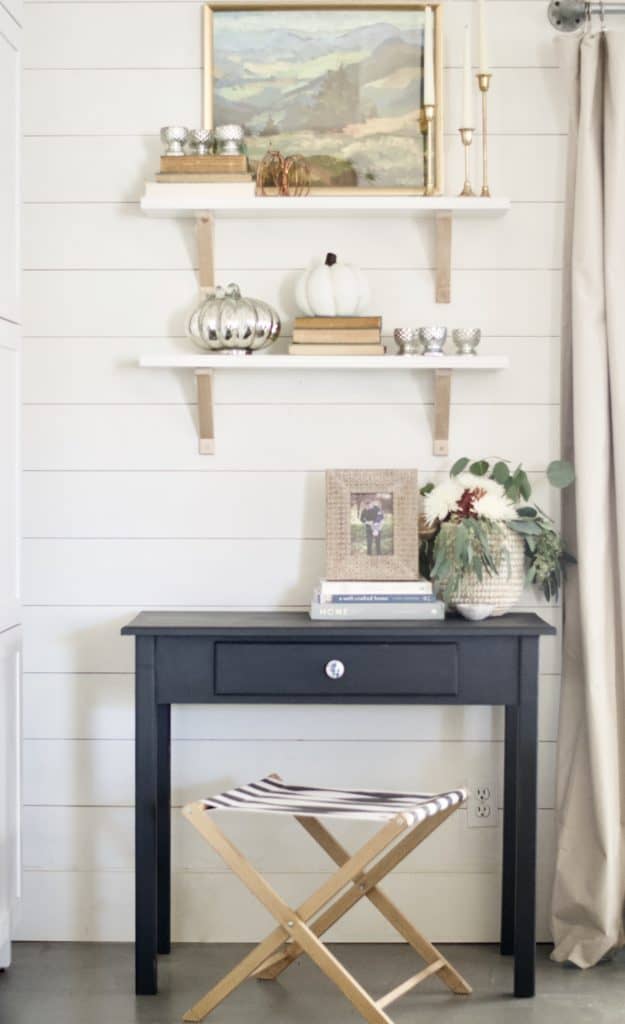
I love how quick + easy using this product made this little furniture update! I have always been a sucker for painting thrifted finds, like this painted dining table I did recently too.
I found some other colors of this paint available online, I love that navy + medium grey! So good! I just love this new product, I am so happy I tried the Rustoleum chalk paint! I feel like it is going to be a new favorite of mine!

Shop the post by directly clicking the images below.