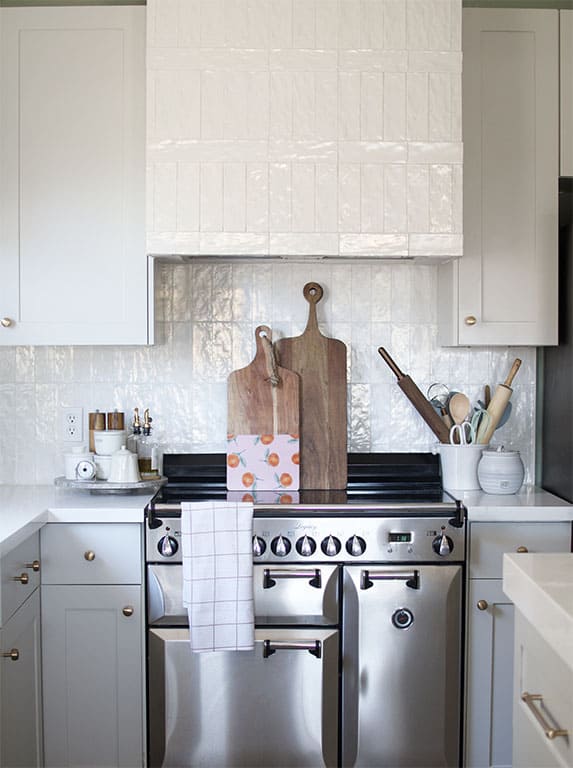
I am so excited to share the first piece of our kitchen renovation with you today! We recently completed our tiled vent hood. We gutted our kitchen when we purchased our home 2 years ago and it has been the slowest renovation of my life. It may have been faster to use professional kitchen remodel contractors, but the end is near and we just finished our kitchen vent hood. I could not be more excited. In kitchen renovations I think it is important to pick a design element to add to make a statement. There are so many ways to elevate your home with tiles, so if you're looking for a way to add interest to your decor, you can learn what they are here. Installing ceramic tiles is a quick and easy way to add a touch of class.
If any of you have renovated a kitchen before, even partly, it can be quite a job! Especially as you don't realize just how much you use your kitchen and its surfaces in your day-to-day life until you can't use them because of the debris. One of our neighbors just had her sink ripped out and changed but she said it took her ages to pick just the sink! She has this vision of gun metal taps with her new sink and she wasn't going to stop until she found the exact ones she wanted. Unfortunately, before she could get the new sink and taps installed she had to unblock her pipes and have a full-on drain cleaning as there was a lot of backup (don't pour grease down the drain kids). Luckily she got it fixed, but can you imagine going through all that just to find that you need a full clean-out? I'm glad we were only on the vent hood for now.
How did we vent it?
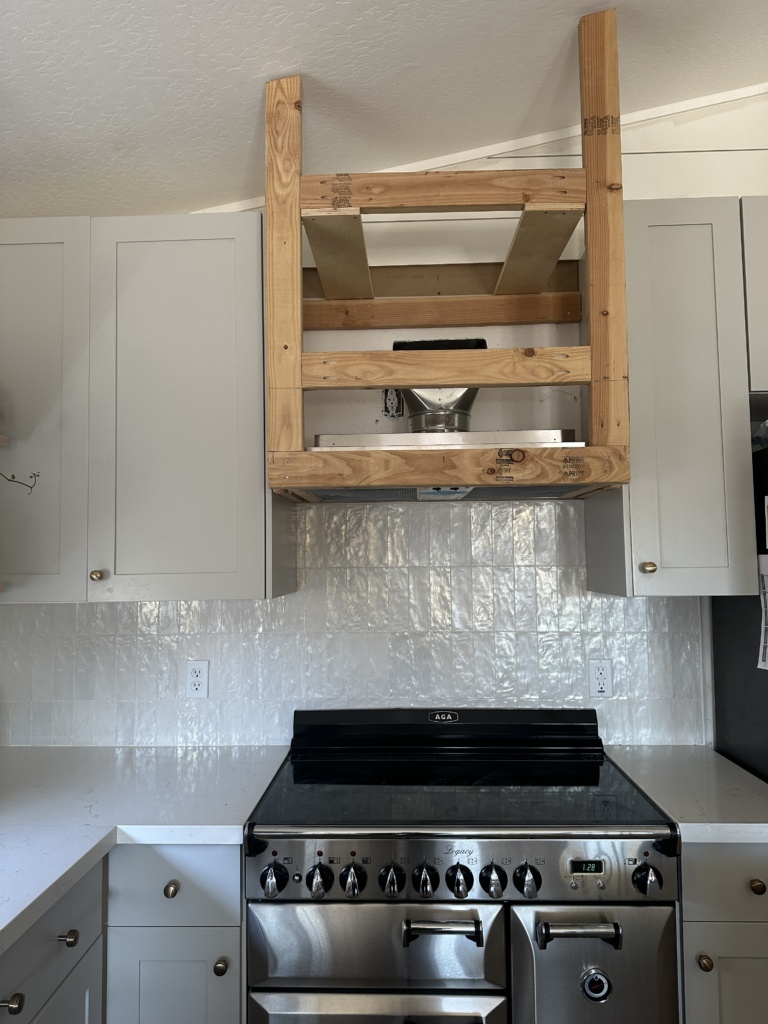
We demoed the original micro hood that was in the house when we purchased it. Since there was no venting to the outside and the hood needed to be on an interior wall, we followed this tutorial from Chris Loves Julia. It was simple to do and works perfectly. This is the a similar version of vent hood insert we purchased for this project.
The Tile
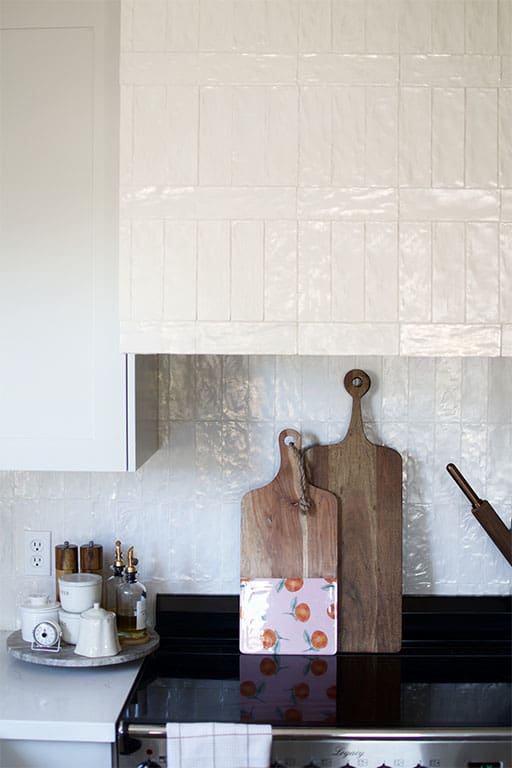
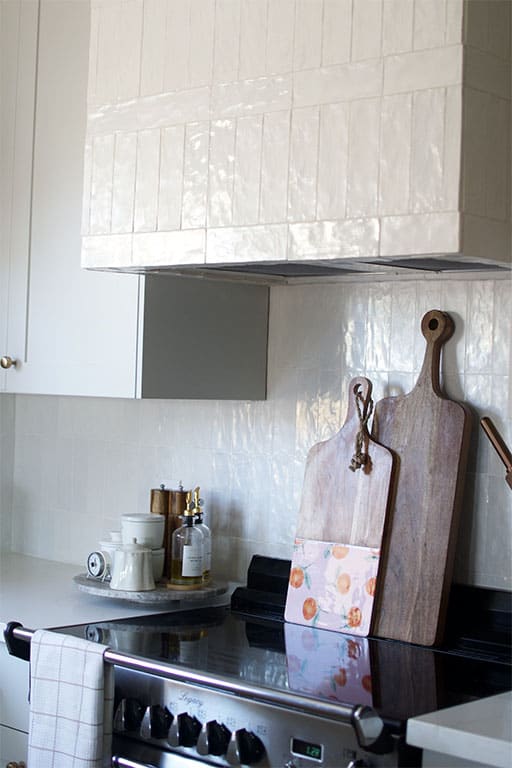
We have a small kitchen and I knew I wanted to keep it mostly light and neutral colors to help it feel as big as it could. I used the tile that we did on the backsplash which was neutral and simple, but installed it in an interesting pattern to add interest and dimension. My tile was from a local tile shop, but here is a similar version you can buy online. It is a zellige tile which means it has an almost iridescent/pearly look to it which I really like.
The tile shape is a really classic size, 3" x 8". This tile size may seem a little boring and standard but there are so many fun ways you can install it to spice it up. I also think it is a classic size & shape that will age well. Graphic or mosaic tile is really difficult to make feel timeless. I enjoy trends but I do not like to do trendy things with hard finishes in my home.
Tile Installation
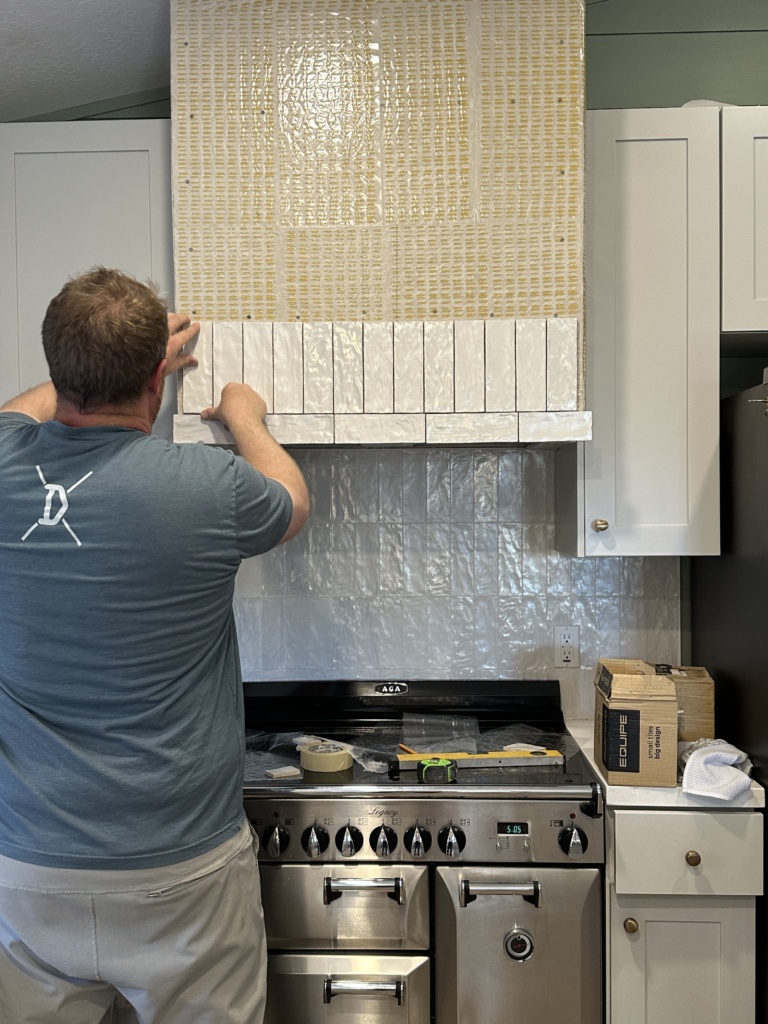
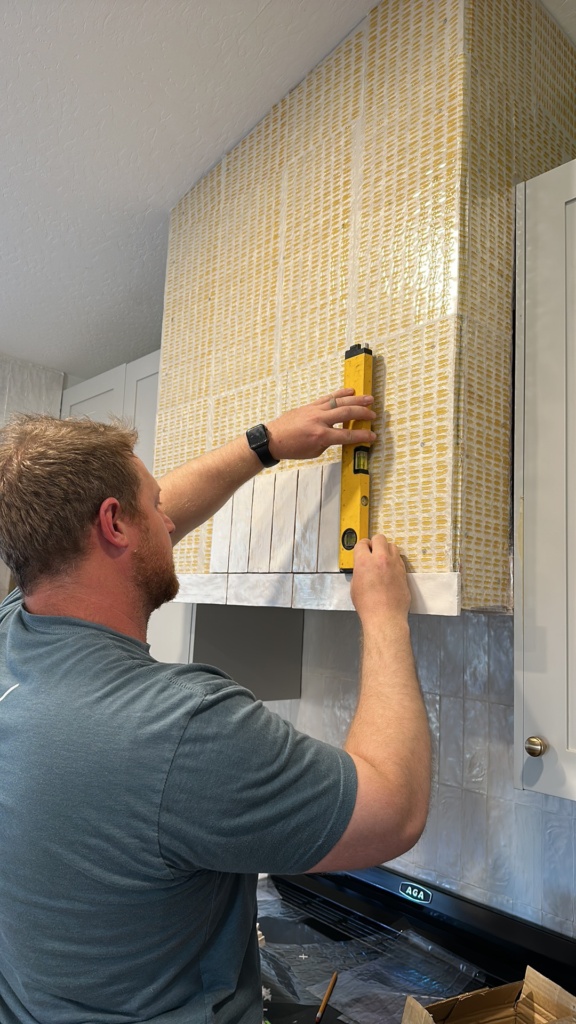
To simplify the install process we tried this Simple Mat product. It was very easy to work with it's basically double stick tape for tile installation. We were able to pick it up at our local Home Depot, or you can order it online too.
We were able to readjust the tile if we needed to and we didn't have to mess with mortar. I really liked using the Simple Mat product.
The final product
I went with a white grout that would disappear into the tile. I personally do not like contrasting grout with tile, I prefer the way it looks to get the best match possible so it does not draw attention to it. I think this is another way to help make your tile selection feel timeless.



Leave a Reply